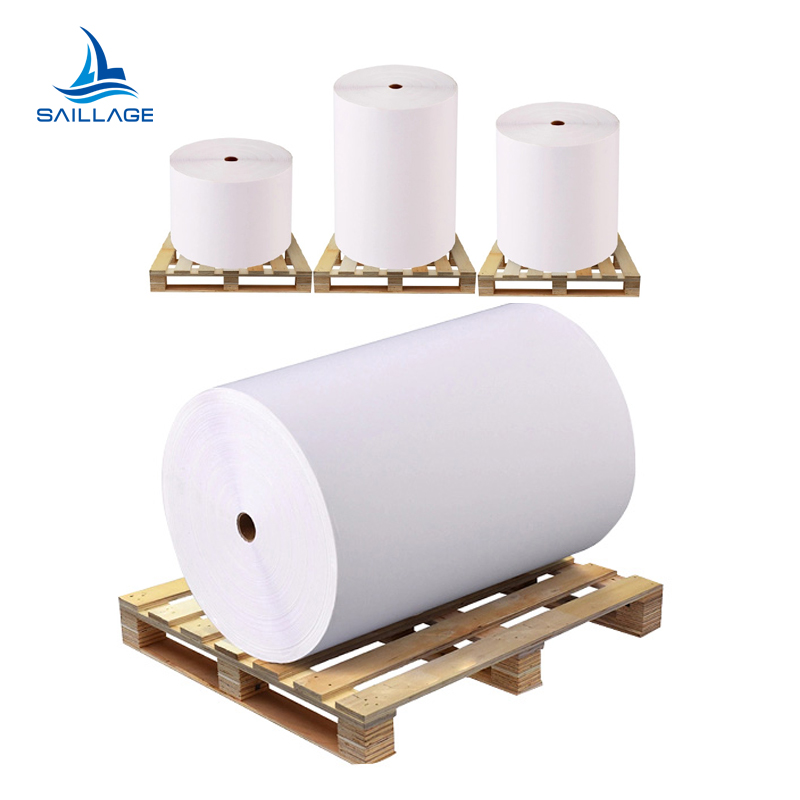


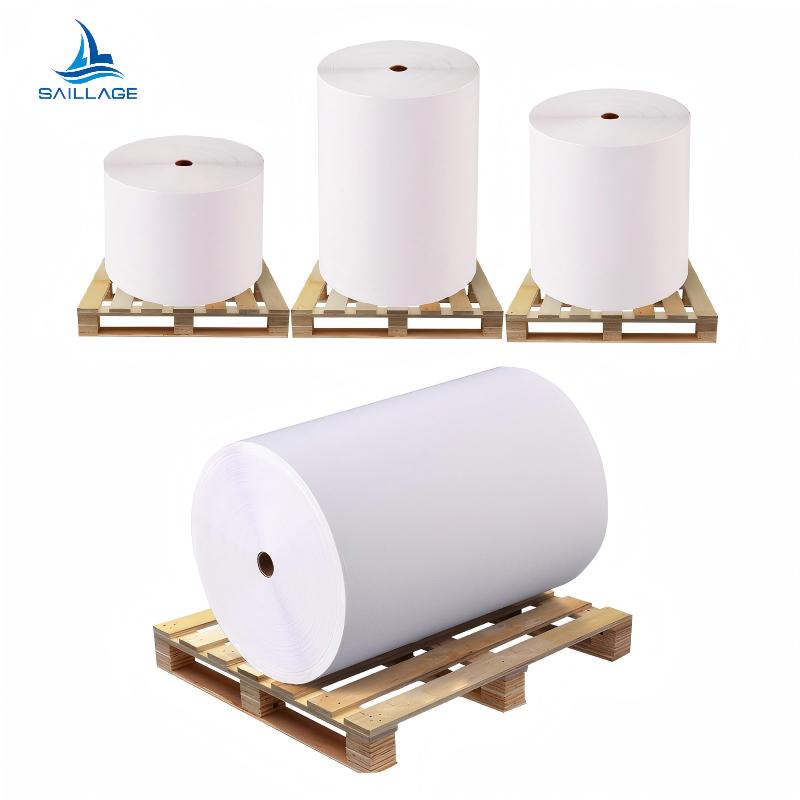


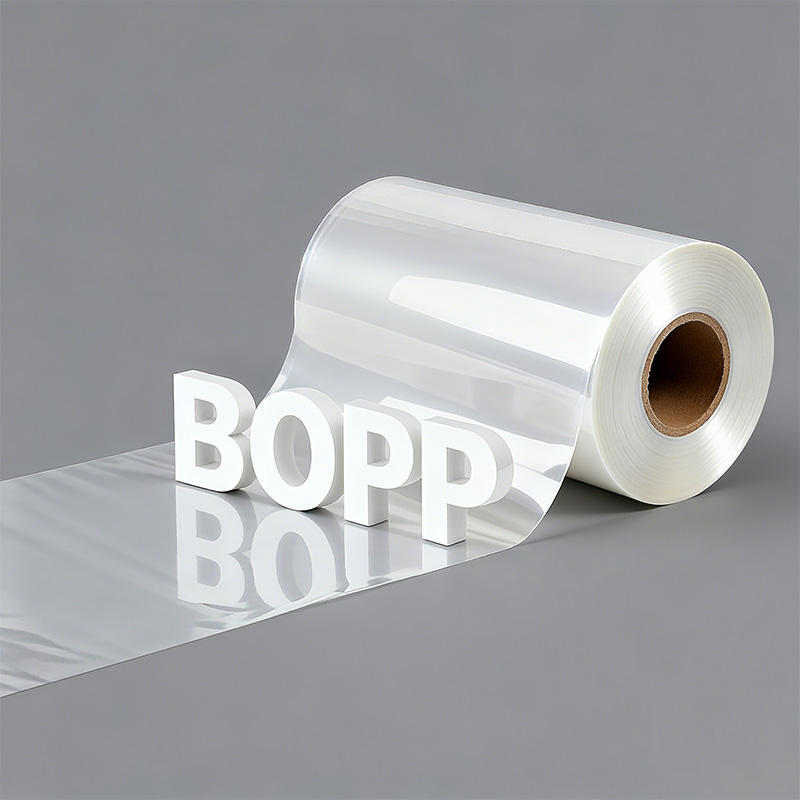
The Recommendation of Different Types of BOPP Film Surface Finish
BOPP films are available in a broad range of surfa...
MoreThe custom apparel printing industry is expanding rapidly, presenting a significant opportunity for creators.
| Metric | Value |
|---|---|
| Market Size (2025) | USD 7.01 billion |
| Forecasted Market Size (2034) | USD 18.32 billion |
| CAGR (2025-2034) | 11.27% |
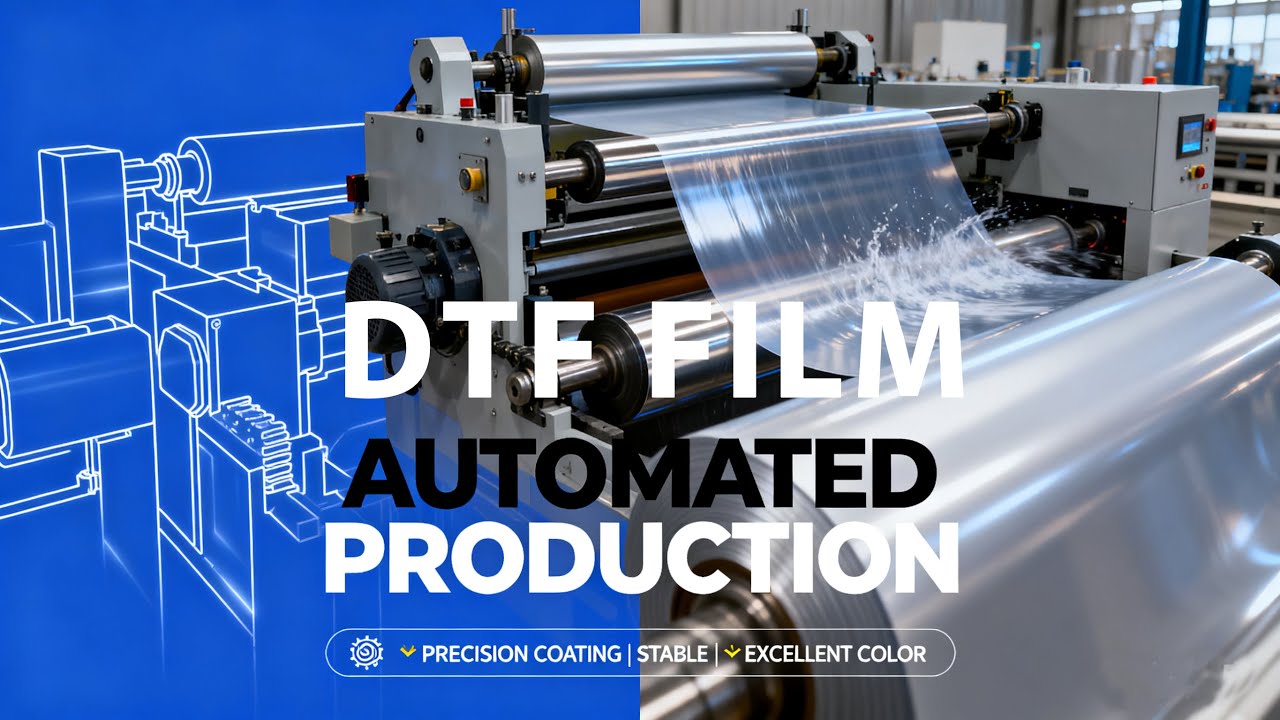
An individual can produce high-quality DTF transfers using a converted inkjet printer at home. Achieving success hinges on precise printer modifications, the correct dtf transfer film, and careful execution of each step.
This section provides a detailed walkthrough of the entire DTF process. Each step is critical for achieving a professional-quality transfer. Careful execution ensures vibrant, durable results on the final garment.
Before beginning, an individual must gather the necessary supplies. The printer itself is the most important component. Epson EcoTank printers are frequently chosen for DTF conversion. Their refillable ink tanks are ideal for specialized DTF inks.
Popular models for conversion include:
Epson EcoTank ET-8550
Epson EcoTank ET-15000
Epson EcoTank ET-2760
Epson EcoTank ET-4760
Epson SureColor P600
Epson SureColor P800
In addition to the printer, a complete supply list includes DTF inks (CMYK and White), DTF adhesive powder, a high-quality dtf transfer film, RIP software, a heat press, and personal protective equipment like gloves and a mask. The conversion process involves removing the standard inkjet ink, cleaning the system thoroughly, and refilling the tanks with the appropriate DTF inks.
Standard printer drivers cannot handle the complexities of DTF printing, specifically the white ink layer. Raster Image Processor (RIP) software is essential for this task. It gives the user complete control over the ink output, ensuring professional results.
RIP software manages several key functions:
White Ink Control and Underbase Creation: It generates a white ink layer that prints underneath the color layer. This is crucial for color vibrancy on dark fabrics.
Color Calibration and ICC Profile Support: The software allows for precise color management. It ensures the printed colors accurately match the original digital design.
Multi-Layer Print Management: It correctly sequences the color and white ink layers for a perfect print.
Control of Ink Density and Opacity: Users can adjust ink levels to achieve the desired look and feel, preventing oversaturation.
The user first imports their design into the RIP software. Then, they configure the settings for color profiles, ink layout, and resolution before sending the file to the printer.
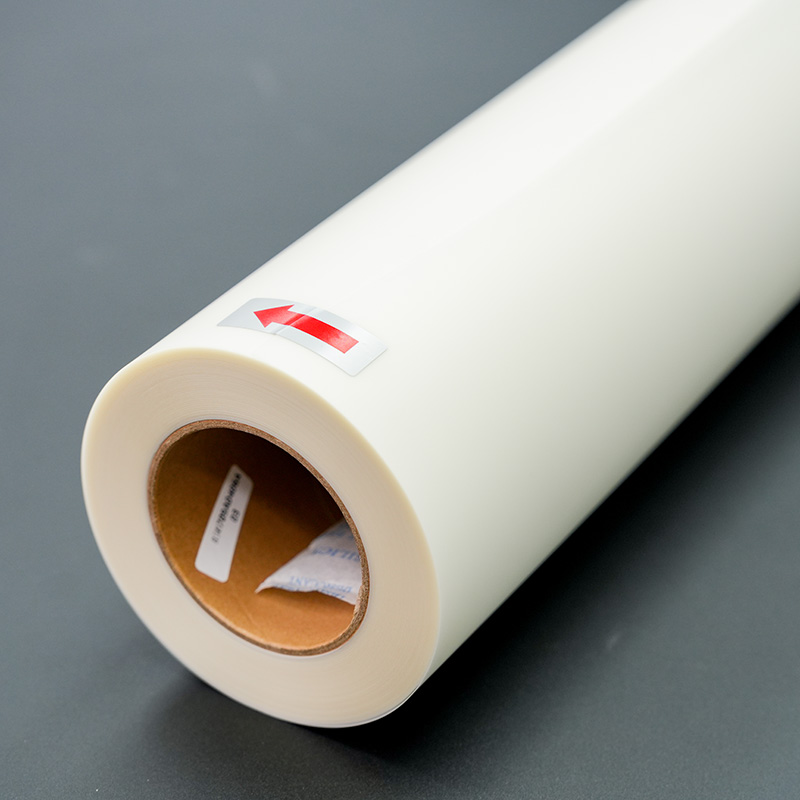
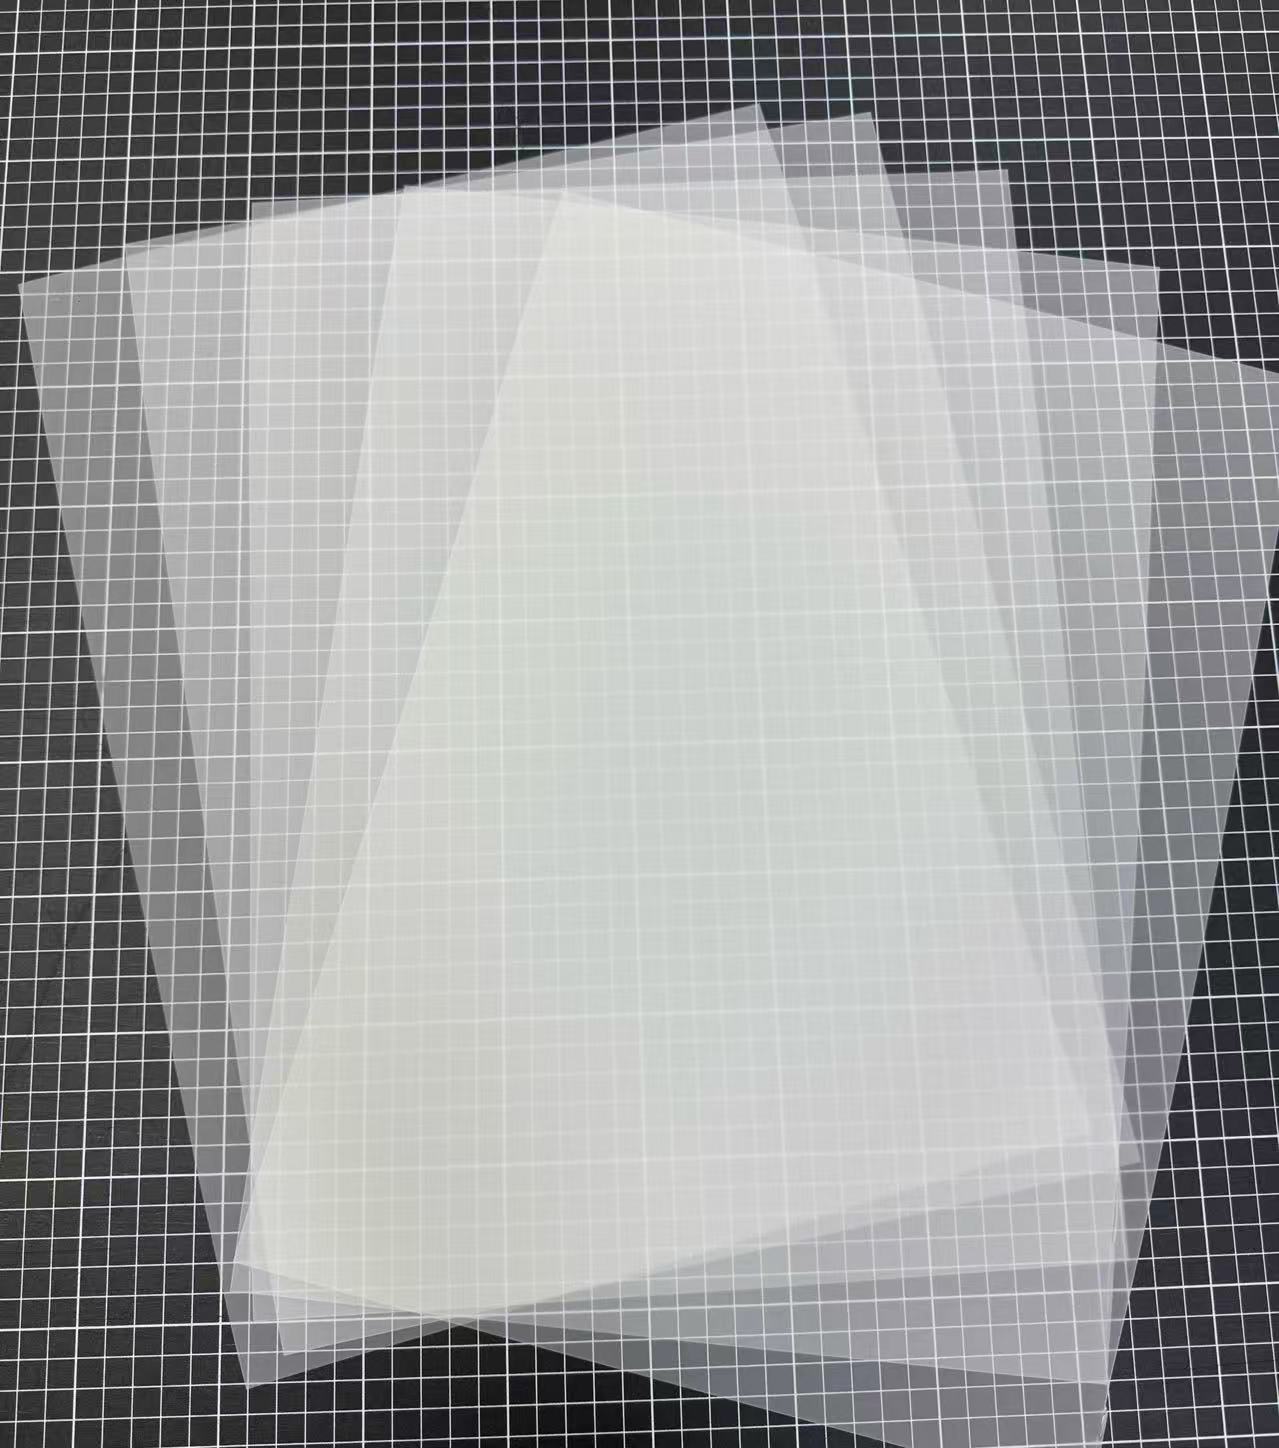
With the design prepared in the RIP software, the next step is printing. The user must load a sheet of dtf transfer film into the printer, ensuring the printable side (typically matte or coated) is facing up.
Note: Always handle the dtf transfer film by the edges to avoid fingerprints or oils that can interfere with ink adhesion.
Achieving a high-quality print requires specific settings within the RIP software.
Print Resolution: A minimum resolution of 1440x720 dpi is recommended for sharp, detailed images.
Print Speed: A slower print speed helps prevent banding and ensures accurate ink deposition.
Ink Configuration: The software must be set to print the color layer first, followed by the white ink layer on top in a single pass.
The printer will deposit the ink onto the film, creating a mirrored image of the final design.
Immediately after printing, the wet ink on the film must be coated with DTF adhesive powder. The user should place the printed film in a shallow tray to contain the excess powder. They generously sprinkle the powder over the entire inked area, making sure every part of the design is covered.
Next, they gently tap the film to shake off any loose powder. The adhesive should only stick to the wet ink. The final step is to cure the powder. This process melts the adhesive and bonds it to the ink. Curing can be done by hovering the film under a heat press (without contact) or using a dedicated curing oven until the powder gains a glossy, orange-peel texture.
The cured transfer is now ready to be applied to the fabric. The user should pre-press the garment for a few seconds to remove moisture and wrinkles. Then, they place the transfer on the fabric with the powdered side down.
For 100% cotton, the following heat press settings are a reliable starting point:
Temperature: 350-375°F (176-190°C)
Pressure: Medium
Time: 20 to 60 seconds
Tip: It is always best to perform a test press on a scrap piece of the same material. This helps determine the exact time and temperature needed for optimal adhesion without damaging the fabric.
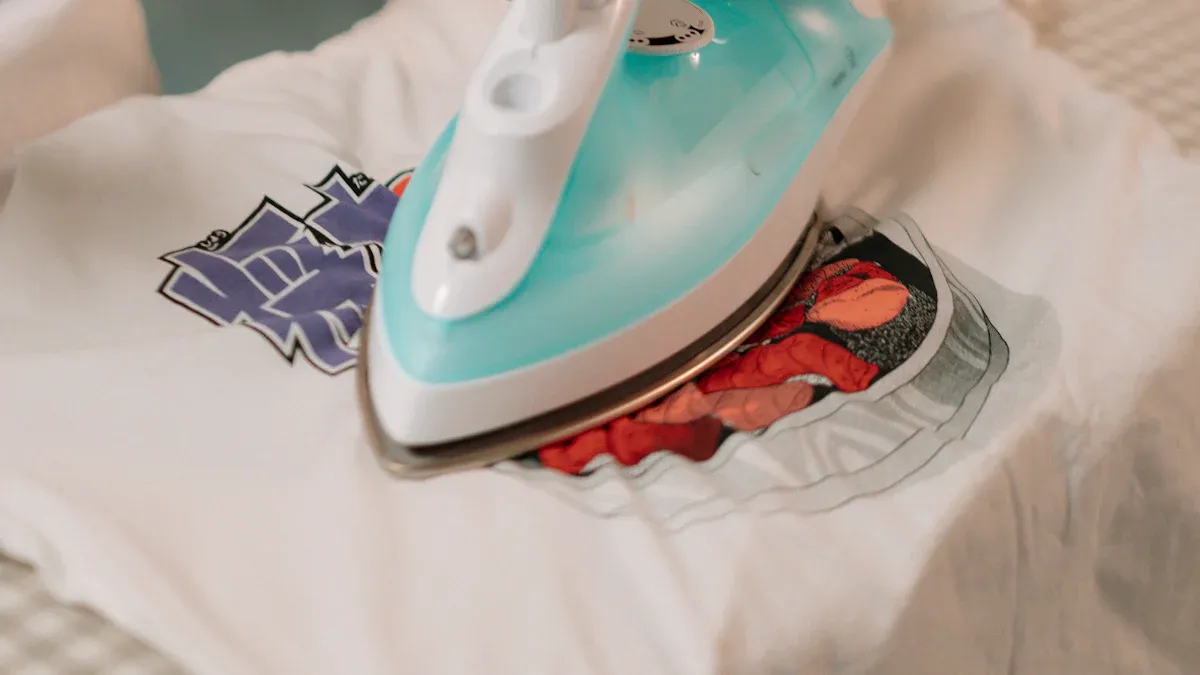
After pressing for the designated time, the user opens the press and lets the transfer cool down according to the film manufacturer's instructions (hot, warm, or cold peel).
The final step is the most satisfying. Once the transfer has cooled to the appropriate temperature, the user can peel away the film. A slow, steady motion works best. The peel should be smooth, leaving the vibrant design permanently bonded to the fabric.
To enhance durability and give the design a softer feel, a final post-press is recommended. The user covers the design with a parchment or Teflon sheet and presses it again for 5-10 seconds. This final press embeds the design into the fabric fibers, improving washability and feel.
Even with careful preparation, a user may encounter issues. This section addresses common problems and provides solutions to get the project back on track. Identifying the root cause is the first step toward a successful print.
Print quality issues like banding or inaccurate colors can be frustrating. Consistent maintenance is the best prevention. A user should perform a nozzle check before each print session. If the test shows blockages in more than 10% of the nozzles, a printhead cleaning is necessary.
| Task | Daily Beginning | Daily End | Weekly | As Needed |
|---|---|---|---|---|
| Nozzle Check | ✓ | |||
| Printhead Cleaning | ✓ | ✓ |
If banding persists, several factors could be the cause:
Clogged Printhead Nozzles: Dried ink or air bubbles often cause lines. Regular cleaning cycles resolve this.
Incorrect Print Settings: Sub-optimal resolution or speed settings can create uneven ink distribution.
Low Ink Levels: The printer cannot maintain consistent flow with low ink, leading to faded areas.
Poor Quality dtf transfer film: An inferior film may have an inconsistent coating that prevents proper ink adhesion.
A transfer that fails to adhere properly is another common challenge. The issue almost always relates to the heat press process or materials. Pre-pressing the garment to remove moisture is a critical first step.
Common reasons for adhesion failure include:
Insufficient Pressure: The press must apply firm, even pressure to bond the adhesive to the fabric fibers.
Incorrect Temperature: A temperature that is too low will not activate the adhesive. A temperature that is too high can burn the transfer.
Inadequate Dwell Time: The transfer requires a specific duration under heat to cure completely.
Improper Peeling: Peeling the film too fast or at the wrong temperature (hot vs. cold) can cause the design to lift.
An individual can achieve professional results with DIY DTF transfers. Success requires careful execution of key steps: printer conversion, RIP software management, and precise heat application. The industry's growth makes this technique increasingly accessible.
Future trends include:
Compact printers for home businesses.
DIY kits for small-scale projects.
More budget-friendly printer models.
Embracing the learning process through practice helps a creator master this powerful method.
No. A user must use specialized DTF inks. Regular inks will not adhere to the film or transfer correctly. They lack the necessary properties for fabric application.
RIP software controls the white ink layer. Standard printer drivers cannot create the white underbase needed for vibrant colors on dark fabrics. It also manages color accuracy.
DTF transfers adhere to a wide range of materials. This includes cotton, polyester, blends, and even some hard surfaces.
Tip: A user should always perform a test press on a scrap piece of fabric to confirm compatibility and optimal settings before applying the final design.


Select the most popular foreign trade service products to meet your diverse needs
Select the most popular foreign trade service products to meet your diverse needs

Tel: +86 17706217416
Add: Building L2A, No. 520, Lane 1588, Zhuguang Road, Hongqiao World Center, Qingpu District, Shanghai, China


User Comments
Service Experience Sharing from Real Customers
James Wilson
Graphic DesignerThe DTF transfer film worked flawlessly with my Epson EcoTank printer. The colors were vibrant and the transfer to dark cotton was incredibly durable after washing. A game-changer for my small apparel business!
Sarah Chen
Print Shop OwnerVery user-friendly process. The film fed through my Canon Pixma without any jams, and the powder adhered perfectly. The prints are soft and professional. One star off only because the instructions could be a bit more detailed for absolute beginners.
Marcus Johnson
Art TeacherI used this DTF film for a school project to create custom team shirts. The students were amazed by the quality. It's so much easier and more cost-effective than other methods we've tried. Highly recommended for educational or hobbyist use!
Elena Rodriguez
Small Business OwnerAs someone running a home-based merch store, this product has been a revelation. The transfer film works perfectly with my inkjet printer, allowing me to produce professional-grade, full-color designs on-demand with minimal waste. Customer satisfaction has skyrocketed!