


What are the advantages of BOPP film
Third, BOPP film offers great versatility and safe...
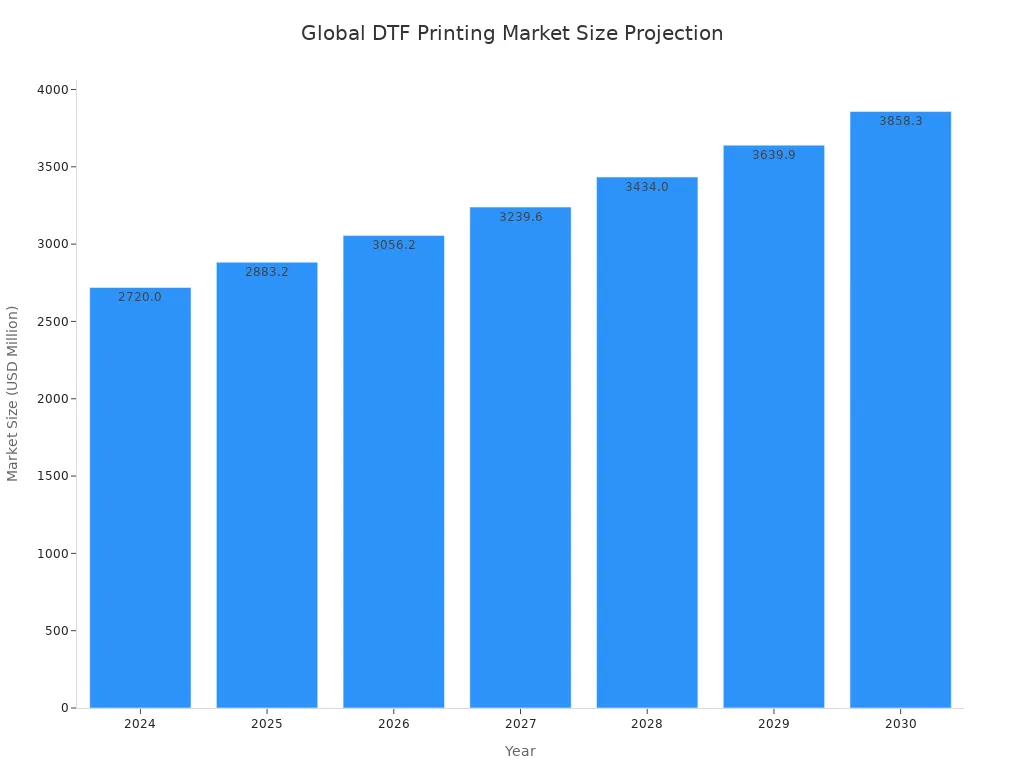
MoreThe Direct-to-Film (DTF) printing market is experiencing significant growth, reflecting its rising popularity. Professionals achieve superior results on dtf transfer film a3 by mastering key details. They start with high-resolution CMYK files and use premium, high-pigment inks. This combination creates a foundation for rich, accurate colors.
Pro Tip: Garment preparation is critical. A 5-10 second pre-press removes moisture for better adhesion. A final 5-7 second press after peeling embeds the design, greatly enhancing washability and durability.
Vibrant prints begin long before the printer starts. Professionals achieve superior color fidelity by mastering their digital artwork and color management workflow. This foundational step ensures the final transfer accurately reflects the original design intent.
Printers do not see color the same way digital screens do. Screens use an additive RGB (Red, Green, Blue) light model, while DTF printers use a subtractive CMYK (Cyan, Magenta, Yellow, Key/Black) ink model. Designing in CMYK from the start prevents unexpected color shifts during printing. A file created in RGB may look vibrant on screen but can produce murky or off-tone colors on the final garment.
| Feature | RGB (Digital Screens) | CMYK (DTF Printers) |
|---|---|---|
| Purpose | Designed for backlit digital displays | Made for layering physical ink on a substrate |
| Color Model | Additive light creates color | Subtractive ink removes light from a surface |
| DTF Impact | Requires conversion, risking color shifts | Provides direct, accurate color reproduction |
What you see on your monitor should match the final print. Professionals calibrate their monitors regularly to guarantee accurate color proofing. An uncalibrated screen can misrepresent colors, leading to disappointing results.
Using a custom ICC profile takes this a step further. These profiles are essential because they account for unique variables in the printing process:
Printer model and ink formulation
Specific transfer film and adhesive powder
Heat press settings and fabric type
A custom profile bridges the gap between your screen's RGB display and the printer's CMYK output. It ensures consistent, vibrant colors and eliminates frustrating mismatches between the digital file and the physical transfer.
A slight increase in color saturation can make a design pop with exceptional vibrancy. Many designers strategically boost saturation in their software to create a more vivid final product.
Caution: This technique requires a delicate balance. Applying too much ink can oversaturate the film, leading to color bleeding or unnatural, overly bright tones. Professionals test small adjustments to find the sweet spot for their specific equipment and materials.
The final print quality is only as good as the materials used. Professionals understand that investing in superior inks, films, and powders is essential for achieving brilliant, lasting results. These components work together to bring a digital design to life.
The quality of DTF ink directly impacts color vibrancy and durability. Leading brands like STS and Kodak are recognized for their high pigment density, which produces rich colors and offers excellent wash resistance. High-pigment inks deliver deeper blacks and more vivid colors. For operators seeking specific results, different brands offer unique advantages:
Epson UltraChrome: Delivers ultra-sharp details for photographic quality.
DuPont Artistri: Offers rich color saturation with a smooth finish.
SubliJet DTF: Provides extremely sharp edges and optional neon colors for bold designs.
A high-quality white ink layer creates a bright foundation for the CMYK colors, especially on dark garments. This opaque underbase acts as a physical shield. It blocks the fabric color from muting the design and reflects light back through the translucent inks, making them appear significantly brighter and more saturated. Without a proper white base, colors can look dull or muddy.
Pro Insight: Finding the right balance is key. A thin white base allows fabric color to show through, while an overly thick layer can create a heavy, plastic-like feel on the garment.
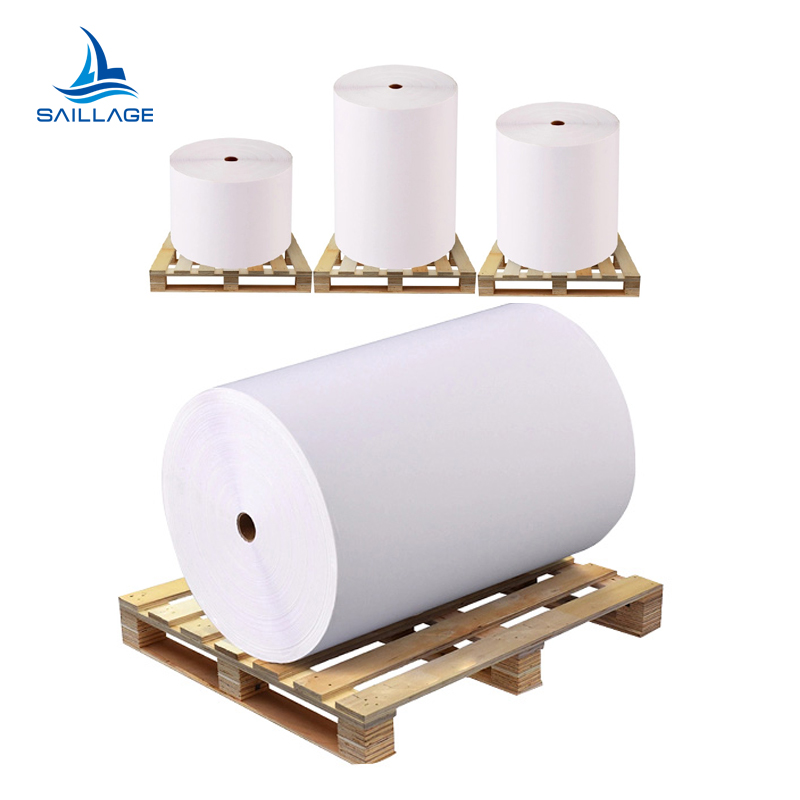
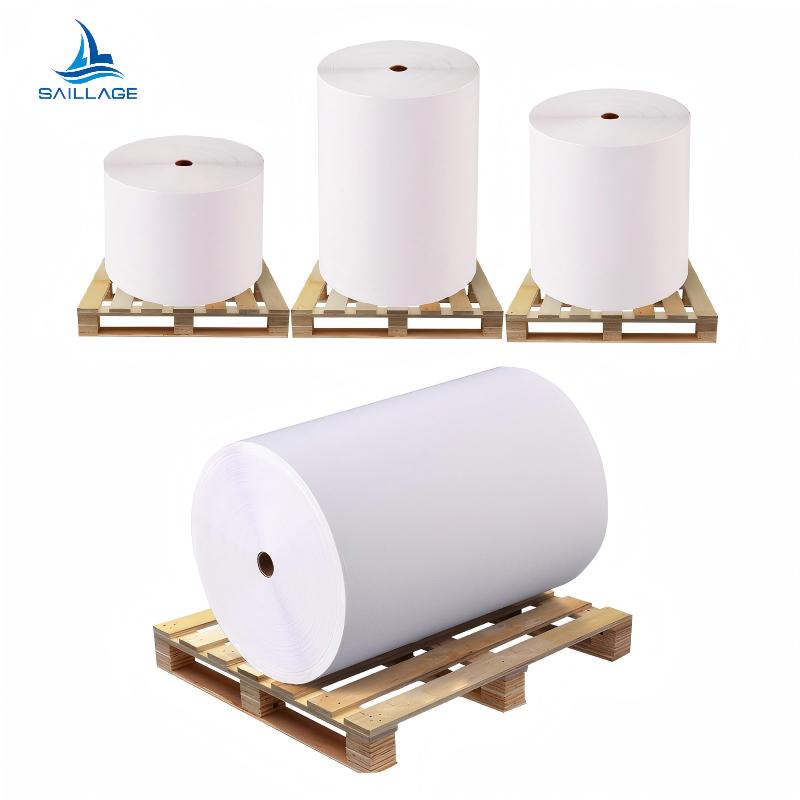
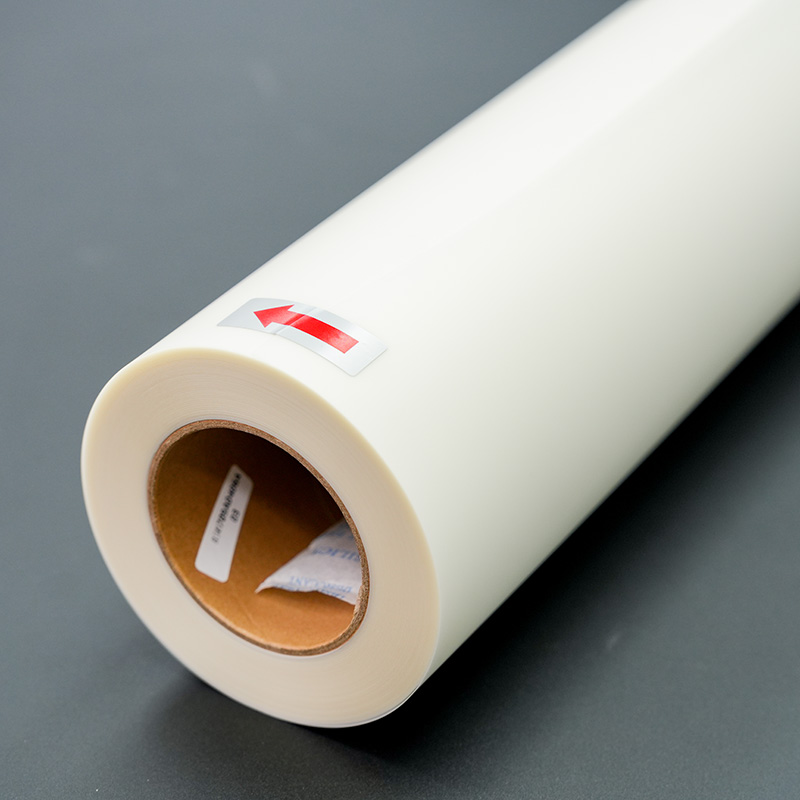
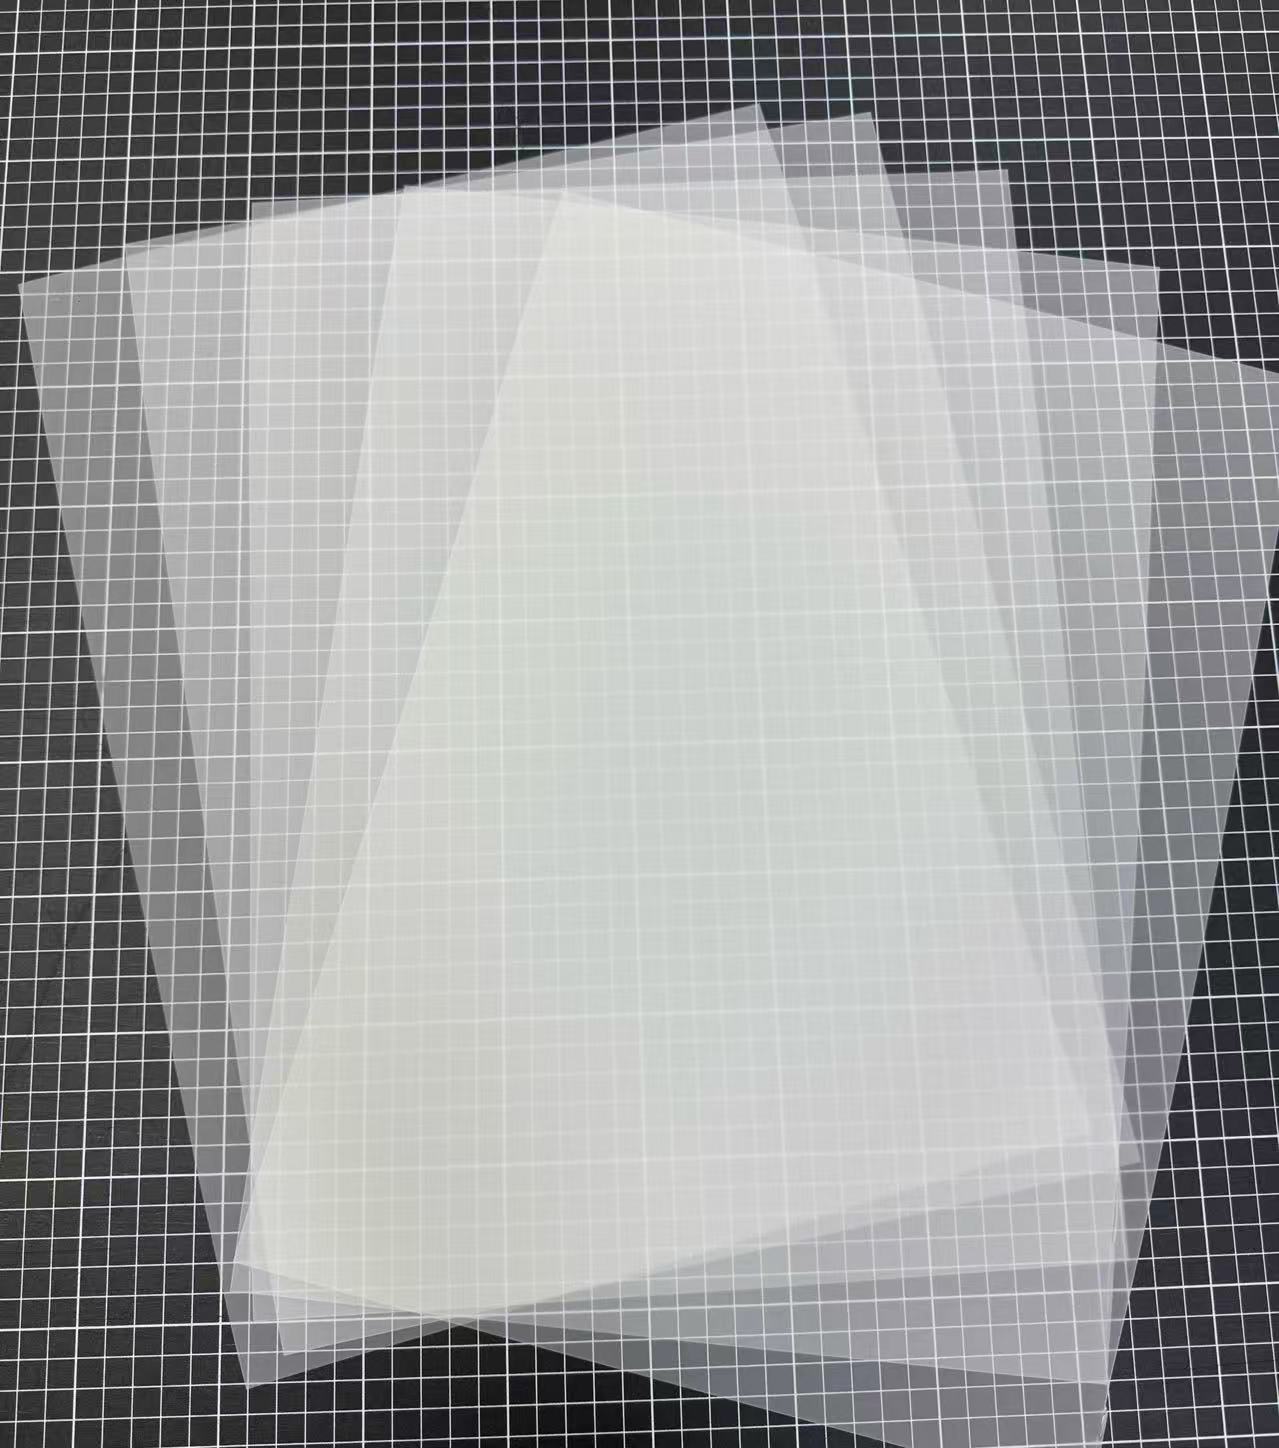
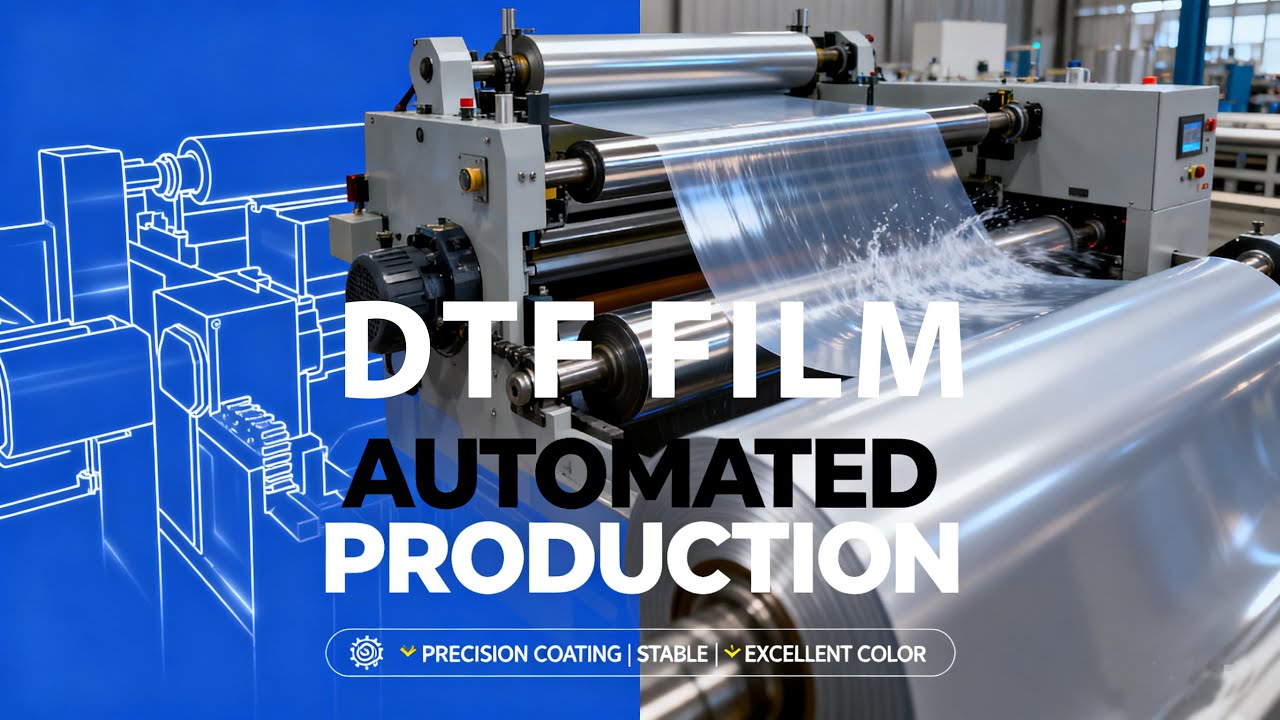
The type of dtf transfer film a3 used influences the workflow, finish, and durability of the print. The two primary types are hot peel and cold peel, each suited for different applications. The choice of dtf transfer film a3 depends entirely on production needs and the desired final look.
| Property | Hot Peel Film | Cold Peel Film |
|---|---|---|
| Finish | Glossy | Matte |
| Workflow Speed | Faster; peel immediately | Slower; requires cooling |
| Durability | Good | Excellent |
| Best For | High-volume production, common fabrics | Detailed designs, delicate fabrics |
Choosing the correct dtf transfer film a3 ensures both production efficiency and a high-quality final product that meets client expectations.
High-quality consumables are only half the battle. Professionals gain full control over print quality by mastering their Raster Image Processor (RIP) software. These settings translate a digital file into precise printer instructions, directly impacting color, texture, and sharpness.
The white ink underbase is the foundation for color on dark garments. RIP software allows operators to control its density. A strong underbase ensures colors appear bright and true. For most applications on dark fabrics, a 100% white ink setting is the professional standard.
A 100% white underbase creates a solid, opaque layer.
This coverage prevents the garment's color from dulling the design.
It provides optimal opacity and enhances the print's long-term durability.
Print speed and ink saturation are directly related. While faster speeds increase output, they can compromise color richness. Professionals find a balance to maintain quality. Slower print speeds, which involve more passes of the printhead, deposit more ink and lead to deeper, more saturated colors. In contrast, fast draft modes often produce faded results.
Expert Tip 💡: Operators often set ink saturation between 85% and 90%. This range delivers vibrant color without oversaturating the film, which could otherwise interfere with adhesive bonding.
A "white ink choke" is a critical setting for achieving clean, sharp edges. This function slightly shrinks the white underbase layer relative to the color layer. It prevents a common printing defect: a white "halo" or outline appearing around the design. This halo can occur even with perfect printer alignment.
Function: Shrinks the white ink layer by a few pixels.
Problem Addressed: Eliminates the white halo caused by the underbase peeking out from behind the CMYK layer.
Solution: Apply a negative choke (e.g., –0.2 to –0.3 mm) to pull the white edges inward, ensuring a crisp finish.
The adhesive powder acts as the critical bonding agent between the ink and the garment. A flawless application is non-negotiable for a durable, high-quality transfer. Professionals master this step to ensure the print adheres perfectly without defects.
Operators apply the powder while the ink is still wet to ensure it sticks properly. Using a fine-grade powder is essential, as it prevents clumping and creates a smoother finish. For manual application, professionals hold a powder shaker about 4-6 inches above the film. They use a gentle, consistent shaking motion to sprinkle a fine, even layer over the entire printed design. This controlled technique prevents uneven buildup and ensures the adhesive is distributed uniformly. An automated shaker can also provide excellent consistency for higher volume production.
Complete coverage is vital for the integrity of the transfer. Any area with too little powder will fail to adhere to the garment, leaving gaps in the final design. Conversely, an excessive amount of powder can cause clumping, which results in a thick, cracked texture after pressing. Incomplete coverage can lead to several issues:
Poor ink transfer
Premature color fading
Cracking or peeling of the print
Achieving a uniform layer across the entire inked area guarantees a strong, even bond and a professional finish.
Once the design is fully coated, removing all loose powder is the final crucial step. Professionals hold the film by its edges and gently tap or shake it to dislodge any excess particles. The goal is to leave powder adhered only to the wet ink. Any stray powder left on the unprinted areas of the film can melt during curing and transfer to the garment, creating a messy, unprofessional look.
Pro Tip: Some operators use a small, compressed air gun at a low PSI to carefully blow off stubborn excess powder from tight corners or intricate parts of the design, ensuring perfectly clean edges.
Curing transforms the loose adhesive powder into a solid, flexible layer that bonds the ink to the fabric. Professionals perfect this heating process to guarantee a transfer that is both vibrant and exceptionally durable. This step is critical for the print's final quality and longevity.
The visual goal of curing is to fully melt the adhesive powder. A properly cured transfer develops a glossy, slightly textured finish that resembles the surface of an orange peel. This appearance indicates the powder has melted completely and is ready for pressing. Operators look for this uniform sheen across the entire design.
Caution: While the "orange peel" look is a good indicator, an overly pronounced or rough texture can signal over-curing. This can make the final transfer feel stiff and may compromise its long-term durability and wash resistance.
Temperature control is paramount for a successful cure. The ideal temperature varies based on the equipment and the specific powder's melting point. Professionals calibrate their equipment to maintain a steady temperature throughout the process. Different methods require different settings for optimal results.
Curing Ovens: These provide circulating heat, often requiring temperatures between 100°C and 120°C (212°F - 248°F).
Heat Press (Hovering): This method needs a higher temperature, typically around 150°C to 160°C (302°F - 320°F), to melt the powder effectively without direct contact.
Professionals always use non-contact methods to cure the powder. This involves either a dedicated curing oven or hovering the top platen of a heat press 1-2 inches above the film. Direct contact from a hot surface would smear the wet ink and ruin the transfer. Non-contact heating allows the powder to melt evenly without disturbing the printed design, ensuring a clean and flawless adhesive layer ready for the final press.
A flawless transfer requires more than just a perfect print; it demands a perfectly prepared garment. Professionals know that the fabric itself is an active variable in the DTF process. Taking the time to prepare the garment surface ensures maximum adhesion, vibrancy, and durability.
Professionals never skip the pre-press step. This simple action significantly improves adhesion and longevity. Pre-pressing the garment for 5-10 seconds removes hidden moisture and smooths out wrinkles. This process creates a flat, dry, and optimal surface, allowing the transfer's adhesive to bond effectively with the fabric fibers. A damp or wrinkled shirt is a primary cause of print failure.
Pro Tip 💡: A quick pre-press at the application temperature not only removes moisture but also gives a final opportunity to ensure the garment is positioned correctly on the heat press platen.
Not all fabrics are suitable for DTF printing. Verifying material compatibility prevents wasted materials and ensures a high-quality outcome. DTF is incredibly versatile, but certain fabrics yield superior results.
Highly Compatible Fabrics:
Cotton & Cotton Blends: These are reliable and forgiving choices. They offer excellent adhesion and are perfect for t-shirts, hoodies, and tote bags.
Polyester: This synthetic fabric is a strong performer, ideal for sportswear. Its smooth surface often produces exceptionally sharp and vibrant prints.
Denim & Treated Leather: DTF adheres well to these tougher materials, opening up opportunities for unique apparel and accessories.
⚠️ Fabrics to Approach with CautionSome materials are not compatible with the DTF process due to heat sensitivity or surface texture. Professionals avoid fabrics like silk and wool, as their delicate or fuzzy surfaces prevent proper adhesion and can be damaged by heat. Likewise, some nylons with water-resistant coatings can repel the adhesive, leading to cracking and peeling. Always test on a small, hidden area if you are unsure about a fabric.
This stage is where the digital design becomes a permanent part of the garment. Professionals execute the heat press application with precision to ensure a flawless, durable bond. The right combination of time, temperature, and pressure is essential for success.
Operators dial in their heat press settings based on the specific film, powder, and fabric. While temperature and time are critical, pressure is the key to strong adhesion. Applying the correct pressure ensures the melted adhesive fully integrates with the fabric fibers.
Insufficient pressure leads to poor adhesion and a transfer that may peel.
Excessive pressure can damage delicate fabrics or cause the ink to spread, reducing sharpness.
Uneven pressure results in parts of the design failing to stick properly.
Heavy fabrics like cotton or denim typically require more pressure than lighter synthetic materials.
Professionals regularly adjust pressure settings to match the material for optimal results.
A heat press release sheet, like a Teflon sheet, is a simple tool that provides crucial protection. Operators place it over the transfer before pressing. This sheet safeguards the heat platen by preventing any ink from bleeding onto the heating element, which could ruin subsequent garments. It also protects the garment from direct, scorching heat and helps maintain a consistent temperature across the transfer surface.
The final step, peeling the film, depends entirely on the type of film used. Following the manufacturer's instructions for hot peel or cold peel film is non-negotiable for a clean release. Peeling incorrectly can ruin the print.
| Film Type | Peeling Instructions |
|---|---|
| Hot Peel Film | Peel the film immediately after the heat press opens. Use a smooth, consistent motion. |
| Cold Peel Film | Let the transfer cool down completely on a flat surface before peeling. Peel slowly to avoid damaging fine details. |
The final steps after peeling the film are what separate a good print from a professional, long-lasting one. Professionals use a post-press and a proper curing period to lock in the design and guarantee maximum durability. This finishing touch ensures the garment can withstand repeated wear and washing.
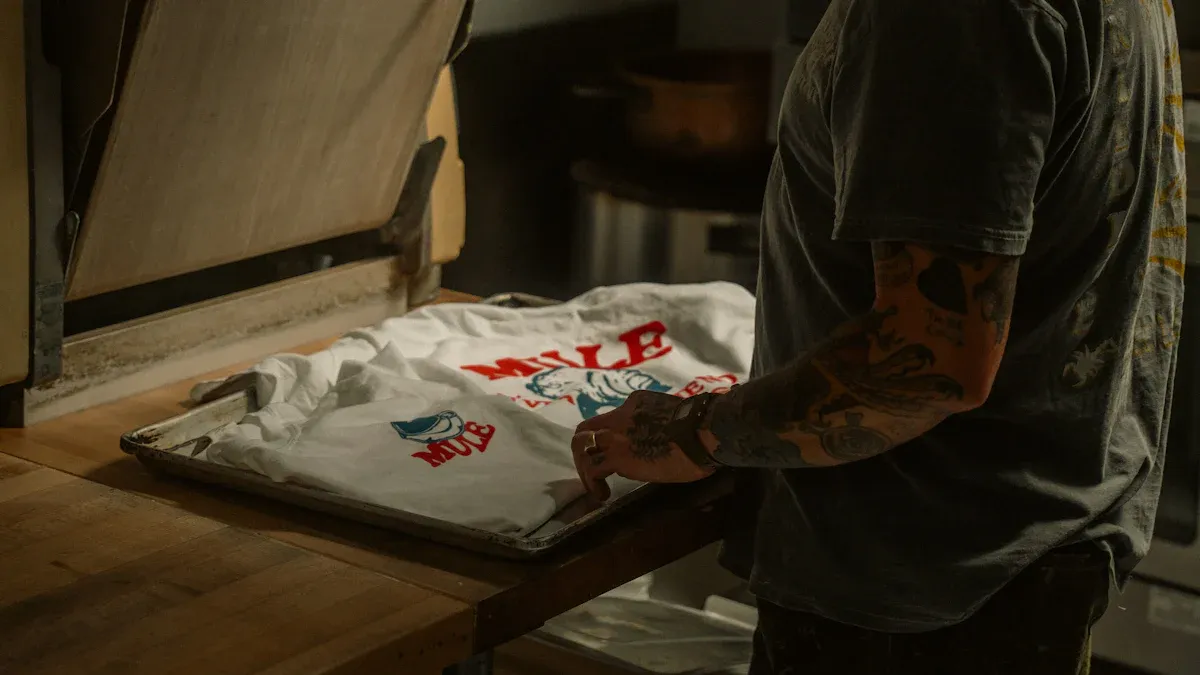
A final press after peeling is a non-negotiable step for achieving superior washability. Professional shops perform this quick re-press for 5 to 10 seconds to fully embed the design into the garment. This action completes the adhesive flow, allowing the thermoplastic polyurethane (TPU) to penetrate and wrap around the fabric threads. It solidifies the bond, reduces the risk of edge peeling, and creates a smoother surface with a better hand feel.
This secondary press also finishes the annealing process. This is crucial for organizing the adhesive's polymer chains into a more durable structure, significantly improving the print's flexibility and resistance to washing.
Key Benefits of a Post-Press:
Seals the adhesive for a permanent bond.
Improves wash resistance, especially for heavy-use items like hoodies.
Creates a softer, more integrated finish.
Patience after the final press is a virtue. The transfer needs time to set completely. Professionals allow the garment to cure for a full 24 to 48 hours before folding, packaging, or washing. This critical waiting period allows the adhesive to fully harden and establish its strongest possible bond with the fabric. Rushing this step can compromise the integrity of the print. Allowing the garment to cool and cure undisturbed is the final quality assurance check that guarantees a brilliant, long-lasting product for the end user.
Professionals achieve vibrant, durable prints on dtf transfer film a3 through precision at every step. They master artwork preparation, select quality materials, and control the entire process. This mastery ensures consistent, professional-grade results for each dtf transfer film a3. Implementing these tips elevates transfer quality and builds a reputation for brilliant products.
Dull prints often result from an insufficient white ink underbase. Operators increase the white ink density in their RIP software. This creates a brighter, more opaque foundation for colors.
Peeling usually indicates poor adhesion. Professionals solve this by pre-pressing the garment to remove moisture. A final press after peeling also fully embeds the adhesive into the fabric fibers.


Select the most popular foreign trade service products to meet your diverse needs
Select the most popular foreign trade service products to meet your diverse needs

Tel: +86 17706217416
Add: Building L2A, No. 520, Lane 1588, Zhuguang Road, Hongqiao World Center, Qingpu District, Shanghai, China


User Comments
Service Experience Sharing from Real Customers
Michael Chen
Graphic DesignerThe A3 DTF transfer film is exceptional! The color vibrancy and detail retention on our custom apparel are outstanding. It's become our go-to for high-quality garment printing.
Sarah Johnson
Print Shop ManagerPerfect for our small business needs. The A3 size is versatile, the film is easy to use, and transfers are durable even after multiple washes. Highly reliable product.
David Rodriguez
Production LeadGreat quality DTF film. The A3 sheets feed smoothly through our printers, and the transfer results are consistently sharp. Excellent value for professional results.
Emily Watson
Small Business OwnerThis A3 DTF film has revolutionized our custom merch line. The colors pop, the hand-feel is soft, and the process is efficient. Customer satisfaction has noticeably increased since we switched to this film.