


Why Adding UV Stabiliser into BOPP Films for Outdoor Graphics Applications?
Outdoor graphic materials face constant exposure t...
MoreDirect-to-Film (DTF) printing is a rapidly growing segment of the custom apparel industry. Projections show the global market expanding at a compound annual growth rate of nearly 6%. The process transforms a digital concept into a tangible, wearable product. Creators first print their design onto a sheet of dtf film 13x19. They then apply a special adhesive powder to the wet ink. The final step involves melting this powder and heat pressing the completed transfer onto the garment.
Note: Precision at each stage is crucial. A successful outcome depends on the correct execution of the print, powder, and press sequence.
Success in DTF printing requires a specific set of tools and materials. Each component plays a vital role in the final quality of the custom garment. A creator's toolkit must be complete before starting the production process.
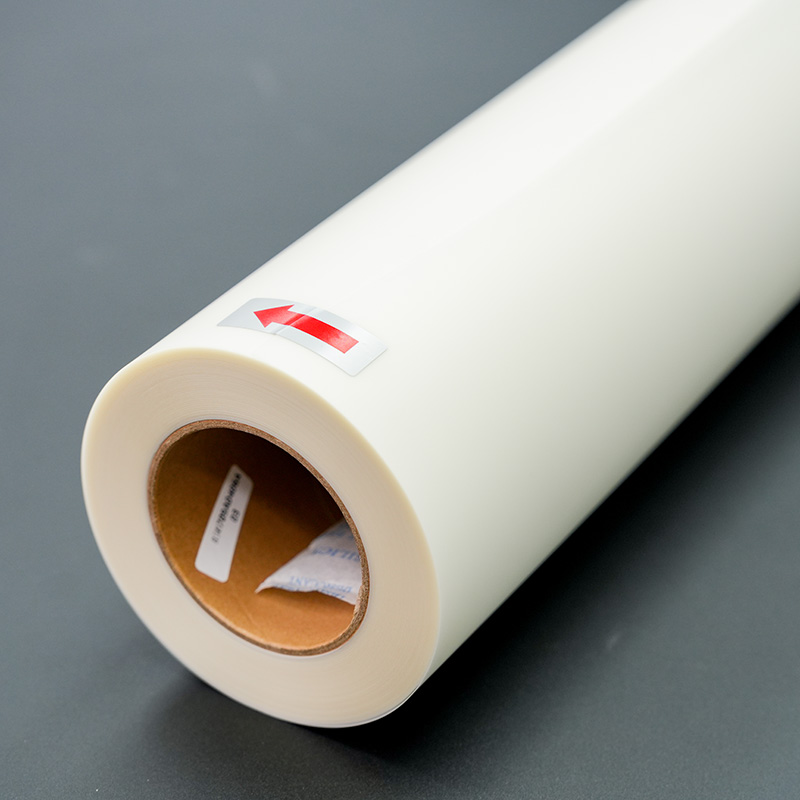
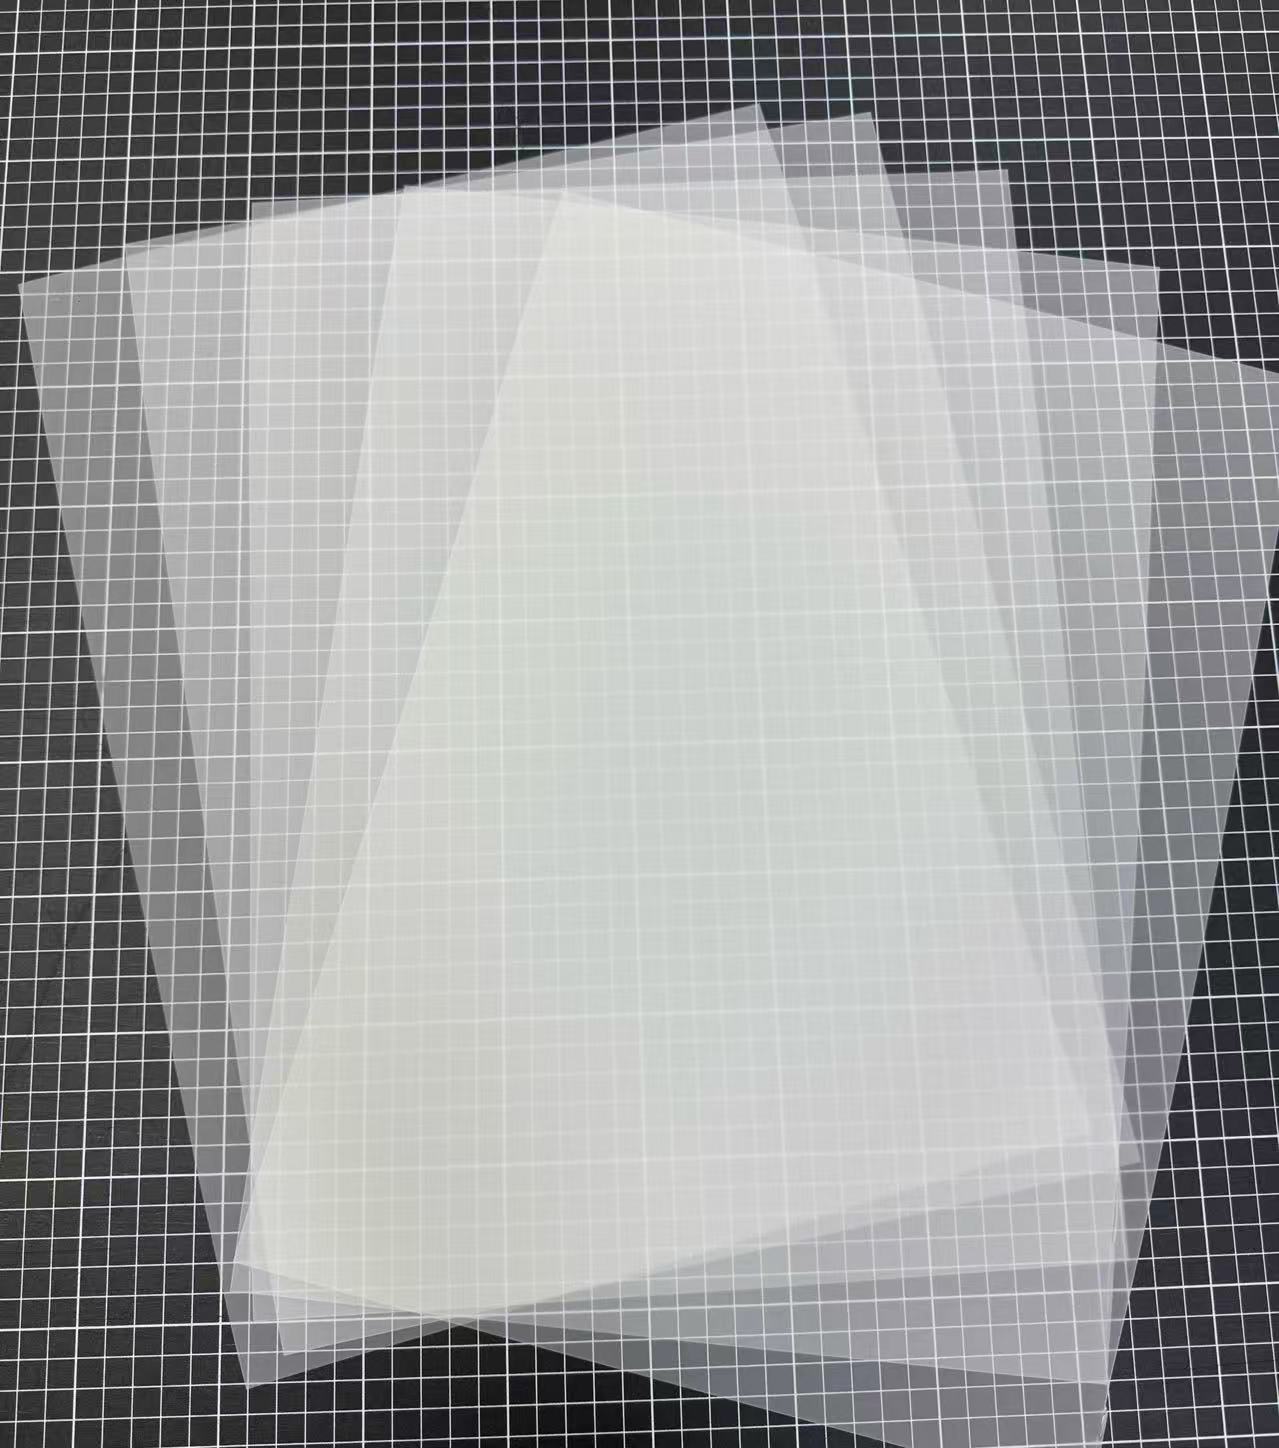
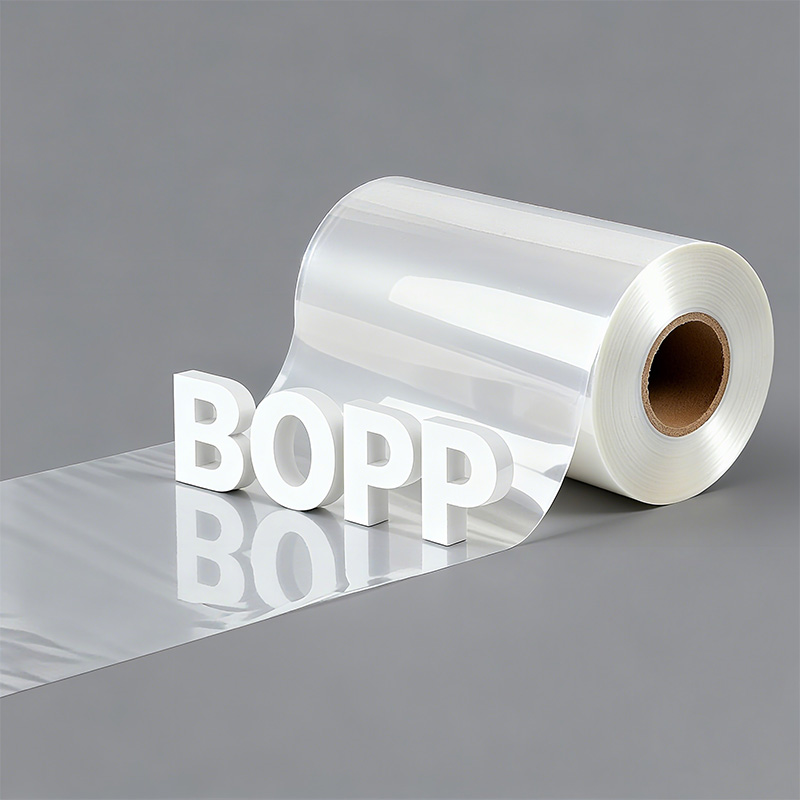
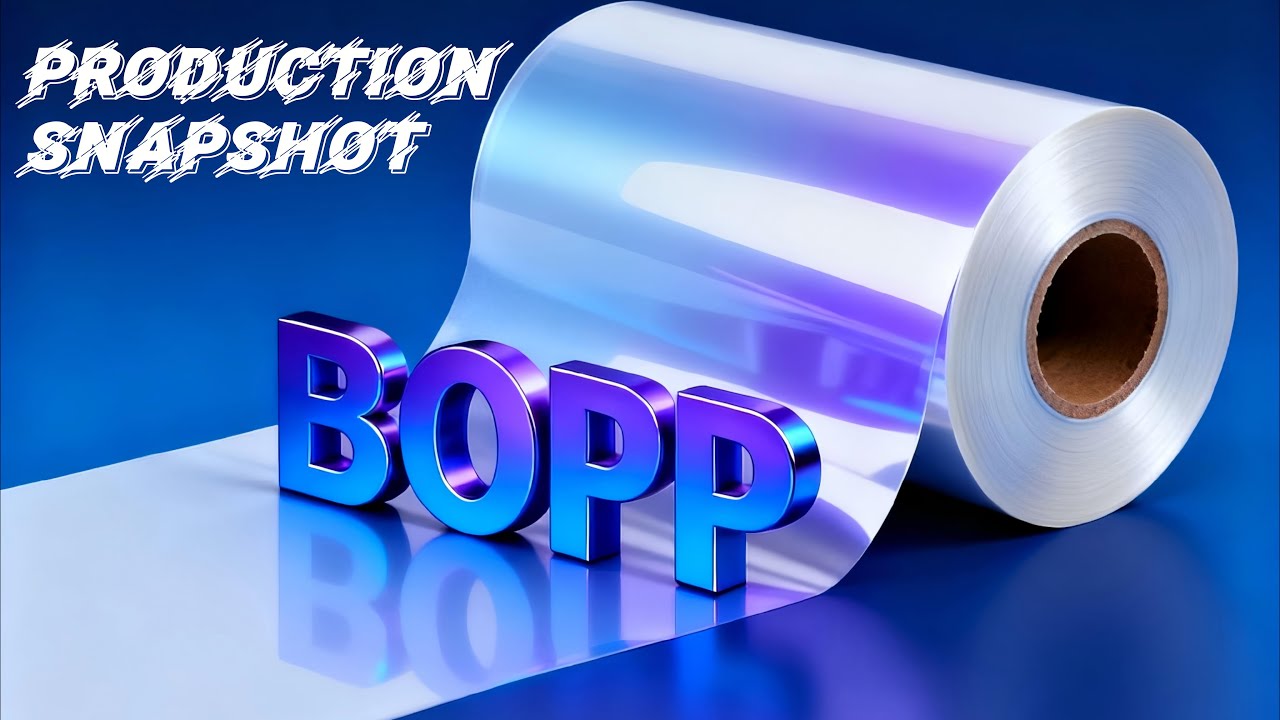
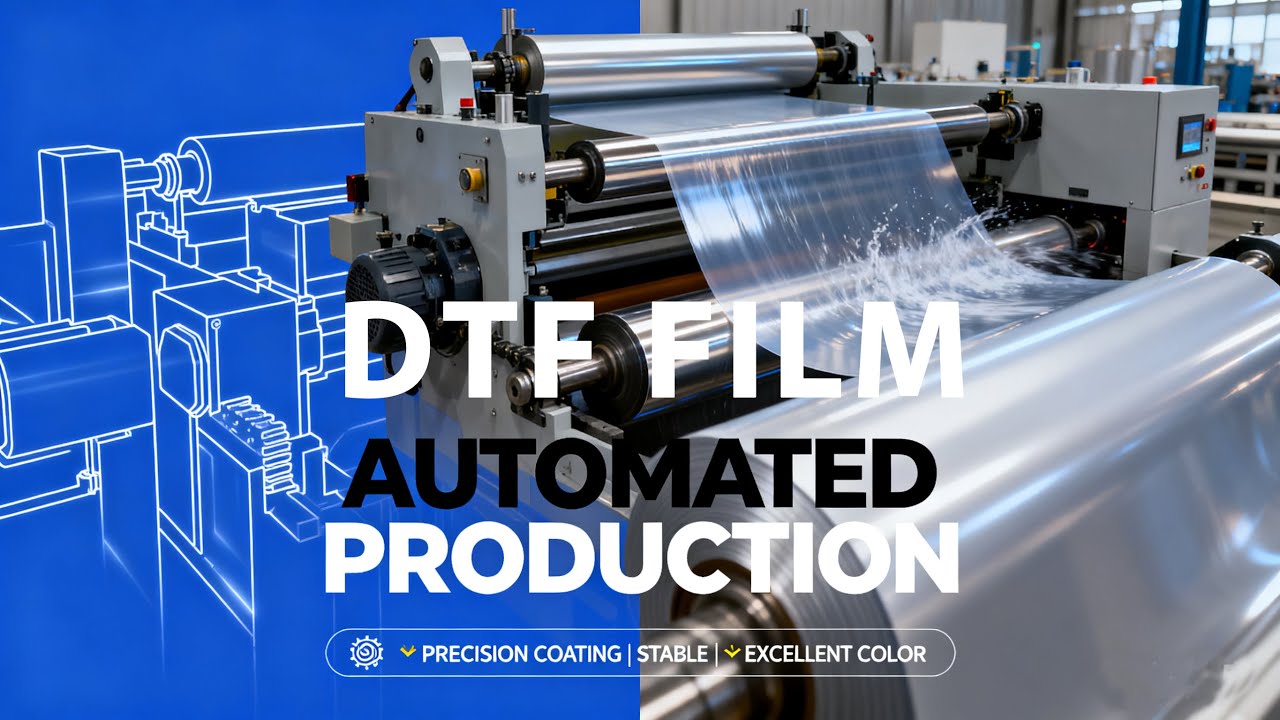
The DTF film is the carrier sheet for the printed design and adhesive. It is not just any transparent sheet; it has a special coating that accepts and releases the DTF ink. For larger projects, a dtf film 13x19 sheet provides ample space for multiple or oversized designs. Films primarily come in two types: hot peel and cold peel. The choice impacts both production speed and the final feel of the design.
| Feature | Hot Peel | Cold Peel |
|---|---|---|
| Description | Peel immediately while hot | Requires cooling completely before peeling |
| Pros | High-speed production, vibrant colors | Stronger adhesion, better durability |
| Cons | Risk of smudging if peeled improperly | Slows down production due to cooling time |
A dedicated DTF printer is essential. These machines are engineered to handle the film and specialized inks. DTF printers use a CMYK and White (CMYK+W) ink set. The printer first applies the color layer of the design. It then prints a layer of white ink on top. This white base ensures the colors appear vibrant and opaque, even on dark-colored fabrics.
The adhesive powder is the magic that binds the ink to the garment. This material is a finely ground polyurethane resin. It is specifically a Thermoplastic Polyurethane (TPU) hot melt adhesive powder. This powder sticks only to the wet ink on the film, not the unprinted areas.
Pro Tip: The use of Thermoplastic Polyurethane (TPU) is critical. Unlike other materials, TPU can be repeatedly melted and solidified. It has a predictable melting range of 110–120°C (280–290°F), ensuring a consistent cure. This property gives the final transfer high elasticity and a soft feel, making it durable through many washes without becoming stiff.
Creators use two key pieces of equipment for the final stages: a curing oven and a heat press. A dedicated curing oven is a specialized unit designed to melt the adhesive powder at a consistent temperature. This controlled environment ensures the entire design cures evenly, creating a uniform adhesive layer ready for pressing.
The heat press is the machine that permanently bonds the transfer to the garment. A quality heat press provides precise control over three critical variables: temperature, time, and pressure. This control is essential for a successful application. Clamshell and swing-away models are the most common types. Each offers a different workflow for placing and pressing the transfers.
Workflow Tip: Many beginners use their heat press for curing. They achieve this by hovering the top platen about an inch above the powdered film without making contact. This melts the powder before the final press.
The versatility of DTF printing allows creators to work with a vast array of fabrics, far beyond simple cotton or polyester blends. The process is compatible with many materials, which significantly expands creative possibilities. The smooth surface and heat tolerance of a fabric are the primary factors for a successful transfer.
DTF printing opens the door to applying graphics on premium and specialty textiles. Some of the most popular alternative materials include:
Nylon: Excellent for outerwear and activewear, though it requires careful temperature management.
Denim: A robust and popular choice for custom jackets and jeans.
Leather and Faux Leather: Creates durable, vibrant designs on accessories like hats, bags, and patches.
Silk and Rayon: Delicate fabrics that can be decorated using lower heat press temperatures to preserve their texture.
This wide compatibility allows a print shop to produce everything from high-fashion pieces on silk to durable logos on leather goods.
A high-quality final product begins with a properly prepared digital file. The artwork is the foundation of the entire DTF process. Creators must pay close attention to software, canvas setup, and technical specifications to ensure the printed transfer matches their digital vision.
Professional design software is essential for creating print-ready artwork. Programs like Adobe Illustrator, Photoshop, and CorelDRAW are industry standards. Illustrator and CorelDRAW are vector-based, meaning they use mathematical equations to create graphics. This allows designs to be scaled to any size without losing quality. Photoshop is a raster-based program that works with pixels. It is excellent for editing photos and creating complex, textured graphics.
Design Tip: For logos and text, vector software is often the superior choice. For photographic or highly detailed images, a raster program is more suitable. Many designers use both to achieve the best results.
Correct document setup prevents printing errors and wasted materials. When creating a new file, designers should set the canvas dimensions precisely to 13 inches wide by 19 inches high. It is also wise to leave a small margin of about 0.25 inches on all sides. This empty space ensures the printer's rollers do not interfere with the ink, which could cause smudging. Gang sheeting, or arranging multiple designs on one canvas, is an effective way to maximize the use of a 13x19 film sheet.
Resolution and color accuracy are critical for a professional print. For the best results, all artwork should have a minimum resolution of 300 DPI (Dots Per Inch) at the final print size. Lower resolutions can cause the final print to appear pixelated or blurry. Files should also be saved with a transparent background, typically in a PNG format.
Achieving accurate color depends on using the correct ICC profile. Since every setup is unique, a universal profile does not exist. The printer model, inks, film, and even room humidity affect color output. Creators have several options for color management:
Start With Generic ICC Profiles. Most RIP software or design applications include basic profiles that provide a good starting point.
Manually Adjust Color Balance. A designer can use tools in Photoshop to fine-tune colors based on test prints.
Use a Hardware Profiler. For ultimate accuracy, a device like an X-Rite ColorMunki creates a custom profile tailored specifically to a user's unique equipment and materials.
With a print-ready design, the next phase is transferring the digital file onto the physical film. This step requires careful printer configuration and precise handling of the materials to produce a flawless base for the adhesive powder.
Success in DTF printing heavily relies on specialized Raster Image Processor (RIP) software. This software gives the user control over critical print settings that standard printer drivers lack. The user must configure the ink density to ensure vibrant colors without oversaturation. The RIP software also automatically generates the essential white ink underbase, which it prints on top of the CMYK color layer. This white layer is what makes the design opaque and pop on any color garment.
Before printing, a creator must identify the printable side of the dtf film 13x19. This side has a special coating and typically feels slightly rougher or tackier than the non-print side. Loading the film incorrectly will result in the ink beading up and failing to adhere. Film curling or jamming is a common issue that can ruin a print.
Pro Tip: Creators can prevent these issues by taking a few precautions:
Store film flat in its original packaging in a dry, climate-controlled room.
Allow the film to acclimate to room temperature before opening the package.
Handle the film with clean gloves to avoid transferring oils to the surface.
Use a film holder or guide to keep the sheet stable as it feeds into the printer.
Once loaded correctly, the user can send the file to print from the RIP software.
The ink on a freshly printed dtf film 13x19 is wet and extremely delicate. Any contact will cause smudging and ruin the transfer. The creator must move the printed sheet from the printer to a powdering station with extreme care, holding it only by the edges.
To prevent defects, it is best to apply powder immediately. If prints need to be stored temporarily before powdering, proper handling is essential.
Place printed sheets on clean, flat trays or shelves.
Ensure the wet ink areas of stacked sheets do not touch.
Avoid bending or folding the film, as this can cause the ink to crack or separate.
Never touch the printed surface with bare hands; always use gloves.
The freshly printed film is now ready for the adhesive layer. This step transforms the wet ink into a transferable graphic by bonding it with a specialized hot-melt powder. Proper application is essential for the design's durability and final feel on the garment.
The most common manual technique for applying powder is often called the "shake and bake" method. A creator places the printed dtf film 13x19, ink-side up, inside a shallow bin or tray. They then generously pour the adhesive powder over the entire design, ensuring complete coverage. The next step involves gently rocking the bin back and forth. This motion allows the powder to stick to all areas of the wet ink.
Safety Note: ⚠️ DTF adhesive powder is a fine particulate. Always work in a well-ventilated area and wear a mask to avoid inhaling the powder.
An even layer of powder is critical for a uniform transfer. Clumps or bare spots in the powder will result in an inconsistent, flawed press. While the manual method works, automated systems offer superior consistency and a cleaner workflow. These machines provide controlled, even distribution for professional results.
Some popular automated solutions include:
Schulze DTF Sheet Adhesive Applicator: This tabletop unit offers enclosed dust control and adjustable holders for film up to 16” x 20”. Its angled tray design helps coat sheets evenly.
DTFLINE 13" Powder Application and Curing Machine: This is an all-in-one machine designed for 13-inch wide films. It automates both the powdering and curing stages, streamlining production.
Once the ink is fully coated, the creator must remove all excess powder. Only the powder adhered to the ink should remain on the film. The user can achieve this by holding the film by its edges and gently tapping or flicking the back of it. This action dislodges any loose particles. For intricate designs, a light puff of compressed air can help clear out small, detailed areas. The film should look clean, with powder only visible on the printed graphic. The transfer is now ready for the curing stage.
After applying the adhesive, the next critical step is curing. This process melts the powder, fusing it with the wet ink to create a durable, ready-to-press graphic. A properly cured transfer is the key to a design that lasts.
Curing is the process of heating the powdered transfer to transform it from a loose powder into a solid, flexible adhesive layer. This heat-driven process serves two essential functions:
Activating the Adhesive: Heat liquefies the hot-melt powder. This allows it to fully encapsulate the ink particles.
Bonding Ink and Adhesive: The melting powder fuses directly with the ink layer. This creates a single, unified transfer sheet.
Indicator of Success: A properly cured transfer will have a glossy, slightly bumpy finish that resembles an orange peel texture. This indicates the powder has melted completely and bonded correctly with the ink.
A dedicated curing oven provides the most consistent results. These units maintain a stable temperature, ensuring the entire design cures evenly. A creator places the powdered film inside the preheated oven. The ideal settings can vary based on the amount of ink on the design.
| Ink Coverage | Temperature | Time |
|---|---|---|
| Minimal Designs | 90°C (194°F) | 30 seconds |
| Standard Designs | 110°C (230°F) | 2-3 minutes |
| Full Coverage | 115°C (239°F) | 3.5-4.5 minutes |
For general use, a temperature around 315-320°F (157-160°C) for 30-60 seconds is a reliable starting point.
Many beginners use their heat press for curing. This method involves hovering the top platen over the transfer without making contact. A user adjusts the press so the heated plate sits about an inch above the powdered film. This technique is efficient but demands careful attention to avoid scorching the film or melting the powder unevenly. The goal is to use the radiant heat from the platen to melt the powder into that signature orange peel texture before moving to the final pressing stage.
With a perfectly cured transfer in hand, the final step is to permanently bond the design to the garment. This heat pressing stage is where the digital artwork becomes a wearable reality. Precision in time, temperature, and pressure is paramount for a durable, professional-quality finish.
Before placing the transfer, a creator must prepare the fabric itself. This is accomplished by pre-pressing the garment for 3-5 seconds. This quick step is not optional; it is a critical quality control measure. Pre-pressing conditions the fabric for optimal adhesion.
The primary benefits of this action include:
Moisture Removal: Fabrics, especially natural fibers like cotton, absorb moisture from the air. Heat from the press turns this moisture into steam, which can interfere with the adhesive and cause the transfer to fail. Pre-pressing evaporates this moisture.
Wrinkle Elimination: It smooths out any wrinkles or creases in the application area. This creates a perfectly flat surface, ensuring the transfer makes even contact with the fabric.
Improved Adhesion: A dry, smooth surface allows the DTF adhesive to bond directly and securely to the fabric fibers. This significantly reduces the risk of the design peeling, cracking, or fading after washing.
Accurate placement separates an amateur product from a professional one. A centered, level design is visually appealing and meets customer expectations. Creators use several techniques to achieve consistent alignment. A common starting point is to gently fold the dtf film 13x19 in half to create a faint crease at its vertical midpoint. This crease serves as a guide.
Here are several popular methods for positioning a transfer:
The Four-Finger Technique: This is a fast and simple method for standard chest placements.
Lay the garment flat on the heat press.
Place four fingers together just below the collar's edge.
Align the top of the DTF transfer with the bottom of the fourth finger. This typically positions the design about 3 inches down from the neckline.
Use the film's center crease to align it with the shirt's center.
Ruler and Tape Methods: For greater precision, simple tools offer excellent results.
Ruler Method: A creator can place a ruler on the garment to measure the exact distance from the collar and armpit seams, ensuring the design is perfectly centered and level.
Tape Marker: Placing a small piece of heat-resistant tape at the center point of the heat press platen provides a consistent visual guide for every shirt in a batch.
Advanced Alignment Systems: For high-volume production, laser or magnet systems increase speed and accuracy.
Laser Guides: A laser alignment system projects a bright line onto the platen, providing an exact centerline for quick and flawless placement.
Magnet Guides: A creator can place a small, powerful magnet underneath the platen cover. The transfer's center crease can then be aligned directly over the subtle bump created by the magnet.
Pro Tip: Once the transfer is in the desired position, use two or three small pieces of heat-resistant tape to secure it to the garment. This prevents the film from shifting when the heat press is closed.
The success of the final press depends on the perfect balance of three variables: temperature, time, and pressure. These settings vary based on the fabric type. Incorrect settings can lead to a poorly adhered transfer or, in a worst-case scenario, a scorched garment.
For 100% cotton, a common material for DTF, the recommended settings are a temperature between 315-350°F (157-177°C) and a pressing time of 12-15 seconds.
Pressure is the final key element. The right amount of pressure ensures the melted adhesive is pushed firmly into the fabric's weave. Pressure is typically described as light, medium, or firm. For pneumatic or automatic presses, this corresponds to a specific PSI (Pounds per Square Inch) setting.
| Fabric Type | Pressure Level | Pressure Setting (PSI) |
|---|---|---|
| Thin Fabrics (Polyester, Silk) | Light | 25-35 |
| Most Cotton & Blends | Medium | 40-50 |
| Thick Garments (Hoodies) | Firm | 55-65 |
Always cover the transfer with a Teflon sheet or parchment paper before pressing. This protects the garment from direct heat and ensures a clean release.
After the heat press cycle completes, the creator faces a critical choice that defines the final texture, durability, and even the production workflow: whether to perform a hot peel or a cold peel. The terms refer to the temperature of the transfer film when it is removed from the garment. This single decision has significant implications for the finished product.
A hot peel is exactly what it sounds like. The creator removes the DTF film immediately after the heat press opens, while the garment and transfer are still extremely hot. This method is popular for its efficiency. The adhesive bonds with the fabric while in a molten state, and the immediate removal allows for faster production cycles. This makes hot peel a go-to choice for high-volume orders where speed is a priority.
A cold peel, conversely, requires patience. After pressing, the creator must set the garment aside and allow it to cool down completely to room temperature. Only then can the film be removed. This waiting period allows the adhesive to fully set and cure into the fabric's fibers, creating a significantly stronger bond.
Pro Tip: To check if a cold peel transfer is ready, a creator can place the back of their hand on the film. If it feels even slightly warm, they should wait longer. Peeling too soon can ruin the transfer.
The choice between these methods often comes down to the project's specific needs. Cold peel transfers offer several distinct advantages, especially when quality and longevity are the primary goals.
Superior Durability: Cold peel creates a more robust bond with the fabric. This makes the design highly resistant to peeling, cracking, and fading, even through repeated wash cycles.
Exceptional Detail Retention: The cooling process is ideal for preserving fine lines, small text, and intricate patterns. The adhesive sets perfectly before removal, preventing delicate parts of the design from lifting prematurely.
Wider Fabric Versatility: This method performs exceptionally well on a broad range of materials, including textured or heat-sensitive fabrics like canvas and certain synthetics.
The following table provides a clear comparison of the final outcomes:
| Feature | Hot Peel | Cold Peel |
|---|---|---|
| Durability | Moderate | Superior (better for frequent washing) |
| Design Detail | Good for bold graphics | Excellent for fine, intricate patterns |
| Fabric Versatility | Best for standard materials | Wider range of adaptable fabrics |
| Application Complexity | Simpler, faster | Requires more patience and care |
The procedural differences extend beyond just the timing of the peel. Each method uses films with different release layer properties and may require slightly different press settings.
| Feature | Hot Peel DTF | Cold Peel DTF |
|---|---|---|
| Release Layer | Becomes more adhesive when hot | Stays inert when heated, lower bond |
| Application Temp | ~330-375°F (165-190°C) | ~320-350°F (160-177°C) |
| Pressing Time | ~15 seconds | 10-15 seconds |
| Peeling Time | Immediately after pressing | After cooling completely |
Ultimately, a creator selects the peel method based on the job's demands. For rapid production of simple, bold designs on standard fabrics, hot peel is an efficient choice. For premium garments, detailed graphics, or when maximum durability is non-negotiable, the patience required for a cold peel delivers a demonstrably superior result.
Even with a perfect process, beginners often encounter a few common issues. These problems can be frustrating, but they are almost always fixable. Understanding the root cause is the first step toward producing flawless custom garments every time.
A creator may notice that the colors on their final print appear faded or do not match the digital artwork on their screen. This color inaccuracy is a frequent challenge with several potential causes. A systematic check can quickly identify the problem.
Inaccurate Color Profile: The RIP software may lack the correct ICC profile for the specific ink, film, and printer combination, causing a mismatch between screen and print.
Ink Problems: Using low-quality inks or different brands together can lead to unpredictable color shifts. A creator should always shake ink bottles before use.
Wrong Print Settings: Incorrect resolution or ink volume settings in the RIP software can result in muddy or washed-out prints.
Environmental Effect: High humidity and temperature swings in the print room can affect how the ink dries, altering its final appearance.
Blotchy transfers with inconsistent texture are a clear sign of uneven powder adhesion. This problem almost always points to one culprit: humidity. The fine adhesive powder readily absorbs moisture from the air, causing it to clump together. This prevents it from flowing smoothly and coating the wet ink evenly.
Pro Tip: A creator can use a simple hygrometer to monitor the workspace. Keeping the room's relative humidity between 55% and 65% is ideal for consistent results.
| Effect of High Humidity | Professional Solution |
|---|---|
| Powder clumps and flows poorly | Maintain stable room humidity with a dehumidifier. |
| Causes weak or uneven adhesion | Store powder in airtight containers with silica gel packets. |
| Results in poor print quality | Sieve clumped powder through a fine mesh before application. |
The most common beginner failure is a transfer that lifts, peels, or refuses to stick to the garment. This issue typically originates from the heat pressing stage. A successful bond depends on a precise combination of factors.
Insufficient Pressure: The heat press must apply firm, even pressure. Without it, the melted adhesive cannot penetrate the fabric's fibers, resulting in a weak surface-level bond.
Incorrect Temperature: A platen that is too cool will not fully melt the adhesive. Conversely, excessive heat can scorch the adhesive, rendering it useless.
Unprepared Fabric: Skipping the 3-5 second pre-press is a critical error. This step removes moisture and wrinkles, both of which can block adhesion.
Peeling the Film Too Early: For cold peel films, the creator must wait until the garment is completely cool to the touch. Peeling while it is still warm will cause the design to lift with the film.
A creator's worst nightmare is seeing a perfectly pressed design crack and peel after only a few washes. This failure undermines the product's quality and the brand's reputation. A properly executed DTF transfer is remarkably durable and should withstand 50 or more wash cycles. When a design fails prematurely, the cause almost always traces back to a flaw in the curing or pressing process.
The most common reason for cracking is improper curing. If the adhesive powder is under-cured, it does not fully melt and bond with the ink. This creates a brittle layer that cannot handle the stretching and agitation of a washing machine. Conversely, over-curing can scorch the adhesive, making it fragile and prone to breaking apart. The goal is a complete, even melt without overheating the materials.
Another frequent cause is incorrect heat press application. Insufficient pressure prevents the melted adhesive from being pushed deep into the fabric's fibers. This results in a weak surface bond that easily breaks when the garment is washed. Using the wrong temperature or time for a specific fabric can also create a faulty application.
Industry Insight: 🧪 Professional apparel decorators rely on standardized testing to validate durability. The American Association of Textile Chemists and Colorists (AATCC) provides rigorous procedures for this. Key standards include:
AATCC LP1, Home Laundering: Machine Washing
AATCC EP1, Gray Scale for Color Change
AATCC EP5, Fabric Hand
These tests measure how well a print holds up to fading, cracking, and changes in texture, ensuring a product meets commercial quality standards.
To prevent cracking, a creator must focus on process control. They should ensure the cured transfer has a consistent "orange peel" texture, indicating a perfect melt. During the final application, they must use firm pressure and the correct time and temperature settings for the specific garment. Investing in high-quality powder and film also provides a more flexible, durable foundation that resists wear and tear.
A creator now possesses the complete walkthrough for turning a digital design into wearable art. This guide details the entire process for using dtf film 13x19. Success hinges on mastering a precise workflow.
The Core Process: Print ➡️ Powder ➡️ Cure ➡️ Press
Consistent practice with these fundamental steps builds the confidence needed to produce professional-quality custom apparel. Creators can now begin their journey into mastering this versatile decoration method and expanding their creative potential.
A creator cannot use a standard office printer. DTF requires a specialized printer capable of handling textile inks and printing a white ink layer. These printers have specific modifications for film transport and ink circulation to prevent clogging and ensure proper printing.
DTF prints designs onto a film, which is then heat-pressed onto a garment. Direct-to-Garment (DTG) printing applies ink directly to the fabric. DTF offers greater versatility, working on cotton, polyester, and blends, while DTG is best suited for cotton.
A high-quality DTF transfer exhibits excellent durability. When applied correctly, the design can withstand 50 or more wash cycles. Its longevity often surpasses other print methods, maintaining color and integrity without cracking or peeling, making it a commercially viable decoration technique.
A final press for 5-10 seconds after peeling improves the transfer's feel and durability. This step pushes the ink further into the fabric's fibers. It creates a softer, less plastic-like texture and enhances the bond, increasing wash resistance for a premium finish.
Select the most popular foreign trade service products to meet your diverse needs
Select the most popular foreign trade service products to meet your diverse needs

Tel: +86 17706217416
Add: Building L2A, No. 520, Lane 1588, Zhuguang Road, Hongqiao World Center, Qingpu District, Shanghai, China


User Comments
Service Experience Sharing from Real Customers
Michael Rodriguez
Graphic DesignerThe print quality on this 13x19 DTF film is exceptional. Colors are vibrant and transfers are incredibly durable, even after multiple washes. It's become my go-to for client projects.
Sarah Chen
Small Business OwnerPerfect for my custom t-shirt shop. The 13x19 size is versatile for most designs, and the film feeds reliably through my printer. Minor learning curve with temperature settings, but results are professional.
David Park
Print Shop TechnicianConsistent performance batch after batch. The film's adhesion and clarity are top-notch, reducing waste and reprints. Highly recommend for high-volume production environments.
Jessica Williams
Art TeacherUsed these for a school club fundraiser. The students' designs transferred beautifully onto cotton bags. The film is easy to handle and made the process smooth for beginners.