


DTF Printing vs. Sublimation Printing: Choosing the Right Method
When it comes to transferring designs onto objects...
More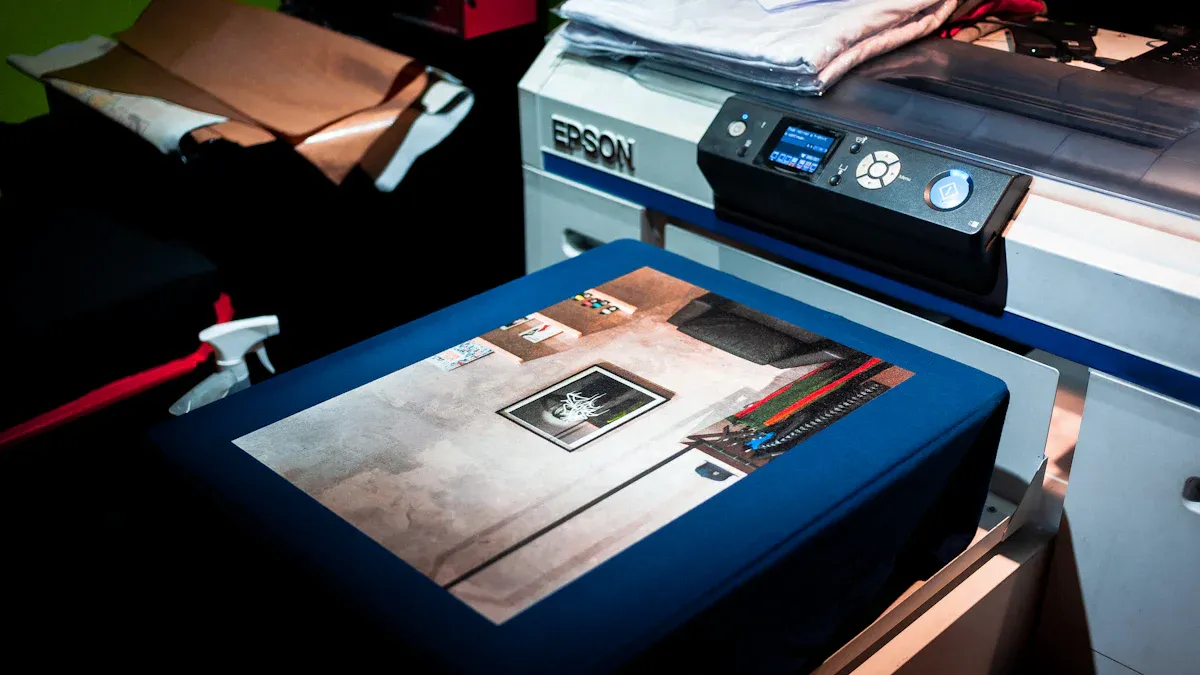
The Direct-to-Film printing industry shows remarkable growth. Projections indicate a significant market expansion.
| Metric | Value |
|---|---|
| Projected Market Size (2025) | USD 2.68 billion |
| Compound Annual Growth Rate (CAGR) | 6.70% |
A perfect dtf transfer film application follows a three-step process: Print, Powder, and Press. Success demands precise temperature control and even pressure. Operators must use the correct adhesive powder and film to achieve durable, vibrant results on every garment.
Successful DTF printing needs three main steps: print, powder, and press. Each step needs careful attention to temperature and pressure.
Use the right tools like a DTF printer, curing oven, and heat press. Also, pick the correct inks, powders, and film for the best results.
Follow a five-step process: design, powder, cure, press, and peel. This ensures your prints are bright, strong, and last a long time.
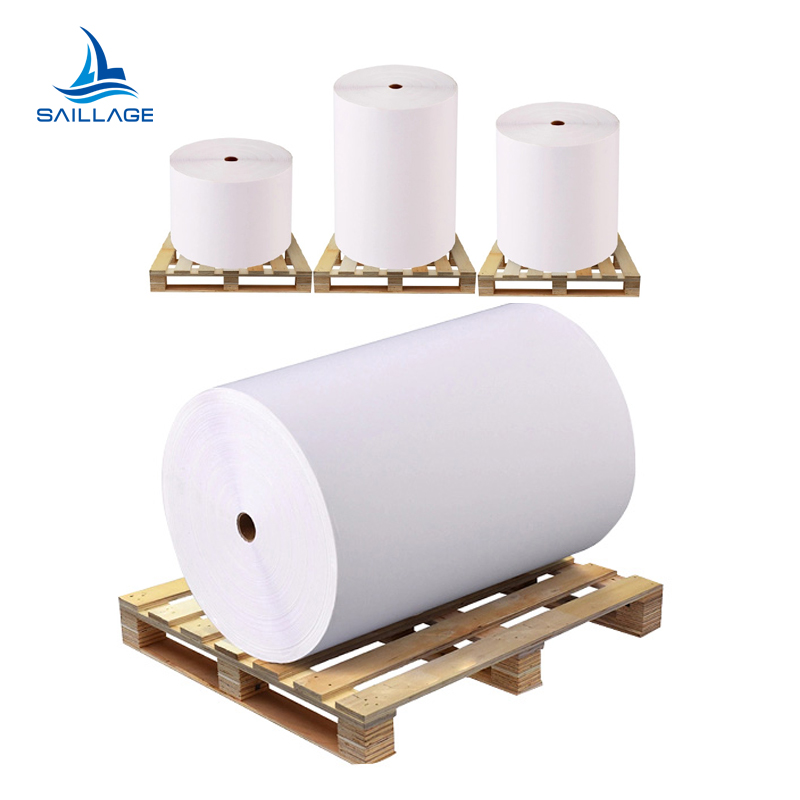
Assembling the right tools and materials is the foundation of a successful DTF operation. Operators need specific equipment and consumables to produce high-quality, durable prints. Proper setup ensures efficiency and safety.
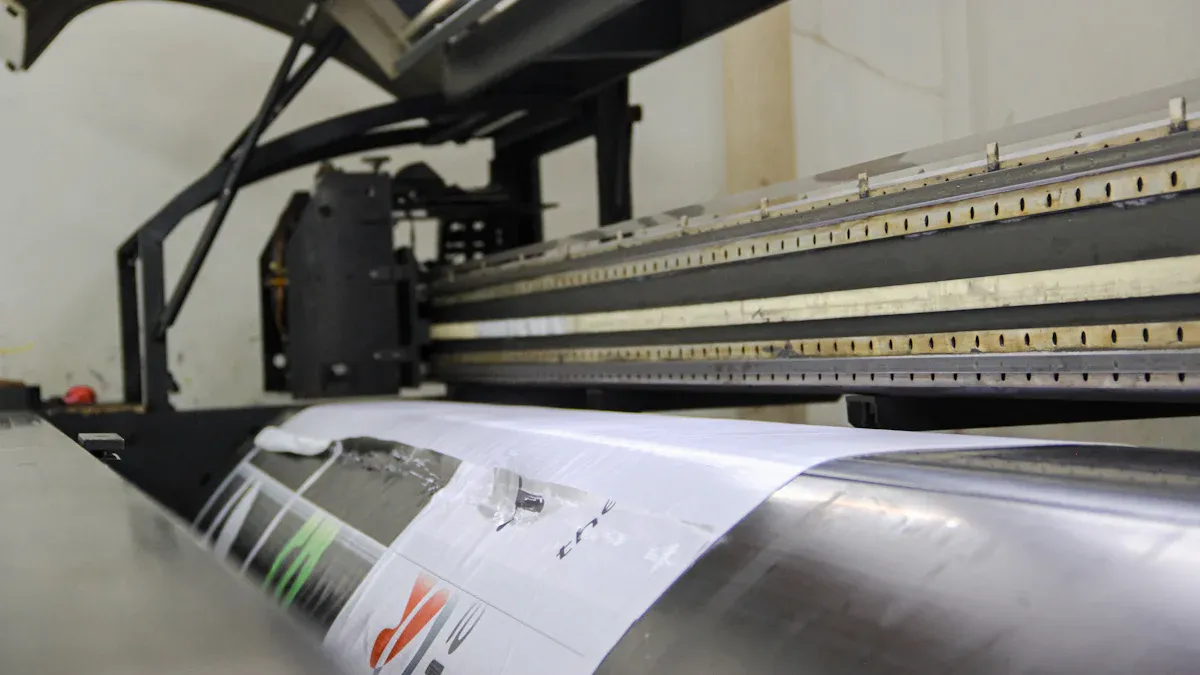
Professional DTF printing requires a few key pieces of machinery. The DTF printer is the most critical component. Many models cater to different business sizes and production volumes.
| Printer Model | Key Features & Benefits |
|---|---|
| Epson SureColor F2100 | Integrated DTG/DTF capabilities, user-friendly. |
| Brother GTX Pro Bulk | High-speed production, large ink capacity. |
| DTF PRO Panther 16 | Compact and affordable, great for startups. |
After printing, a curing oven or a heat press with hovering capability is necessary to melt the adhesive powder. Finally, a quality heat press applies the design to the garment with consistent heat and pressure.
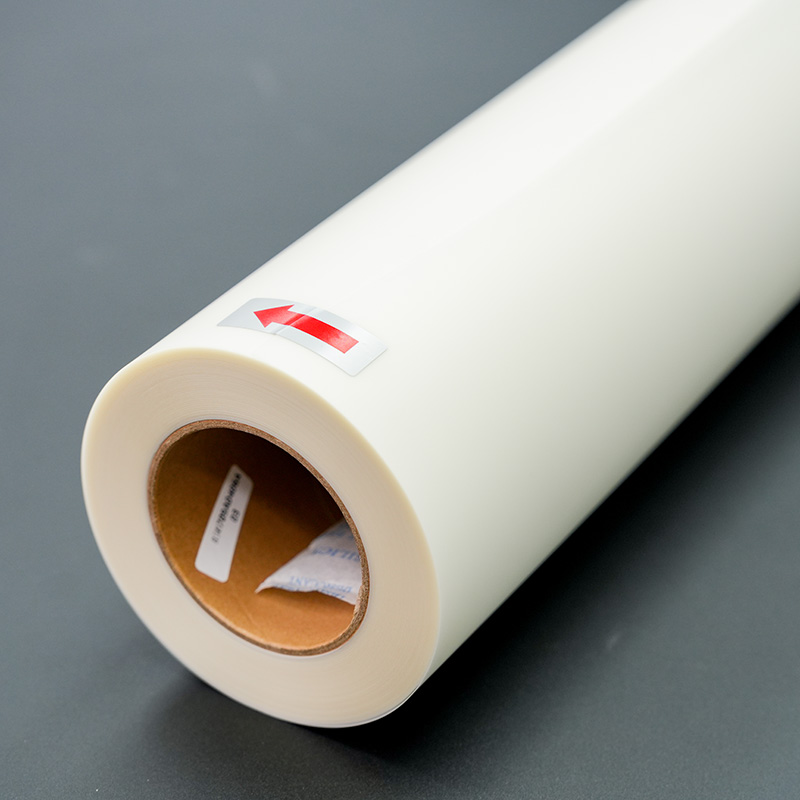
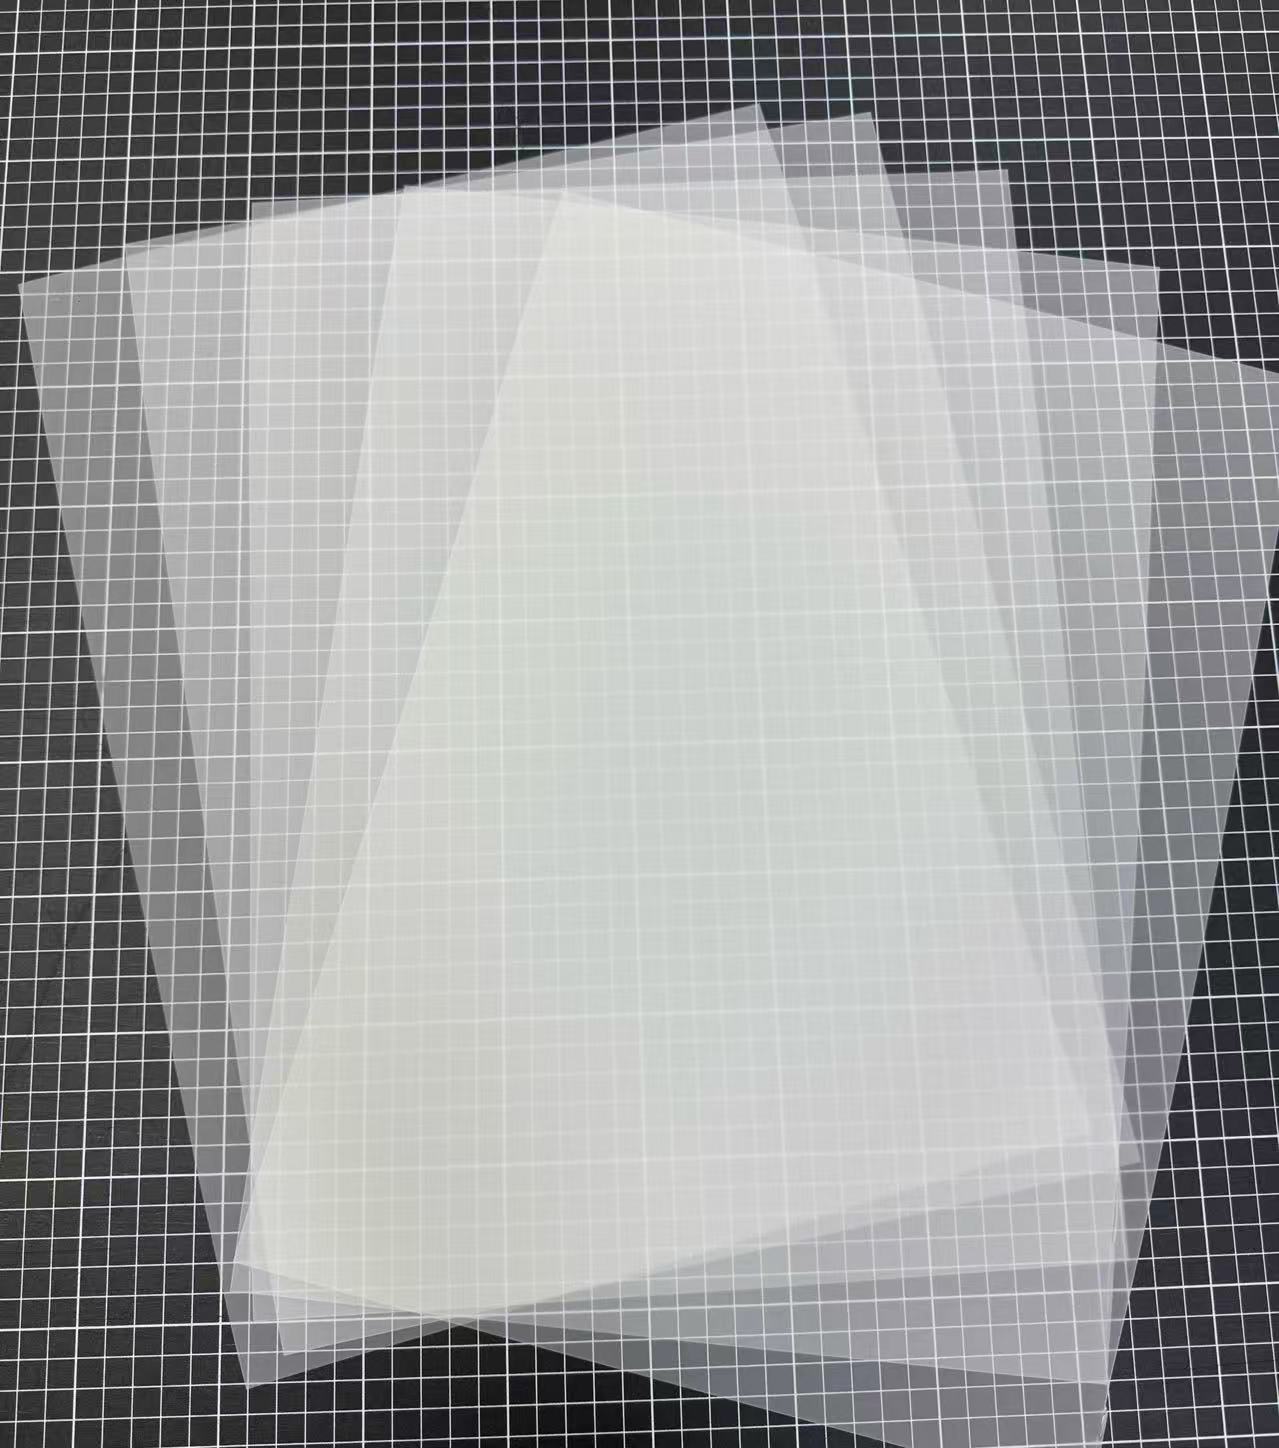
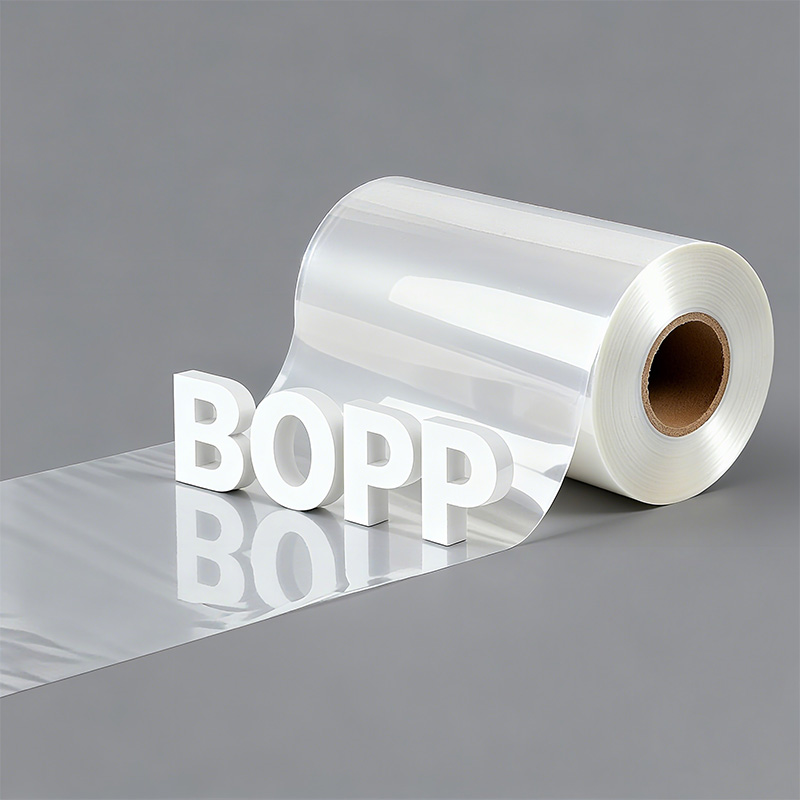
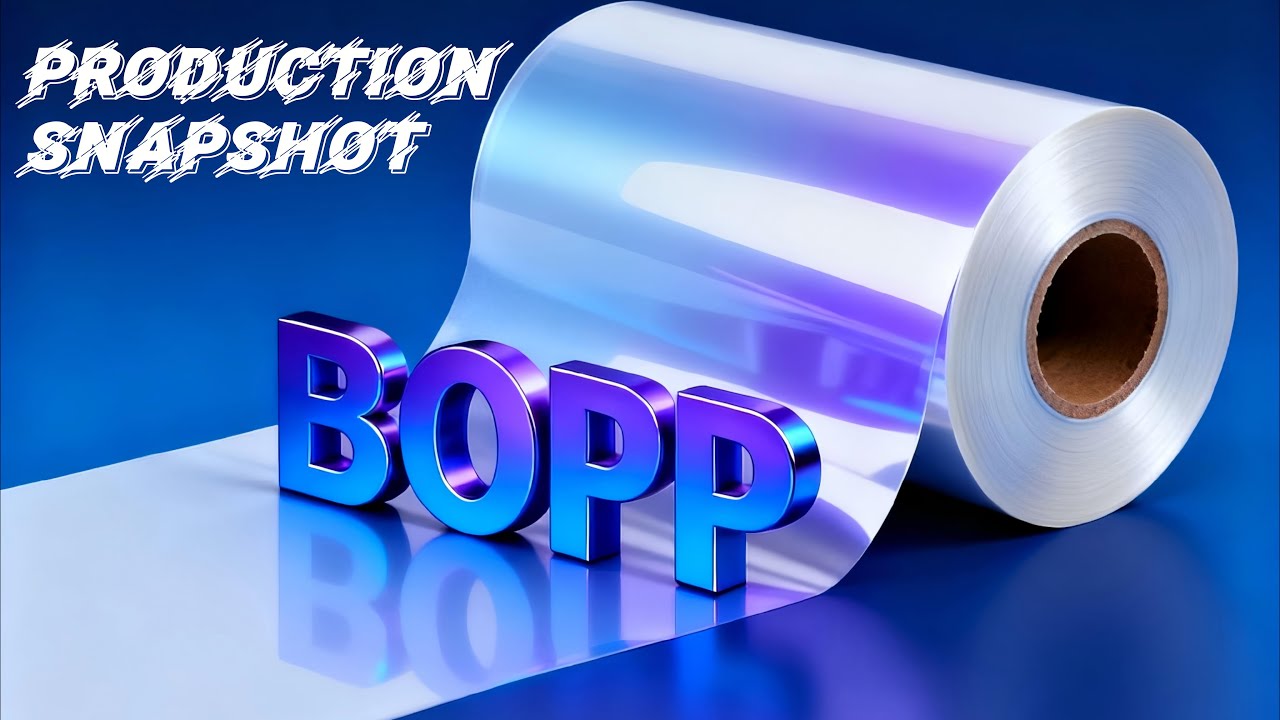
Operators must select the correct consumables for optimal results. These include DTF inks, adhesive powders, and the dtf transfer film itself. The choice between film types impacts the production workflow.
| Consideration | Cold Peel Film | Hot Peel Film |
|---|---|---|
| Process | Peel after the transfer cools completely. | Peel immediately while the transfer is hot. |
| Best For | Detailed designs requiring sharp quality. | High-volume orders needing speed. |
Adhesive powders, such as TPU (Thermoplastic Polyurethane), provide flexibility, while others offer rigidity. The powder choice depends on the fabric and desired finish.
A well-organized and safe workspace is non-negotiable. The curing process releases fumes, making proper airflow essential for operator safety.
Safety Note 📝 Always ensure proper ventilation in the workspace. An exhaust system is highly recommended during the powder curing stage to safely disperse fumes and maintain air quality.
Operators should also use heat-resistant gloves when handling hot equipment or garments. Safety glasses protect the eyes from any potential splashes or debris.

Executing a flawless DTF application requires precision at every stage. This guide breaks down the process into five manageable steps, from digital design to the final finished garment. Following these procedures ensures operators can consistently produce vibrant, durable, and professional-quality apparel.
The process begins with a high-quality digital design. Operators should create their artwork in a program that supports a wide color gamut, such as Adobe RGB, for maximum vibrancy. Once the design is ready, it is sent to the DTF printer through Raster Image Processor (RIP) software. Correct RIP settings are critical for color accuracy and print quality.
ICC Profiles: Select the correct ICC profile to interpret colors accurately and prevent shifts or over-saturation.
White Ink Base: Enable 100% white ink coverage under the color layers. This creates a solid foundation that makes colors pop, especially on dark fabrics.
Ink Density: Adjust the color ink density to a range of 85%–90%. This setting provides balanced opacity and prevents smudging.
Resolution: Set the print resolution to at least 1440x720 DPI for sharp details and excellent color depth.
Maintaining consistent white ink density is also crucial for bright results. Some advanced printers feature integrated systems for circulation, stirring, and cleaning to ensure smooth prints and reduce maintenance. Operators should always use high-quality white inks formulated for DTF to avoid pigment settling, which can lead to clogs.
Pro Tip 💡 Operators must recognize the early warning signs of clogs, like small gaps in nozzle checks or banding. Addressing these issues immediately with a cleaning cycle prevents complete blockages and maintains print quality.
After printing onto the dtf transfer film, the wet ink requires an application of adhesive powder. The powder sticks only to the printed areas, creating the bonding layer that will adhere the design to the fabric. Operators can apply powder manually or use an automated shaker.
| Feature | Manual Powdering | Automated Shaker & Oven |
|---|---|---|
| Initial Cost | Lower (no extra machines) | Higher (integrated system) |
| Consistency | Challenging (uneven application possible) | High (even powder application) |
| Speed | Slower turnaround times | Faster production speed |
| Labor | More labor-intensive | Less manual labor |
| Scalability | Good for small runs or testing | Ideal for large batches and scaling |
Humidity significantly affects powder application because the powder is hygroscopic and absorbs moisture. High humidity causes clumping, which leads to uneven application and poor adhesion.
Maintain a workspace humidity level between 50-70%. Use a dehumidifier if necessary.
Store powder in airtight containers with silica gel packets to keep it dry.
If powder clumps, use a fine-mesh sieve to break it apart before application.
Gently tap the film after powdering to shake off any excess before curing.
Curing melts the adhesive powder, transforming it into a smooth, even layer of adhesive. This step is essential for a strong bond with the fabric. Operators can use a convection oven or a heat press in a hovering position. The key is to melt the powder without scorching the film or ink.
Curing Guide 🔥 An under-cured transfer may look shiny, feel oily, or have powder come off to the touch. An over-cured transfer often develops an "orange-peel" texture, looks glossy, or shows yellowing on the film.
The correct temperature and time depend on the equipment used.
| Curing Method | Temperature Range | Duration |
|---|---|---|
| Convection Oven | 300°F to 320°F | 3 to 5 minutes |
| Heat Press (Hover) | 270°F to 300°F | 10 to 15 seconds |
Operators should always monitor the transfer for the correct visual cues, indicating a perfect cure: a slightly textured, rubbery finish that is dry to the touch.
With the cured dtf transfer film ready, the next step is pressing it onto the garment. Proper heat, pressure, and time are vital for successful adhesion. Before placing the transfer, an operator should pre-press the garment for 10-13 seconds to remove moisture and create a smooth surface.
After pre-pressing, position the transfer on the garment and press using the appropriate settings for the fabric type.
| Fabric Type | Temperature | Time | Pressure |
|---|---|---|---|
| 100% Cotton | 320–325°F | 15 seconds | Medium |
| Polyester | ~300°F | 15 seconds | Medium |
| Blends | ~300°F | 15 seconds | Medium |
If a transfer fails to adhere properly, the cause is often related to incorrect settings or environmental factors. Operators should verify the heat press provides even heat, check pressure settings, and ensure the workspace is not overly humid.
The final step involves peeling the film away and finishing the print. The type of film—hot peel or cold peel—determines the process. Hot peel films are peeled immediately, while cold peel films require a cooling period.
Peeling Protocol ⏳ For cold peel transfers, operators must wait for the design to cool completely. A minimum 30-second cooling period is necessary to strengthen the adhesive bond and ensure a clean peel without damaging the design.
After peeling, a second press is highly recommended for most fabrics, except for some polyesters that may scorch. This final press improves durability and enhances the feel of the print.
Cover the exposed design with a finishing sheet.
Press again for 5-10 seconds.
Use parchment paper for a soft, matte finish that feels integrated with the fabric.
Use a reusable PTFE (Teflon) sheet for a shinier, satin finish.
This finishing touch locks the design into the fabric fibers, giving it a professional, retail-ready appearance and a soft-hand feel.
Consistency throughout the process is the secret to professional-grade results. Mastering these steps ensures prints can endure over 50 washes without fading or cracking, producing vibrant, long-lasting apparel.
Final Check 🔬 Always perform a test press on scrap fabric with the dtf transfer film to confirm temperature and pressure settings before starting a production run.
Operators should verify heat press temperature and pressure. Pre-pressing the garment removes moisture. Incorrect settings or fabric moisture are common causes of adhesion failure.
Wash garments inside out with cold water. Avoid bleach and fabric softeners. Tumble dry on low heat or hang dry for the best longevity and print protection.
No, standard printers lack the necessary channels for white ink. DTF requires specialized printers, inks, and RIP software to print the essential white base layer correctly.


Select the most popular foreign trade service products to meet your diverse needs
Select the most popular foreign trade service products to meet your diverse needs

Tel: +86 17706217416
Add: Building L2A, No. 520, Lane 1588, Zhuguang Road, Hongqiao World Center, Qingpu District, Shanghai, China


User Comments
Service Experience Sharing from Real Customers
Sarah Chen
Graphic DesignerThe DTF transfer film is incredibly easy to use. The colors come out vibrant and the transfer process is straightforward. Perfect for my custom t-shirt business!
Michael Rodriguez
Print Shop OwnerExcellent product for detailed designs. Learning how to use the DTF film was simple with the provided instructions. It has significantly sped up our production. One star off for the slight learning curve with temperature settings.
Jessica Williams
Small Business OwnerAs a beginner, I was worried about how to use DTF transfer film, but this product made it so simple. The results are professional-grade, and my customers love the soft feel of the prints. Highly recommended!
David Kim
Marketing ManagerWe use these DTF films for our promotional merchandise. The clarity and durability are outstanding. The guide on how to use it was clear, and we've had zero failed transfers. A game-changer for our in-house production.