


Saillage DTF Film: Solve Holiday Apparel Headaches & Boost Sales
Whether you’re drowning in Black Friday orders or ...
More
The Direct-to-Film printing market shows significant expansion, with projections indicating substantial growth.
| Metric | Details |
|---|---|
| Market Size in 2023 | USD 2.56 Billion |
| 2033 Value Projection | USD 4.57 Billion |
| CAGR (2023 - 2033) | 5.97% |
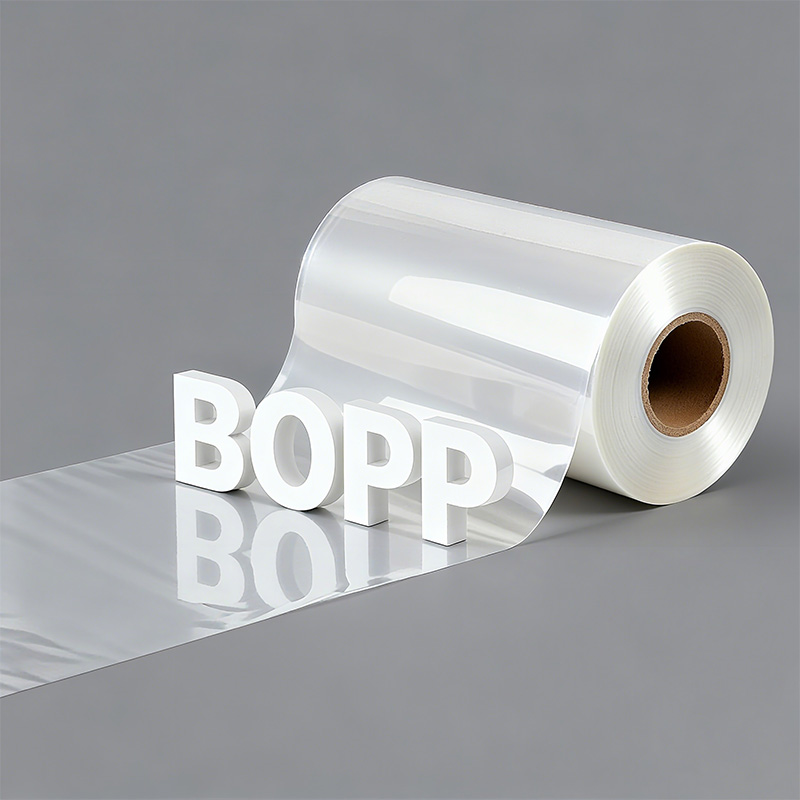
Operators using procolored dtf film sometimes encounter challenges. Finished prints may look faded, feel rough, or fail to stick to fabric. This guide offers direct solutions to common printing issues.
Check your heat press settings. Make sure the temperature, time, and pressure are correct for your fabric. This helps the transfer stick well.
Control your print room. Keep the humidity between 40% and 60%. This stops ink from bleeding and helps colors look right.
Clean your printer often. Shake white ink daily and clean printhead nozzles. This prevents clogs and keeps prints looking good.
A common frustration for operators is a DTF transfer that fails to adhere to the garment. This issue almost always traces back to the heat application process. Two main factors are responsible: incorrect heat press settings and moisture within the fabric.
The heat press is a precision tool. Incorrect temperature, time, or pressure settings will prevent the adhesive powder from properly bonding with the fabric fibers. Each variable plays a critical role in creating a durable, permanent transfer.
Operators must calibrate their heat press settings for each specific fabric type. Different materials require unique combinations of heat and time for optimal adhesion.
| Fabric Type | Temperature | Time |
|---|---|---|
| 100% Cotton | 335°F (170°C) | 10-12 seconds |
| Polyester | 320°F (160°C) | 10 seconds |
| Cotton/Poly Blends | 335°F (170°C) | 8-10 seconds |
Pressure is equally important for a successful transfer.
Too little pressure causes uneven adhesion and peeling edges.
Too much pressure can flatten the print's texture or damage the fabric.
Generally, cotton requires firm pressure (around 40-50 PSI), while polyester and blends work best with light to medium pressure (30-40 PSI).
Fabrics naturally absorb moisture from the air. When a hot press is applied to a damp garment, the trapped moisture turns into steam.
This steam creates a vapor barrier between the DTF film's adhesive and the fabric. The result is poor adhesion, bubbling, and a transfer that will likely fail after the first wash.
Every garment needs a pre-press before the DTF transfer is applied. This simple action removes residual moisture and smooths out wrinkles that interfere with the application. Place the garment on the heat press and press it for 3 to 7 seconds. This step ensures a dry, flat surface, which is essential for the adhesive to bond correctly and create a professional, long-lasting print.
Operators often find that the vibrant colors on their screen do not translate to the final garment. The printed design may appear dull, washed out, or completely off-shade. This issue typically stems from software settings or the curing process.
RIP (Raster Image Processing) software uses ICC profiles as color "translators." These profiles ensure the colors designed on a computer screen match the final printed output. An incorrect or missing ICC profile is a primary cause of color inaccuracy. Without the right profile, reds may look orange, and blacks can appear muddy.
Operators must ensure their RIP software, such as Cadlink or AcroRIP, is configured with the correct ICC profile for their specific printer and ink combination. Proper calibration involves a few key steps:
Load the appropriate ICC profile for the ink and printer model.
Adjust color saturation, brightness, and contrast within the software as needed.
Always perform a small test print to confirm color accuracy before starting a large production run.
Pro Tip: A calibrated monitor is the foundation of color management. Using a calibration tool ensures that what operators see on screen is a true representation of the design file's colors.
Exposing the DTF film to excessive heat or for too long during the curing stage can "cook" the ink. This process degrades the color pigments before they are ever pressed onto the fabric. Visual indicators of over-curing include a glossy or scorched finish on the design and an ink layer that feels hard and brittle.
Operators should fine-tune their curing process to melt the adhesive powder without damaging the ink. It is crucial to find the sweet spot where the powder achieves a "sugary" or orange-peel texture. Lowering the curing oven's temperature or reducing the curing time can prevent the ink from burning. This adjustment preserves the design's intended vibrancy and ensures a high-quality final print.
A print that looks perfect right off the press but fails after a single wash is a sign of poor adhesion. This durability issue disappoints customers and harms a business's reputation. The root causes are almost always related to the curing and pressing stages.
The adhesive powder must fully melt to create a strong, flexible bond with the fabric. If the powder is under-cured, it remains in a semi-solid state. This weak layer cannot withstand the stress of washing and stretching, leading to cracks and peeling.
Operators must visually confirm a complete melt before pressing. The goal is to achieve a uniform, slightly textured surface often described as an "orange peel" or "sugary" finish. This texture indicates the adhesive is fully activated and ready to bond permanently with the garment's fibers. A consistent curing process is the foundation of a durable print.
Pressure is the force that embeds the melted adhesive deep into the fabric weave. Without enough pressure, the transfer only sits on the surface of the garment. This superficial bond is weak and will quickly break down when subjected to the agitation of a washing machine.
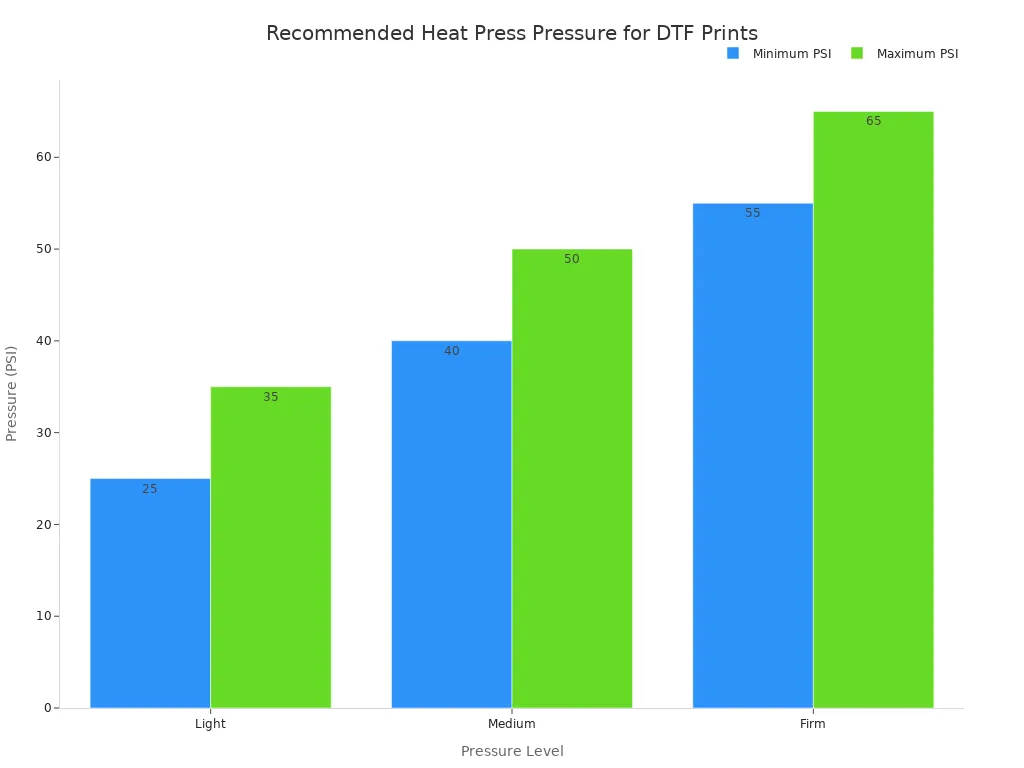
Applying the correct pressure ensures the design becomes one with the fabric. Operators should use medium to firm pressure, adjusting for the garment's thickness.
| Pressure Level | PSI Range | Fabric Type |
|---|---|---|
| Light | 25-35 psi | Thin fabrics (polyester, silk) |
| Medium | 40-50 psi | Most cotton and cotton-blend garments |
| Firm | 55-65 psi | Thick garments (hoodies, heavy cotton) |
Pro Tip: Check for even pressure across your platen. Place four business cards, one at each corner, and close the press. If you can easily pull one card out, the pressure is uneven and needs adjustment. Consistent pressure is vital for a reliable bond.
Operators may notice that ink spreads beyond the design's intended boundaries, creating a blurry or messy appearance. This issue, known as ink bleeding, compromises the sharpness of the final print. It typically points to environmental factors or software settings that deposit too much ink onto the procolored dtf film.
The receptive coating on a procolored dtf film is sensitive to moisture. When room humidity is high, the film absorbs excess water from the air. This moisture prevents the ink from setting properly, causing it to spread and bleed before it can be cured.
A stable environment is crucial for crisp prints. Operators must manage the print room's relative humidity to prevent ink-related issues.
The ideal humidity level for DTF printing is between 40% and 60%. Operating outside this range can cause ink bleeding, powder clumping, and warped film.
Investing in a dehumidifier is the most effective way to regulate moisture. Recirculating dehumidifiers are excellent for managing moisture generated during the printing process. Regular equipment maintenance and staff training on humidity's importance also help maintain consistent quality.
RIP software controls the amount of ink applied to the film. If the ink density settings are too high, the printer deposits more ink than the film can absorb. This oversaturation leads to ink pooling on the surface, which causes smudging and color shifts, such as black ink appearing greenish.
Operators can resolve oversaturation by adjusting the ink channel limits within their RIP software. Lowering the ink density or total ink limit reduces the amount of ink put down, preventing bleeding.
Open your RIP software (e.g., AcroRIP, Cadlink).
Navigate to the ink channel or color configuration settings.
Reduce the percentage for the white and color ink channels.
A medium ink density often provides a safe balance between vibrant color and clean lines. Always run a small test print after making adjustments to confirm the issue is resolved.
A solid, consistent white ink layer is the foundation of any vibrant DTF print on colored garments. When operators see gaps, lines, or an uneven white base, it almost always points to an issue with ink flow, specifically from the printhead or the ink itself.
The printhead contains thousands of microscopic nozzles that spray ink onto the film. White ink, with its heavy titanium dioxide pigments, is prone to settling and causing blockages. When nozzles clog, they cannot fire ink, resulting in missing spots or banding in the print. Several factors contribute to this common problem:
Skipping Preventive Maintenance: Heavy pigment inks will accumulate in nozzles without regular cleaning. This buildup leads to blockages and poor print quality.
Inconsistent White Ink Circulation: White ink pigments settle quickly. Insufficient circulation allows sediment to build up in ink lines and printheads, causing clogs.
Neglecting Environmental Control: Low humidity can cause ink to dry prematurely inside the nozzles, leading to blockages.
Printers come equipped with built-in cleaning functions to resolve clogs. Operators should run a standard head cleaning cycle at the first sign of banding. If the issue persists, a more powerful cleaning cycle may be necessary. Performing a nozzle check before and after cleaning confirms whether the blockages have cleared. Regular, automated cleanings are a key part of preventive maintenance.
The heavy pigments in white ink naturally separate from the liquid base over time. If the ink is not agitated regularly, this sediment can be drawn into the ink lines, leading to starvation at the printhead and causing severe clogs. Using old or expired ink further increases this risk.
Operators must make it a habit to agitate their white ink. This simple action ensures the pigment remains evenly suspended.
Pro Tip: Gently shake the white ink cartridges or bottles for 30-60 seconds every day before starting any print jobs. This single step is the most effective way to prevent pigment settling and maintain consistent ink flow.
An "oily" outline, also known as a "halo" or "greasy edge," is a common defect in DTF printing. This translucent, shiny border appears around the edges of the design after pressing. It detracts from the professional quality of the print and typically indicates an issue with either the curing process or powder application.
The primary cause of an oily outline is excessive heat during the curing stage. When the film is "over-baked," the glycerin and other oily components within the DTF ink can separate and migrate to the edges of the design. This process creates the undesirable greasy halo effect. The ink layer essentially melts beyond its intended boundaries, carrying adhesive with it.
Operators must carefully control the curing temperature to prevent over-baking. The goal is to melt the adhesive powder completely without overheating the ink layer. A multi-stage drying approach can be highly effective.
Initial Stage (110°C): This step evaporates moisture from the ink.
Intermediate Stage (120-130°C): This temperature range dries out the oily components in the ink.
Final Stage (140-150°C): This final, higher temperature melts the adhesive powder for a strong bond.
For single-temperature curing, operators should adhere to specific ranges to avoid issues.
| Curing Method | Temperature Range |
|---|---|
| Conveyor Oven | 100-110°C (212-230°F) |
| Heat Press | 110-120°C (230-250°F) |
By maintaining the correct temperature, operators can prevent the ink from separating and creating the oily outline.
Stray adhesive powder clinging to the unprinted areas of the film is another frequent cause of the oily halo. Even a small amount of loose powder around the design's perimeter will melt during curing. When the transfer is pressed, this melted, un-inked adhesive creates a clear, shiny border on the garment.
A clean film is essential for a clean print. Before placing the film in the curing oven, operators must remove all excess powder.
Pro Tip: Use a small, handheld air blower or a soft brush to gently remove any stray powder from the film's edges and non-printed areas. This quick quality control step ensures that only the powder adhering to the ink is cured, eliminating the risk of a greasy outline.
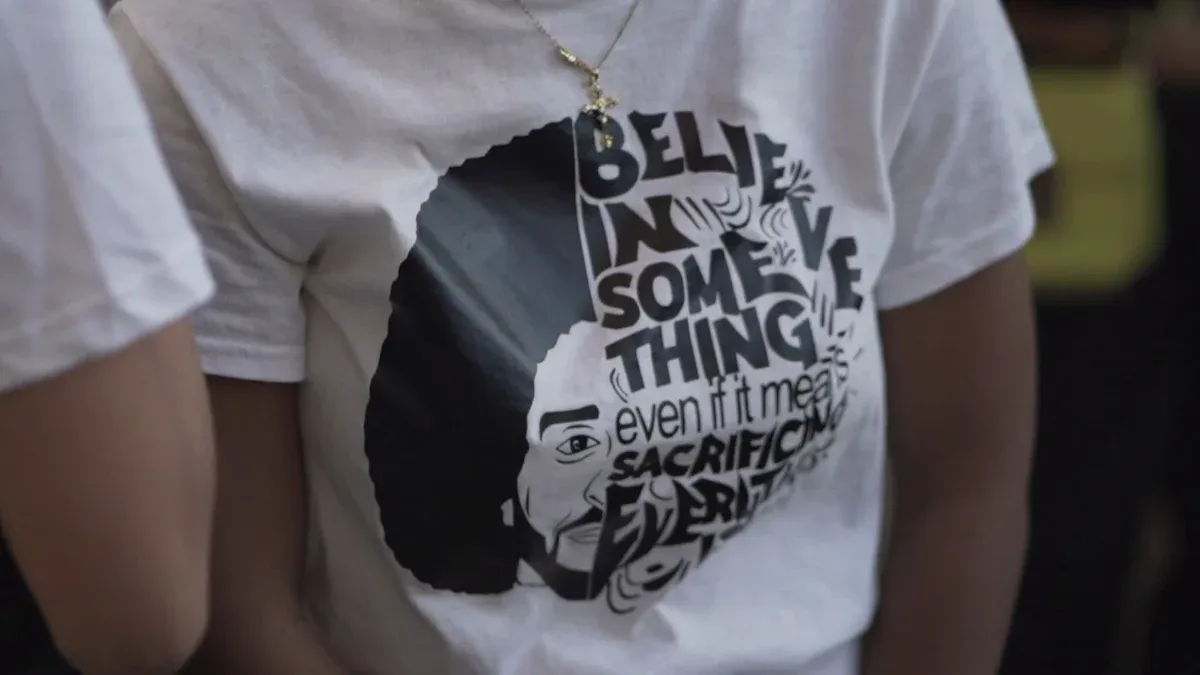
A high-quality DTF print should feel soft and flexible on the garment. When a finished transfer feels stiff, thick, or rough to the touch, it significantly lowers the perceived value of the product. This "heavy hand-feel" is typically caused by an excessive application of either adhesive powder or white ink.
The most common reason for a stiff print is an overly thick layer of adhesive powder. While the powder is essential for bonding, too much of it creates a rigid, plastic-like surface on the fabric. The particle size of the powder also plays a role. Coarse powders, designed for heavy fabrics, can feel firm, whereas finer powders create a softer finish.
Operators must aim for a thin, uniform coating of powder that covers only the inked areas. Achieving this consistency depends on the application method.
Manual Application: This method requires skill to avoid clumps and bare spots. It is suitable for small batches but can lead to variability.
Automatic Shakers: These machines provide a far more consistent and even coating, which is ideal for achieving a soft hand-feel in production settings.
Choosing the right powder type is also critical. Finer powders (0–80 μm) produce a noticeably softer feel, making them perfect for lightweight fabrics and detailed graphics.
| Powder Type | Feel |
|---|---|
| Fine | Softest |
| Medium | Balanced |
| Coarse | Firm/rougher |
The white ink layer serves as the base for the colors, but an excessive amount can contribute to a stiff print. A thick white ink base, combined with the adhesive powder, creates a dense layer that lacks flexibility and feels heavy on the garment.
Operators can easily adjust the white ink deposit in their RIP software. Lowering the white ink percentage (e.g., from 100% to 70-80%) reduces the overall thickness of the print. This simple adjustment creates a softer, more pliable transfer that integrates better with the fabric, dramatically improving the final hand-feel without sacrificing opacity.
Achieving consistent, high-quality prints with procolored dtf film requires attention to three key areas. Operators prevent common issues by mastering their environment, settings, and maintenance. Regularly verifying heat press settings and using correct curing times for procolored dtf film ensures durable, vibrant results and professional-grade products.
Instruct users to wash garments inside out with cold water. Tumble dry on low heat. Operators should advise against using bleach or fabric softeners for maximum print longevity.
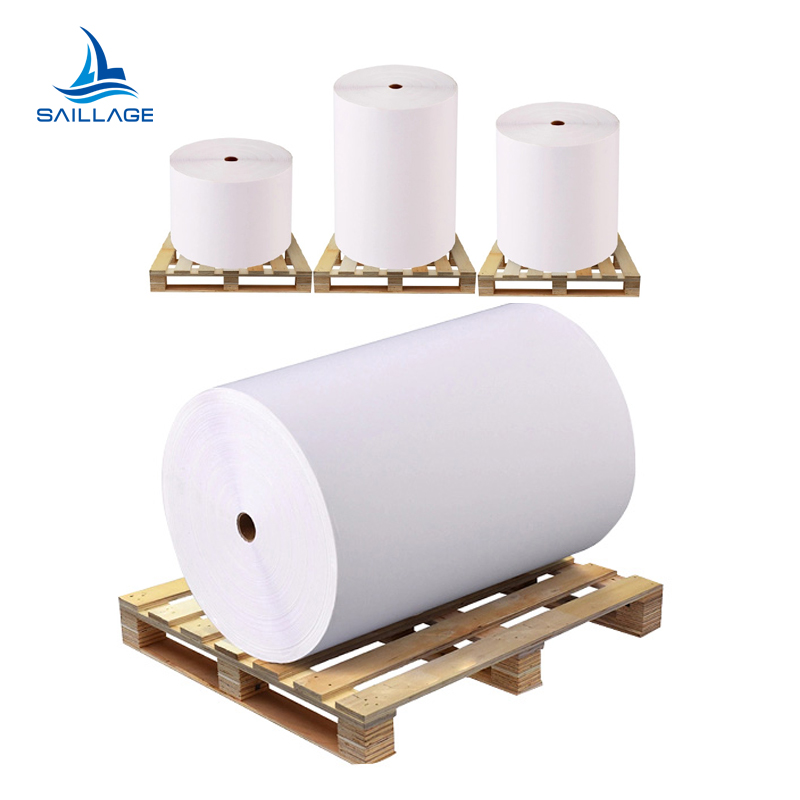
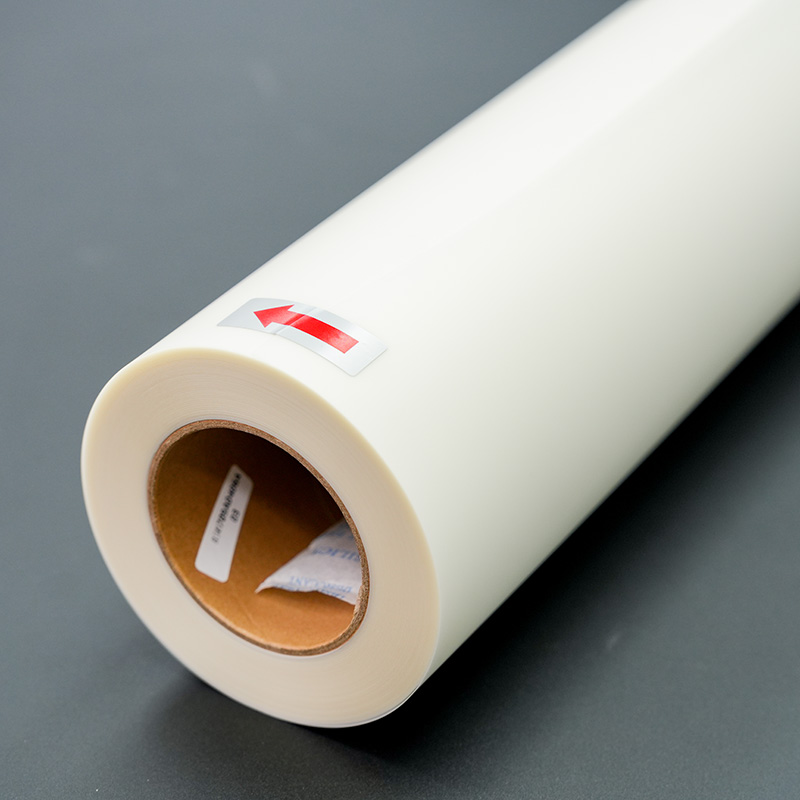
Proper storage requires keeping the film in its original packaging. Operators must store it in a cool, dry environment away from direct sunlight to prevent damage to the coating.
A perfect nozzle check pattern displays solid, unbroken lines for every color channel. Any gaps or missing lines indicate a clog that requires an immediate head cleaning cycle.
Leading Precoating Solutions: Enhancing Filtration System Performance in 2025
Automatic UV Coaters: Indispensable for Achieving Peak High-Speed Printing Efficiency
Next-Gen Folder Gluer Innovations: Key Features for 2025 Carton Production
Discovering the 8 Best HTN LCD Displays for Superior Performance and Reliability
Capsule Sorters Explained: Crucial for Effective Defect Removal and Quality


Select the most popular foreign trade service products to meet your diverse needs
Select the most popular foreign trade service products to meet your diverse needs

Tel: +86 17706217416
Add: Building L2A, No. 520, Lane 1588, Zhuguang Road, Hongqiao World Center, Qingpu District, Shanghai, China


User Comments
Service Experience Sharing from Real Customers
James Wilson
Print Shop OwnerThe Procolored DTF film is a game-changer for our custom apparel business. The color vibrancy and transfer quality are consistently excellent, and the film feeds through our printer without any jams. Highly reliable product.
Sarah Chen
Graphic DesignerAs a designer, color accuracy is everything. This DTF film delivers exactly what's on my screen onto the fabric. The whites are bright, and the details are sharp. It has significantly improved the quality of our final products.
Michael Rodriguez
Production ManagerVery impressed with the durability of prints using Procolored film. After multiple washes, the designs hold up perfectly. It has streamlined our production line due to its consistent performance. One star off for the packaging, which could be sturdier.
Emily Foster
Small Business OwnerStarting a print-on-demand side hustle was daunting, but this DTF film made it so much easier. It's user-friendly, produces professional results even on dark fabrics, and the cost-effectiveness is a huge plus for a startup like mine.