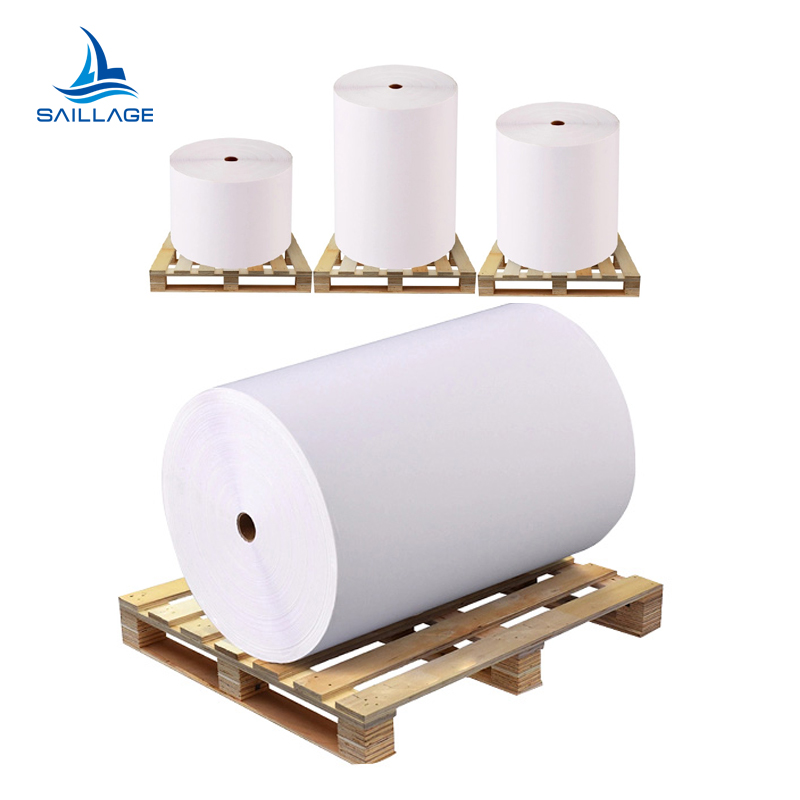


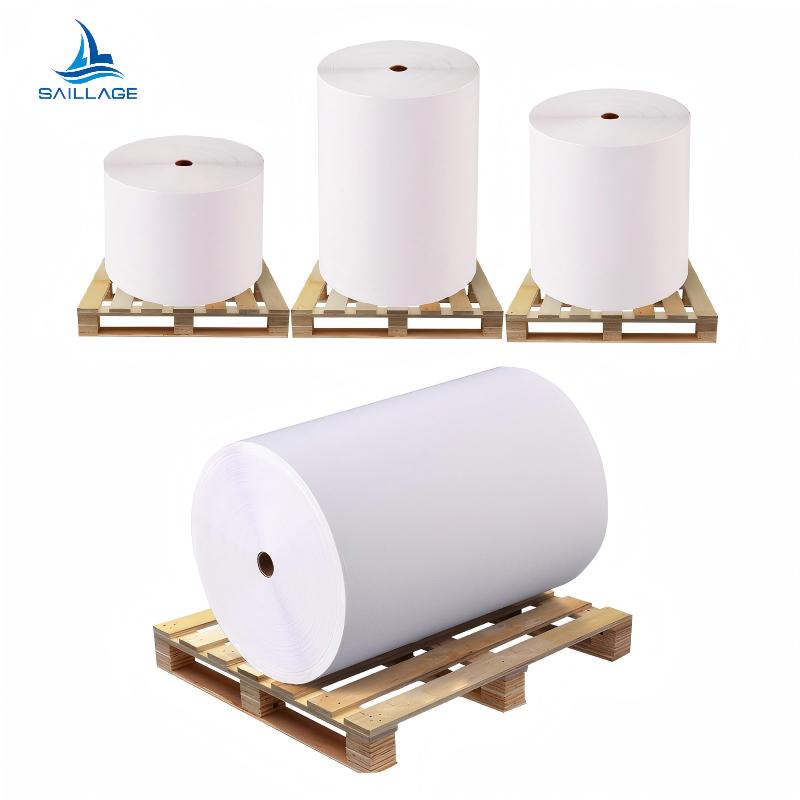


What's the general applications of heat-sealable BOPP film
In the flexible packaging industry, heat-sealable ...
More
Applying high sublimation heat settings to DTF film is a critical mistake. It leads to melted film, wasted materials, and ruined garments. Even the best dtf film for sublimation requires a unique approach. Crafters achieve mastery by correcting common errors in temperature, pressure, and overall technique for professional results.
Use the right heat press settings. Too much heat melts the film. Too little heat makes the transfer not stick well.
Apply firm, medium pressure. This helps the design stick evenly. It stops the design from looking stiff or peeling off.
Always pre-press your garment. This removes moisture and wrinkles. It helps the transfer stick better and last longer.
The most frequent and damaging error involves using incorrect heat press settings. Sublimation and DTF are distinct processes that demand different parameters. Confusing the two guarantees a failed project.
Crafters accustomed to sublimation often apply its high-temperature settings (380-400°F) to DTF film. This intense heat is far too high for the DTF adhesive and film. The immediate result is a melted, shriveled transfer that cannot adhere to the garment. The film may even fuse to the heat press platen, creating a difficult mess to clean. This single mistake wastes expensive materials, ruins the apparel, and causes significant frustration. The design becomes a distorted, unusable plastic patch rather than a soft, flexible graphic.
Successful DTF application hinges on lower temperatures and shorter press times. The goal is to melt the adhesive powder just enough to bond with the fabric fibers without scorching the garment or melting the film.
For most standard DTF transfers, a heat press duration of 10-15 seconds is the recommended window. This brief timeframe is effective across various common fabrics. Users must adjust the temperature based on the material to achieve optimal results.
Pro Tip: Always verify the specific instructions provided by your DTF film manufacturer, as settings can vary slightly between brands.
Here is a general guide for initial press settings:
| Material Type | Temperature (°F) | Time (seconds) |
|---|---|---|
| Cotton | 325 | 10-15 |
| Polyester | 280 | 10-15 |
| Blends | 300 | 10-15 |
| Tri-Blends | 280 | 10-15 |
| Nylon | 260 | 10-15 |
Adhering to these lower temperature and time parameters prevents damage and ensures a proper bond.
Pressure is just as critical as temperature in the DTF process. Many crafters either default to the heavy pressure used for other transfer types or fail to ensure their press applies pressure evenly. Both mistakes compromise the final quality of the garment.
Applying excessive pressure is a common misstep. Heavy force can squeeze the melted adhesive out from the edges of the design. This creates a visible, glossy outline around the graphic and can make the transfer feel overly stiff. The result is an unprofessional finish that detracts from the garment's appeal.
Uneven pressure presents a different set of problems. It often occurs with clamshell presses or machines that are not properly calibrated. This inconsistency can lead to irreversible image distortion, causing the design to appear warped or stretched in certain areas. Other parts of the transfer may not receive enough pressure, resulting in poor adhesion and peeling after the first wash. The entire transfer is compromised when pressure is not uniform across the platen.
The correct approach is to use firm, medium pressure. This level of force ensures the entire surface of the DTF film makes solid contact with the fabric. It allows the adhesive to bond securely without being forced beyond the design's borders. The transfer adheres completely, creating a durable and flexible finish.
Users should calibrate their heat press to achieve this balance. A properly adjusted press closes with a noticeable amount of resistance but does not require excessive force to lock.
Pressure Check Tip: A simple way to test for even pressure is the "dollar bill test." Place four dollar bills at each corner of the lower platen and close the press. If you can easily pull any of the bills out, the pressure is uneven and requires adjustment.
Achieving consistent, medium pressure is a key step toward producing reliable, high-quality DTF products.
Not all DTF films are created equal. A successful transfer depends heavily on the synergy between the film, adhesive, and the garment's material composition. Choosing the wrong combination can undermine the entire project, leading to poor quality and lack of durability.
Crafters often assume one type of film works for all applications. This oversight causes issues like cracking on stretchy fabrics or poor adhesion on treated materials like nylon. The best dtf film for sublimation on a cotton shirt may not perform well on a polyester performance garment. Different fabrics have unique weaves, textures, and chemical compositions. A film designed for rigid cotton may not have the elasticity needed for a spandex blend, resulting in a design that cracks and flakes when the fabric stretches. This mismatch negates the quality of even the best dtf film for sublimation, producing an unprofessional and short-lived product.
Prudent crafters always test their materials before starting a full production run. This simple step saves time, money, and materials by confirming compatibility. Finding the best dtf film for sublimation for your specific project requires this verification. A small test validates the entire process, from adhesion to the final look and feel.
Testing Protocol: Before committing to a full garment, perform a small test press on a scrap piece of the same fabric or in an inconspicuous area.
This test should confirm several key factors:
The film adheres completely without any lifting edges.
The colors appear vibrant and accurate on the specific fabric.
The transfer feels right and has the expected flexibility.
The design holds up after a test stretch and wash.
This due diligence ensures the chosen film is truly the best dtf film for sublimation for that particular application, guaranteeing consistent and reliable results.
A successful DTF transfer requires a perfect canvas. Many crafters, in a rush to complete a project, skip the vital step of pre-pressing the garment. This oversight introduces moisture and wrinkles, two elements that actively sabotage the adhesion process and compromise the final product's quality.
Garments, especially those made of natural fibers like cotton, absorb ambient moisture from the air. Applying a hot press to a moist shirt instantly creates steam. This steam gets trapped under the DTF film, preventing the adhesive from making direct, solid contact with the fabric fibers. The result is a transfer with weak adhesion, bubbling, or uneven texture. The graphic may look fine initially but will likely peel or crack after the first wash.
Similarly, applying a transfer over wrinkles permanently embeds those creases into the design. The heat and pressure lock the fabric's folds in place, creating an unprofessional and distorted appearance. No amount of post-pressing can fix a wrinkle that has been sealed under a DTF transfer.
The solution is simple, fast, and highly effective: pre-press every garment. Before placing the DTF transfer, crafters should press the apparel for 3 to 5 seconds at the target application temperature. This brief action accomplishes two critical tasks. It evaporates any hidden moisture, ensuring a dry surface for the adhesive to bond to. It also removes all wrinkles, creating a perfectly smooth and flat area for the transfer.
Pro Tip: A quick pre-press not only removes moisture and wrinkles but also helps "relax" the fabric fibers. This creates a more receptive and uniform surface, leading to a cleaner and more durable application.
This simple habit takes only a few seconds. It is a non-negotiable step for anyone seeking to produce consistent, professional-grade results with their DTF projects.
The adhesive powder is the critical bonding agent in the DTF process. The quality of its application directly determines the transfer's durability and feel. An incorrect amount of powder, whether too much or too little, will ruin the final product.
Crafters often misjudge the amount of adhesive powder needed. Applying too much powder creates a thick, heavy coating on the ink. This excess adhesive melts into a stiff, plastic-like layer on the garment, destroying the soft-hand feel that makes DTF appealing. The transfer becomes rigid, and the texture can appear uneven or blotchy.
Conversely, applying too little powder is just as damaging. An insufficient or patchy coating results in weak adhesion. Parts of the design will not bond properly to the fabric fibers. This creates a transfer that looks acceptable at first but quickly fails. The graphic will begin to crack, lift at the edges, or peel away entirely after just one or two washes, leading to a disappointed customer and a wasted garment.
The goal is to achieve a complete, even coating of powder that covers all the wet ink without excessive buildup. Crafters should apply the powder generously over the entire print and then gently shake the film to distribute it. The ideal application looks like a light, consistent dusting of fine snow.
After coating, it is crucial to remove all excess powder. Users can do this by holding the film by its edges and flicking the back of it firmly. Another effective method is to use a compressed air blower to gently clear loose particles from the non-printed areas. The powder should stick only to the ink, leaving the rest of the film clean.
Coating Check Tip: After removing excess powder, hold the film up to a light source. The powdered ink should have a uniform, slightly fuzzy appearance. Any visible gaps or thin spots indicate an incomplete coating that needs to be reapplied.
This careful process ensures a strong bond and a flexible, professional finish.
Curing is the process of melting the adhesive powder so it forms a uniform layer on the ink. This step is essential for creating a stable, ready-to-press transfer. Both under-curing and over-curing the powder will compromise the integrity of the final design.
An improperly cured transfer is destined to fail. Under-curing the powder leaves the adhesive tacky and not fully melted. This results in weakened durability, leading to poor adhesion and potential cracking or peeling after washing. Signs of an under-cured transfer include a sticky feel, powder flaking off, and film edges curling before application.
Conversely, over-curing the powder is equally destructive. Excessive heat can scorch the film, discolor the print, and damage the ink layer. This makes the transfer stiff and brittle. An over-cured transfer often has a hardened ink layer that cracks when stretched. Other indicators of over-curing include:
A brittle or discolored print layer.
Adhesive pooling, where melted powder overflows the print borders.
A scorched or overly glossy finish.
Both mistakes undermine the transfer's quality, leading to a product that lacks durability and professional appeal.
The key to perfect curing is visual confirmation. Crafters should aim to melt the powder until it achieves a glossy, slightly bumpy finish, often described as an "orange-peel texture." This appearance indicates the adhesive has fully melted and bonded with the ink without being overheated.
Whether using a curing oven or hovering a heat press, users should watch the powder transform. It will change from a powdery matte finish to a wet, shiny look. Once the entire design has this consistent glossy texture, the curing process is complete.
Curing Tip: The ideal curing temperature is typically between 200-250°F. Focus on the visual change rather than a strict timer, as environmental factors can affect curing times. Stop the process as soon as the orange-peel texture is achieved across the entire design.
This careful observation ensures the transfer is perfectly prepared for a strong, lasting application.
The final step of peeling the film is a moment of truth in the DTF process. A perfect press can be instantly ruined by an incorrect peeling method. DTF films are not universal; they are designed for specific peel temperatures, and ignoring this detail leads to project failure.
Impatience often causes crafters to peel the film immediately after the heat press opens. This is a critical error if the product is a cold-peel film. Peeling a cold-peel film while it is still hot will lift the entire design off the garment. The adhesive has not had time to cool and solidify its bond with the fabric fibers. The result is a wasted transfer and a ruined shirt.
The opposite mistake is also common. Letting a hot-peel film cool down completely can make it difficult to remove. This can cause parts of the design to tear or leave an undesirable texture on the graphic. Both errors stem from a single oversight: failing to know the film’s specific peel type.
The most reliable way to ensure a perfect peel is to follow the manufacturer's instructions. Film suppliers clearly label their products as hot, warm, or cold peel. Each type has a specific window for optimal results.
Hot Peel: The film is removed immediately (within 1-3 seconds) after the heat press opens.
Warm Peel: The user waits a few seconds (around 5-10) for the film to cool slightly before peeling.
Cold Peel: The garment must cool completely to room temperature before the film is removed.
Peel Test Tip: 📝 If you are ever unsure of the film type, gently lift a small, inconspicuous corner of the transfer. If it resists or the ink lifts, stop immediately. Let it cool further and try again. This simple test can save the entire project.
Adhering to the correct peel technique is a non-negotiable step for achieving a clean, durable, and professional finish.
Many crafters believe the process is complete after peeling the film. This assumption leads them to skip the final finishing press. This quick but crucial step is what separates an amateur-looking transfer from a professional, retail-quality product. It significantly enhances both the look and longevity of the design.
A freshly peeled DTF transfer often has a noticeable sheen and a slightly plastic texture. Skipping the final press leaves the design with this glossy finish. The adhesive has not been fully embedded into the fabric's fibers. This oversight results in a graphic that feels like it is sitting on top of the shirt rather than being part of it. The transfer will have a stiffer hand-feel and reduced durability. It becomes more susceptible to cracking and peeling over time, failing to meet professional standards for washability and wear.
A final press is essential for achieving a matte finish and maximum durability. Crafters should perform a short, 5-7 second press after peeling the film. This action melts the adhesive one last time, pushing it deeper into the garment's fibers for a superior bond. It also removes the initial gloss, giving the design a soft, screen-print-like feel.
Protective Sheet Matters: 💡 Always use a protective sheet for the final press. A Teflon sheet will produce a semi-gloss finish, while parchment paper or a kraft paper sheet will create a desirable matte look.
This simple finishing touch locks in the design, improves its texture, and dramatically increases its wash resistance. It is a non-negotiable step for producing high-quality, long-lasting apparel.
The quality of a DTF transfer is not only determined by its creation and application but also by its storage. Many crafters produce transfers in batches for future use. Improper storage between production and pressing can degrade the transfer, rendering it useless when it is finally needed.
Unused DTF transfers are highly susceptible to environmental conditions. Crafters often leave them sitting out in the open, exposed to air and fluctuating humidity levels. This exposure directly compromises the transfer's integrity. The adhesive powder is hygroscopic, meaning it readily absorbs moisture from the air. This leads to a host of problems that can ruin a project.
Both high and low humidity create distinct issues:
High Humidity: Causes the adhesive powder to clump, leading to an uneven melt. It can also make the film feel sticky or warp, and may even cause the ink to bleed, destroying sharp design edges.
Low Humidity: Creates static buildup on the film, which can attract dust or cause misalignment during pressing. The film may also become brittle and prone to warping.
Proper storage is essential for preserving the quality of unused DTF transfers. The best practice is to keep them in a controlled, dry environment immediately after they are cured. Crafters should place transfers in resealable polymer bags or airtight plastic containers. This protects them from ambient moisture and dust.
For optimal preservation, professionals aim to maintain a relative humidity level between 40% and 60% in their storage area. This stable environment prevents the powder from clumping and the film from warping. Storing transfers flat and separated by parchment paper also prevents them from sticking together.
Storage Tip: 📦 For long-term storage, add a silica gel desiccant pack to the airtight container. This will absorb any excess moisture and ensure the transfers remain in perfect condition for future use.
Successful DTF film transfers hinge on precise control over temperature, pressure, and process steps. Crafters who avoid these common mistakes ensure durable, professional-quality results with the best dtf film for sublimation. A correctly applied transfer delivers impressive longevity.
A well-made DTF transfer can endure 40-50 washes or more.
Readers should bookmark this guide as their go-to checklist for every project.
A home iron lacks consistent heat and pressure. Crafters must use a heat press. It provides the even temperature and firm pressure needed for a durable, professional-quality transfer application.
Cracking often results from improper curing, incorrect pressure, or skipping the final press. Each step ensures the adhesive bonds deeply with fabric fibers for maximum durability and flexibility.
Hot peel film is removed immediately after pressing. Cold peel film requires the garment to cool completely. Following the manufacturer's instructions prevents the design from lifting or tearing during removal.
Eco-Friendly Plate Heat Exchangers: Reducing Environmental Impact Effectively
Top 8 HTN LCD Displays: Unmatched Performance And Reliability
Essential Safety Practices For Secure Nitric Acid Storage Solutions
Optimized Steel Processing: Consistent Results For Heat Exchange Applications
Simplifying AHRI 400/401 Heat Exchanger Compliance: Hassle-Free Assistance


Select the most popular foreign trade service products to meet your diverse needs
Select the most popular foreign trade service products to meet your diverse needs

Tel: +86 17706217416
Add: Building L2A, No. 520, Lane 1588, Zhuguang Road, Hongqiao World Center, Qingpu District, Shanghai, China


User Comments
Service Experience Sharing from Real Customers
Michael Chen
Print Shop OwnerAfter testing several brands, this DTF film consistently delivers the sharpest detail and brightest colors for our sublimation transfers. The adhesive is strong without being gummy, and we've had zero issues with cracking or peeling. It's now our go-to film for all premium orders.
Sarah Johnson
Custom Apparel DesignerAs a designer focused on vibrant, full-color graphics, this film is a game-changer. The color fidelity from digital design to final sublimated product is exceptional. It handles complex gradients and fine lines perfectly. Highly recommended for anyone serious about quality sublimation.
David Rodriguez
Production ManagerWe run high-volume orders for corporate clients, and this DTF film provides excellent consistency and reliability. It feeds through our printers smoothly with minimal waste. The sublimation results are professional and durable. The only reason it's not a 5 is the price point, but you get what you pay for in quality.
Lisa Wang
Small Business OwnerI was skeptical about switching from traditional methods, but this film made the transition to DTF sublimation effortless. The prints are incredibly soft to the touch and wash beautifully. Customer feedback on the print quality has been overwhelmingly positive. This film is a key reason for our growing repeat business.