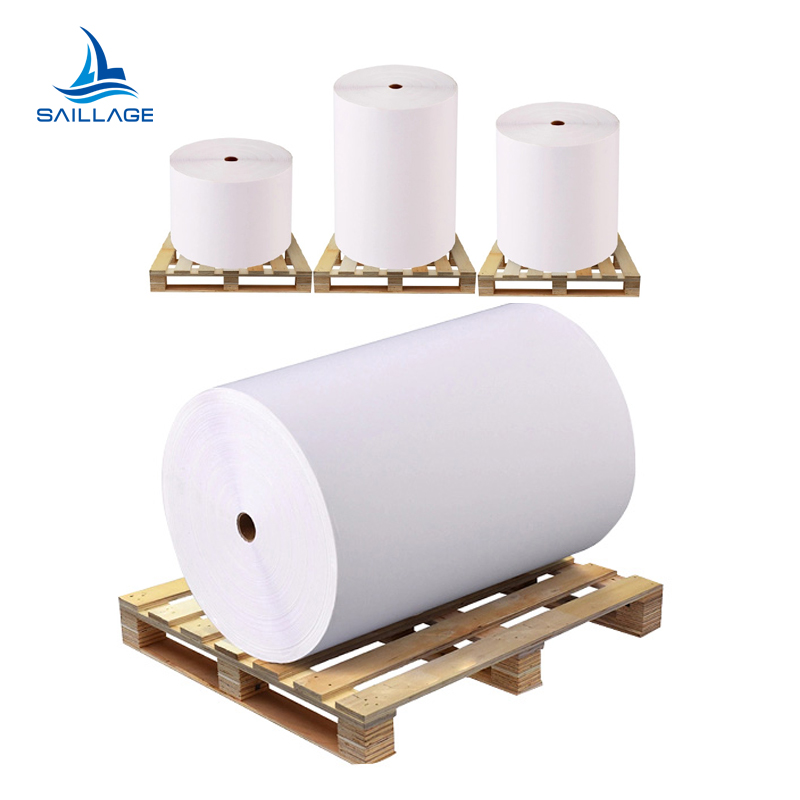


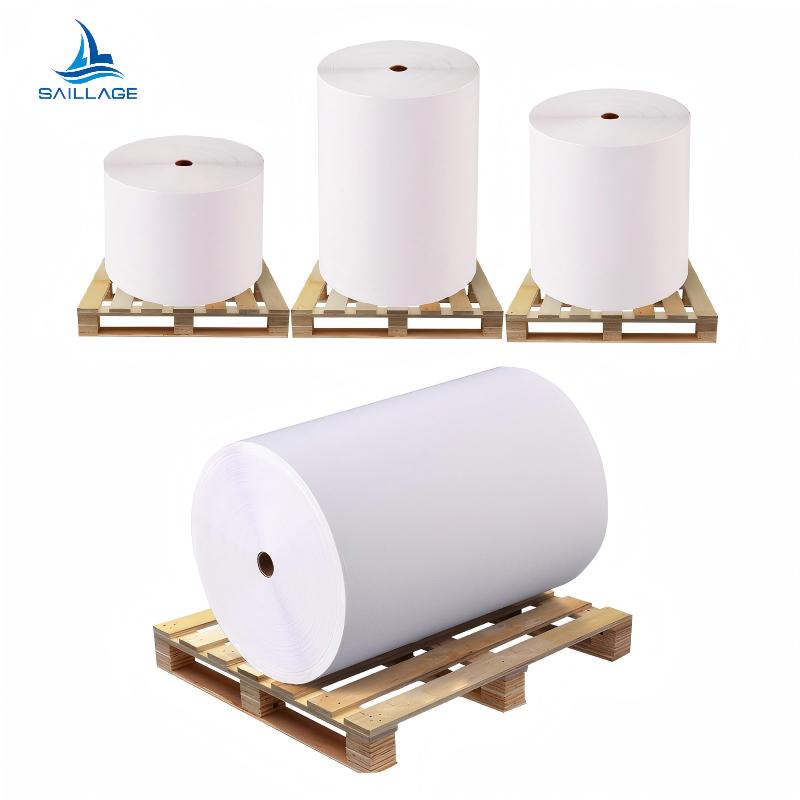


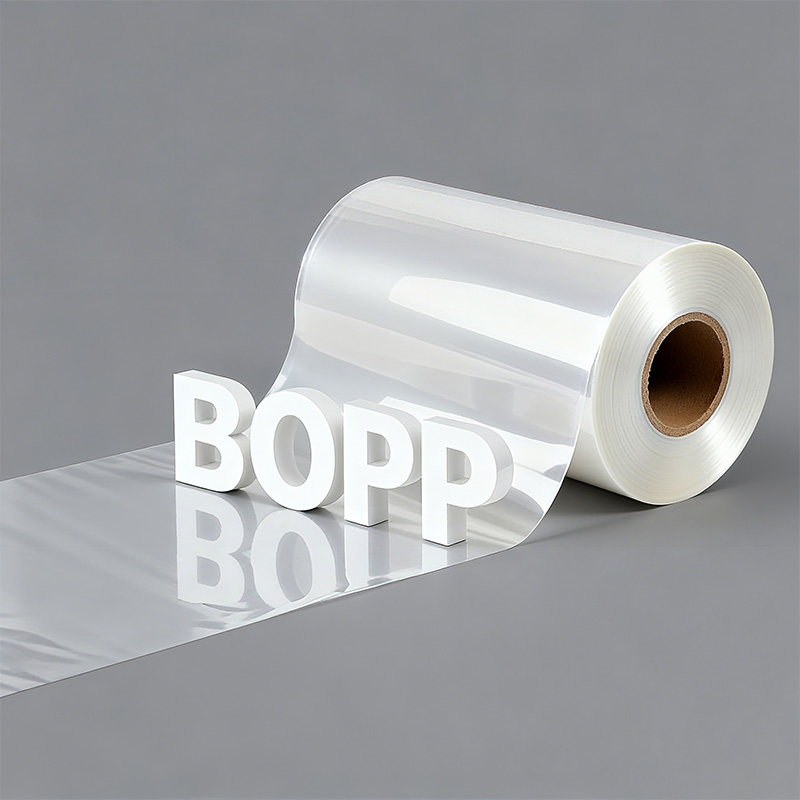

What are the advantages of BOPP film
Third, BOPP film offers great versatility and safe...
MoreThe custom apparel market is projected to grow by over 10% in the next five years, making print technologies more relevant than ever.
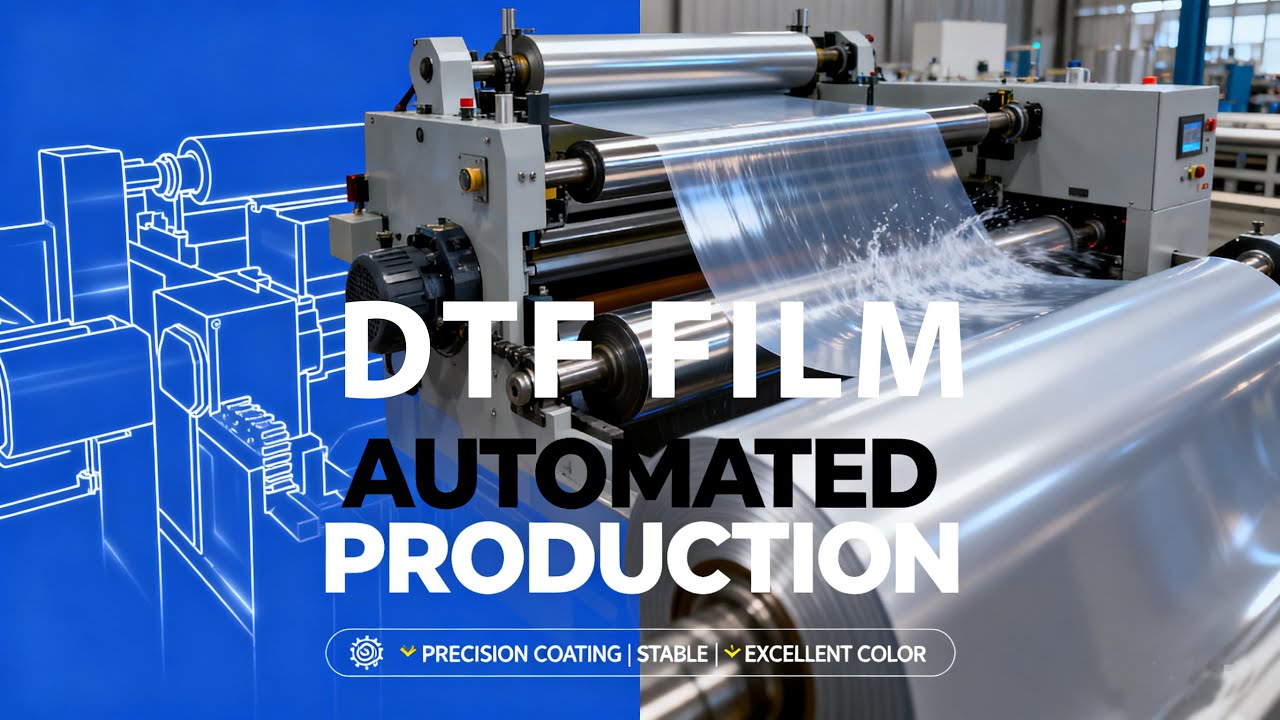
Achieving professional results with transfer film dtf requires mastering four key stages: preparing the design, printing, applying adhesive powder, and heat pressing. This guide details each step, ensuring a high-quality outcome. A successful project begins with the essential materials.
A successful DTF project depends on the right tools. Each component plays a critical role in transforming a digital design into a wearable, high-quality graphic. Assembling the correct materials is the first step toward professional results.
The DTF printer is the core of the operation. It applies specialized textile inks onto the transfer film dtf. The average ink cost per T-shirt design typically falls between $0.60 and $1.00. Small businesses have several excellent printer options.
| Printer Model | Pros | Cons |
|---|---|---|
| Epson SureColor F2100 | High print quality, user-friendly | Higher initial investment |
| Punehod A3 DTF Printer | Cost-effective, small footprint | Slower printing speed |
| L1800 DTF Printer | Low cost, excellent for startups | Requires frequent maintenance |
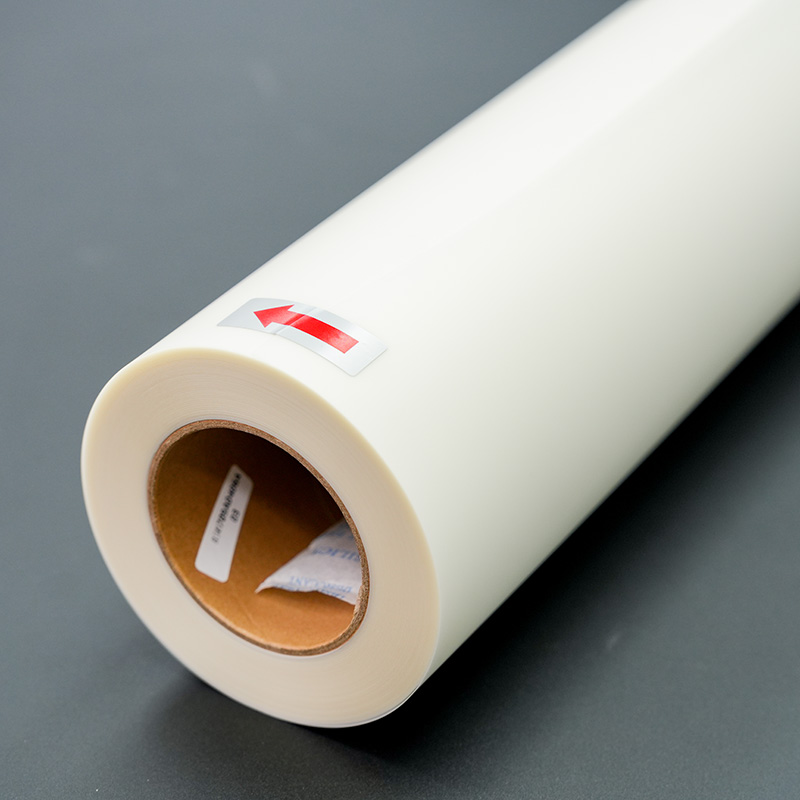
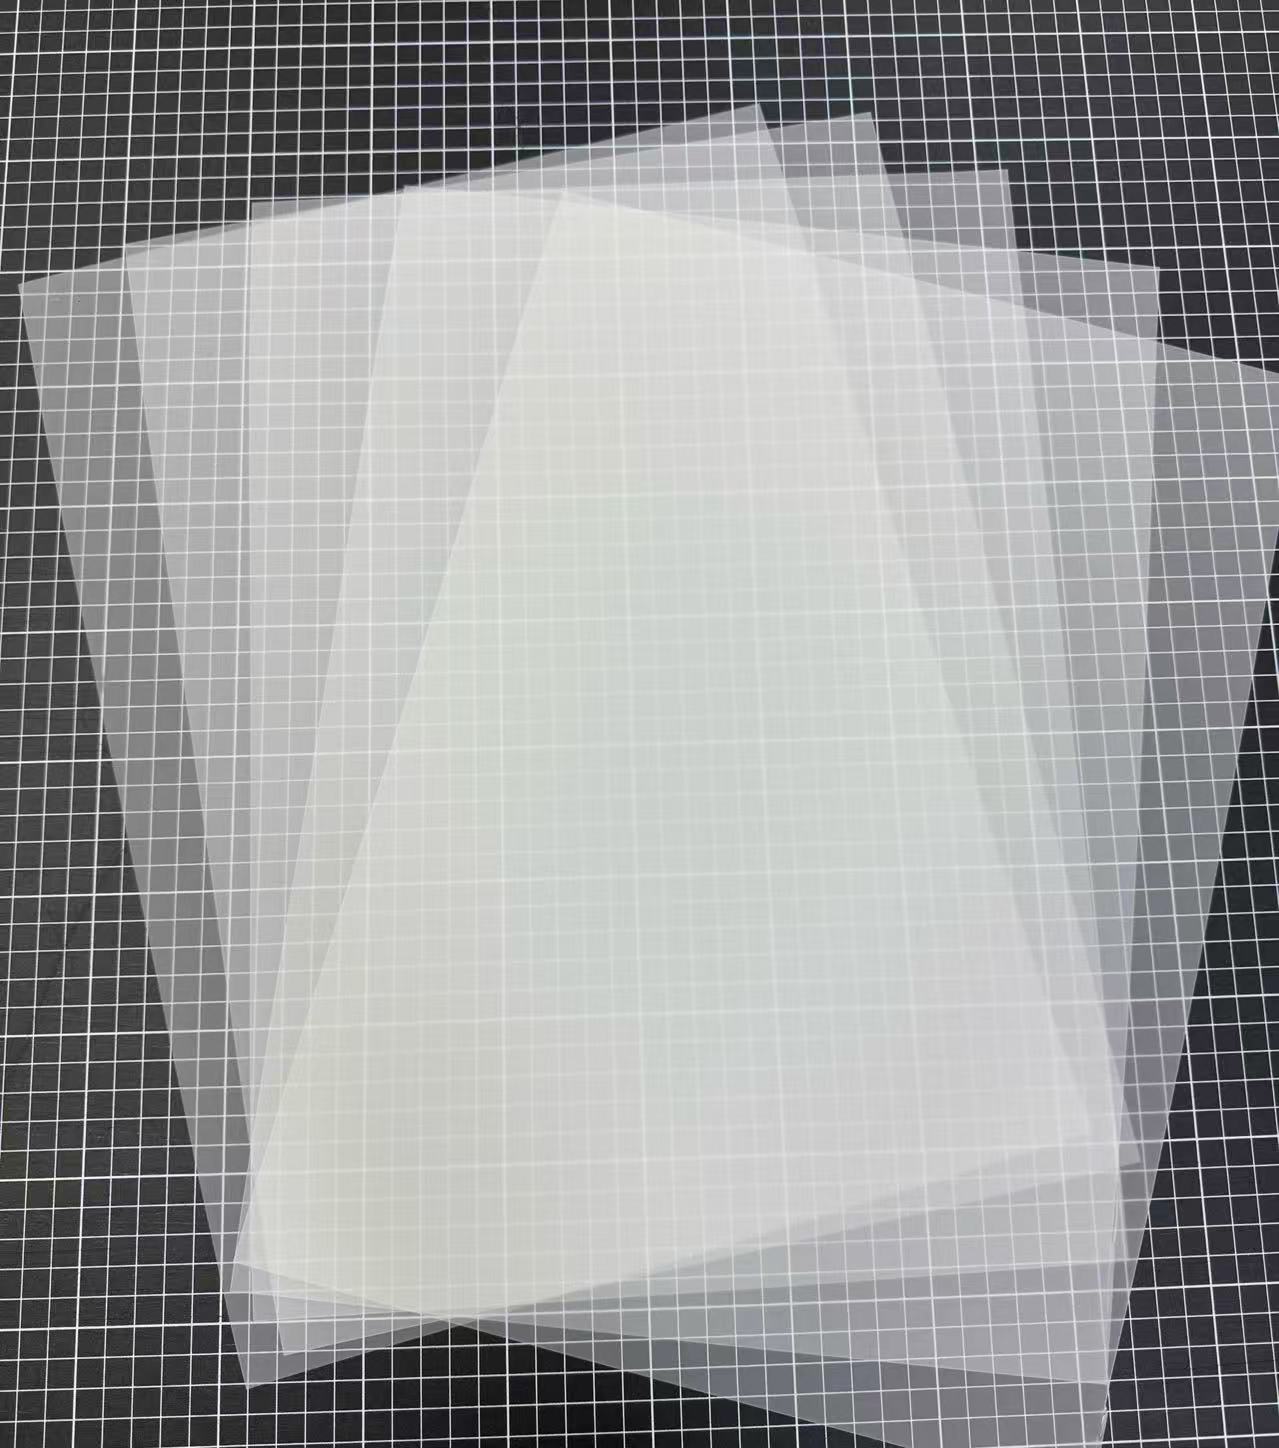
The transfer film dtf is a specially coated PET sheet that holds the ink. Films come in two main types: hot peel and cold peel. The choice affects both the production workflow and the final feel of the print.
| Film Type | Adhesive Characteristic | Application Benefit |
|---|---|---|
| Hot Peel | Quicker-setting adhesive | Faster application |
| Cold Peel | Stronger bond adhesive | Durable, long-lasting prints |
Note: This powder is the "glue" that holds your design to the garment.
This fine powder is applied to the wet ink on the film. Its main ingredient is thermoplastic polyurethane (TPU), a hot melt adhesive that activates with heat. It creates a durable bond between the ink and the fabric.
After applying the powder, the film must be cured. This process melts the adhesive powder into the ink layer. A dedicated curing oven (212-230°F) or a heat press (230-250°F) can accomplish this task.
A separate heat press transfers the design from the film to the garment. Key features for a reliable press include:
Even heat distribution across the platen
Accurate digital temperature control
Consistent and adjustable pressure
Raster Image Processor (RIP) software is essential for professional DTF printing. It translates image files for the printer, controlling ink levels and color accuracy. Advanced features like CADlink's automated white underbase generation and job nesting optimize ink usage and ensure vibrant colors on any garment.
With the right materials assembled, the next phase is execution. This six-step process transforms a digital concept into a tangible, high-quality garment graphic. Each step is crucial for achieving a durable and vibrant final product.
A professional print begins with a high-quality digital file. The design's clarity on the screen directly impacts its quality on the fabric.
For optimal results, designs should have a resolution of 300 DPI (dots per inch) or higher. This ensures sharp lines and clear details. The file should also be created at or near the final print size to prevent blurring or pixelation from resizing. While several file formats work, some are better suited for DTF.
PNG: This is the preferred format. It supports transparent backgrounds, which is essential for creating designs without a solid block of color behind them.
PDF: A high-quality PDF is an excellent alternative. It preserves vector data and color information, ensuring crisp lines.
TIFF & PSD: These formats retain maximum quality and layer information, making them ideal for complex graphics that may need future edits.
Color Profile Tip: Designers should create files in an RGB color space, such as sRGB or Adobe RGB. The RIP software will then convert these colors to the printer's CMYK profile, ensuring the most accurate color reproduction on the final garment.
The printing environment significantly affects ink performance. A controlled room with a temperature between 68-77°F (20-25°C) and relative humidity between 40-60% prevents ink from drying too quickly and the film from warping.
Once the environment is stable, the printer applies the ink to the coated side of the transfer film. The RIP software manages this process, first laying down the CMYK color layer and then printing a white ink underbase on top of it.
Key printer settings include:
White Ink Underbase: A setting of 60-80% is standard for most designs, providing a bright foundation for the colors.
Print Speed: A moderate to slow speed allows for better ink saturation and adhesion.
Nozzle Check: Perform a nozzle check before starting a print session to ensure all channels, especially the white ink, are firing correctly.
Immediately after printing, the design must be coated with DTF adhesive powder while the ink is still wet. This step can be done manually or with an automated shaker.
For manual application:
Place the printed film, ink-side up, inside a shallow tray or bin.
Generously sprinkle the adhesive powder over the entire design, ensuring complete coverage.
Gently roll the film from side to side to distribute the powder.
Lift the film and flick the back of it firmly to shake off all excess powder. Only the wet ink should retain the adhesive.
Note: The goal is to have powder stick only to the inked areas. Any loose powder remaining on the film can transfer to the garment, creating a messy result.
Curing melts the adhesive powder, bonding it to the ink layer to create a single, solid transfer. This process can be done with a curing oven or by hovering a heat press over the film. Do not let the heat press platen touch the film during this stage.
The objective is to melt the powder until it achieves a glossy, slightly bumpy finish often described as an "orange peel" texture.
| Curing Method | Temperature Range | Approximate Time |
|---|---|---|
| Curing Oven | 320-350°F (160-177°C) | 2-3 minutes |
| Heat Press (Hover) | 325-350°F (163-177°C) | 30-90 seconds |
Improper curing can ruin a print. Under-curing results in poor adhesion and a transfer that peels off the fabric. Over-curing can burn the adhesive, making the print brittle and prone to cracking.
This is the final application step where the design is transferred to the garment. First, pre-press the garment for 5-10 seconds to remove moisture and wrinkles, creating a smooth surface.
Next, position the cured transfer film dtf on the garment. Place a protective sheet, like Teflon or parchment paper, over the film. The correct temperature and pressure depend on the fabric type.
| Fabric Type | Temperature | Pressure | Time |
|---|---|---|---|
| 100% Cotton | 350°F (177°C) | Medium-Firm | 15 seconds |
| Polyester | 305°F (152°C) | Medium | 10-12 seconds |
| Poly-Cotton Blends | 340°F (171°C) | Medium-Firm | 12-15 seconds |
Always follow the specific recommendations provided by your film and powder manufacturer for best results.
The final action is to remove the transfer film. The type of film used (hot or cold peel) determines when this happens.
Hot Peel: The film can be peeled away immediately after the heat press opens. This method is faster for high-volume production.
Cold Peel: The garment must cool down completely before peeling. This typically takes 30 to 60 seconds. Allowing it to become cool to the touch ensures the strongest bond and a smooth, matte finish.
To peel, lift a corner of the film and pull it back smoothly and consistently at a low angle. Once the film is removed, many professionals perform a quick post-press for 5-10 seconds (with a protective sheet) to improve washability and soften the feel of the print.
Mastering the DTF process requires attention to detail. These professional tips help operators elevate their print quality from good to exceptional, ensuring every garment meets a high standard.
Vibrant colors begin in the RIP software. Proper settings ensure the printer accurately reproduces the digital design. Operators can enhance saturation by adjusting ink density and limits. A solid white ink underbase, set near 100% coverage, makes colors pop on dark fabrics. Key RIP software settings include:
Ink Density: Balance ink density between 85–90% for rich colors without smudging.
ICC Profile: Select the correct ICC profile for the specific printer, ink, and film combination.
Print Order: Choose a "Color + White" setting to print the color layer first for optimal brightness.
The bond between the transfer and fabric depends on the adhesive powder. High-purity polyurethane (TPU) powder offers excellent flexibility and toughness. The powder's particle size also affects how it melts and bonds. Finer particles often create a softer feel. For a strong, lasting transfer, operators must apply the powder evenly across the wet ink and shake off all excess before curing.
The choice between hot and cold peel film impacts workflow and finish. Hot peel film is superior for high-volume jobs requiring rapid production. It allows for immediate peeling after pressing, which significantly speeds up the workflow.
| Feature | Hot Peel Film Advantage |
|---|---|
| Efficiency | Saves time with no cooling period required |
| Use Case | Ideal for bulk orders and event merchandise |
| Finish | Often produces a slightly glossy finish |
A high-quality DTF transfer can withstand 50 to 70 wash cycles without significant fading or cracking. Proper post-press care is essential to achieving this durability. Following the manufacturer's washing instructions preserves the print's integrity.
"Our logos stay sharp and colorful wash after wash—exactly what we needed for our team uniforms." "The durability is unmatched; no peeling or fading even with heavy use."
Even with a perfected process, operators can encounter issues. Identifying the root cause is the first step toward a solution. This section addresses the most frequent problems and provides clear, actionable fixes.
Dull colors often result from a mismatch between the screen's RGB display and the printer's CMYK output. A design may look vibrant on a monitor but appear faded on the garment. Operators can correct this by managing their color workflow.
Use Correct ICC Profiles: Ensure the RIP software uses an ICC profile that matches the specific printer, ink, and film combination.
Boost the White Underbase: A weak white ink layer makes colors appear less vibrant on dark fabrics. Increasing the white ink volume creates a brighter foundation.
Calibrate Equipment: Regular monitor and printer calibration ensures that what you see is what you get.
A transfer that peels or fails to stick to the fabric almost always points to an issue during the heat press stage. Incorrect temperature or pressure prevents the adhesive from activating and bonding correctly.
Signs of incorrect settings include spotty or faded areas on the transfer, the film leaving marks on the garment, or the design not sticking at all.
Operators should verify their heat press provides even heat across the platen. Pre-pressing the garment removes moisture and creates a flat surface, further improving adhesion.
A common complaint with DTF is a thick, "plastic" feel on the garment. This is typically caused by applying too much ink and adhesive powder. To achieve a softer finish, operators can use a finer-grade adhesive powder. Additionally, adjusting settings in the RIP software to reduce overall ink density can significantly soften the final print without sacrificing color quality.
Ink smudging or banding ruins a print and often indicates a printer maintenance issue. A consistent cleaning routine is the best prevention. Keeping the printer in a controlled environment with humidity between 45-65% also prevents ink from drying too quickly or smudging.
| Maintenance Task | Frequency | Purpose |
|---|---|---|
| Nozzle Check | Daily | Ensures all ink channels are firing correctly. |
| Printhead Cleaning | Daily | Removes dried ink and debris from the printhead. |
| Wiper Blade Cleaning | Daily | Keeps the blade clean for effective head wiping. |
Operators now have the knowledge to confidently tackle DTF projects. Following the core process creates durable, high-quality custom garments.
Print, Powder, Cure, Press, and Peel.
Investing in a DTF setup is an affordable entry for building a profitable business. Users can recover their initial investment and confidently scale operations. It is time to gather materials and bring creative designs to life.
DTF offers excellent versatility. Operators can press transfers onto cotton, polyester, leather, and blends. This makes it suitable for a wide range of apparel and accessories.
A quality DTF print is highly durable. It can withstand 50+ wash cycles without significant fading or cracking, making it ideal for long-lasting custom apparel.
The primary difference lies in the application method.
DTF prints onto a transfer film for heat application.
DTG (Direct-to-Garment) prints ink directly onto the fabric.


Select the most popular foreign trade service products to meet your diverse needs
Select the most popular foreign trade service products to meet your diverse needs

Tel: +86 17706217416
Add: Building L2A, No. 520, Lane 1588, Zhuguang Road, Hongqiao World Center, Qingpu District, Shanghai, China


User Comments
Service Experience Sharing from Real Customers
James Wilson
Graphic DesignerThis DTF transfer film is a game-changer for our custom apparel shop. The colors print vibrantly and the transfer process is incredibly consistent. Wash durability has been excellent for our clients.
Sarah Chen
Print Shop ManagerVery reliable film for direct-to-film transfers. Adhesion to various fabrics, including cotton and polyester blends, is strong. Minor point off as we had to slightly adjust our heat press settings, but results are top-notch.
Marcus Johnson
Small Business OwnerStarting my own merch line was daunting, but this DTF film made it so much easier. The ease of use and professional finish it allows me to achieve is outstanding. Highly recommended for entrepreneurs.
Elena Rodriguez
Production SpecialistWe've tested several DTF films, and this one stands out for its minimal curling and excellent powder adhesion. It has significantly reduced our waste and improved production speed. A fantastic product.