


How to Use DTF Film: A Step-by-Step Guide for Beginners (2025 Update)
If you're new to garment printing, using DTF film can feel overwhelming—blurry patterns, poor adhesion, and wasted materials are common headaches that eat into your time and budget. But it doesn't have to be this way. This step-by-step guide breaks down the entire DTF film process from tool prep to final inspection, so even beginners can get perfect results on the first try. Plus, our DTF film is designed for easy operation, with a higher fault tolerance for new users—you can request free samples at the end to test it yourself.
What is DTF (Direct-to-Film) Printing?
Before we dive into the "how-to," let's quickly cover "what it is."
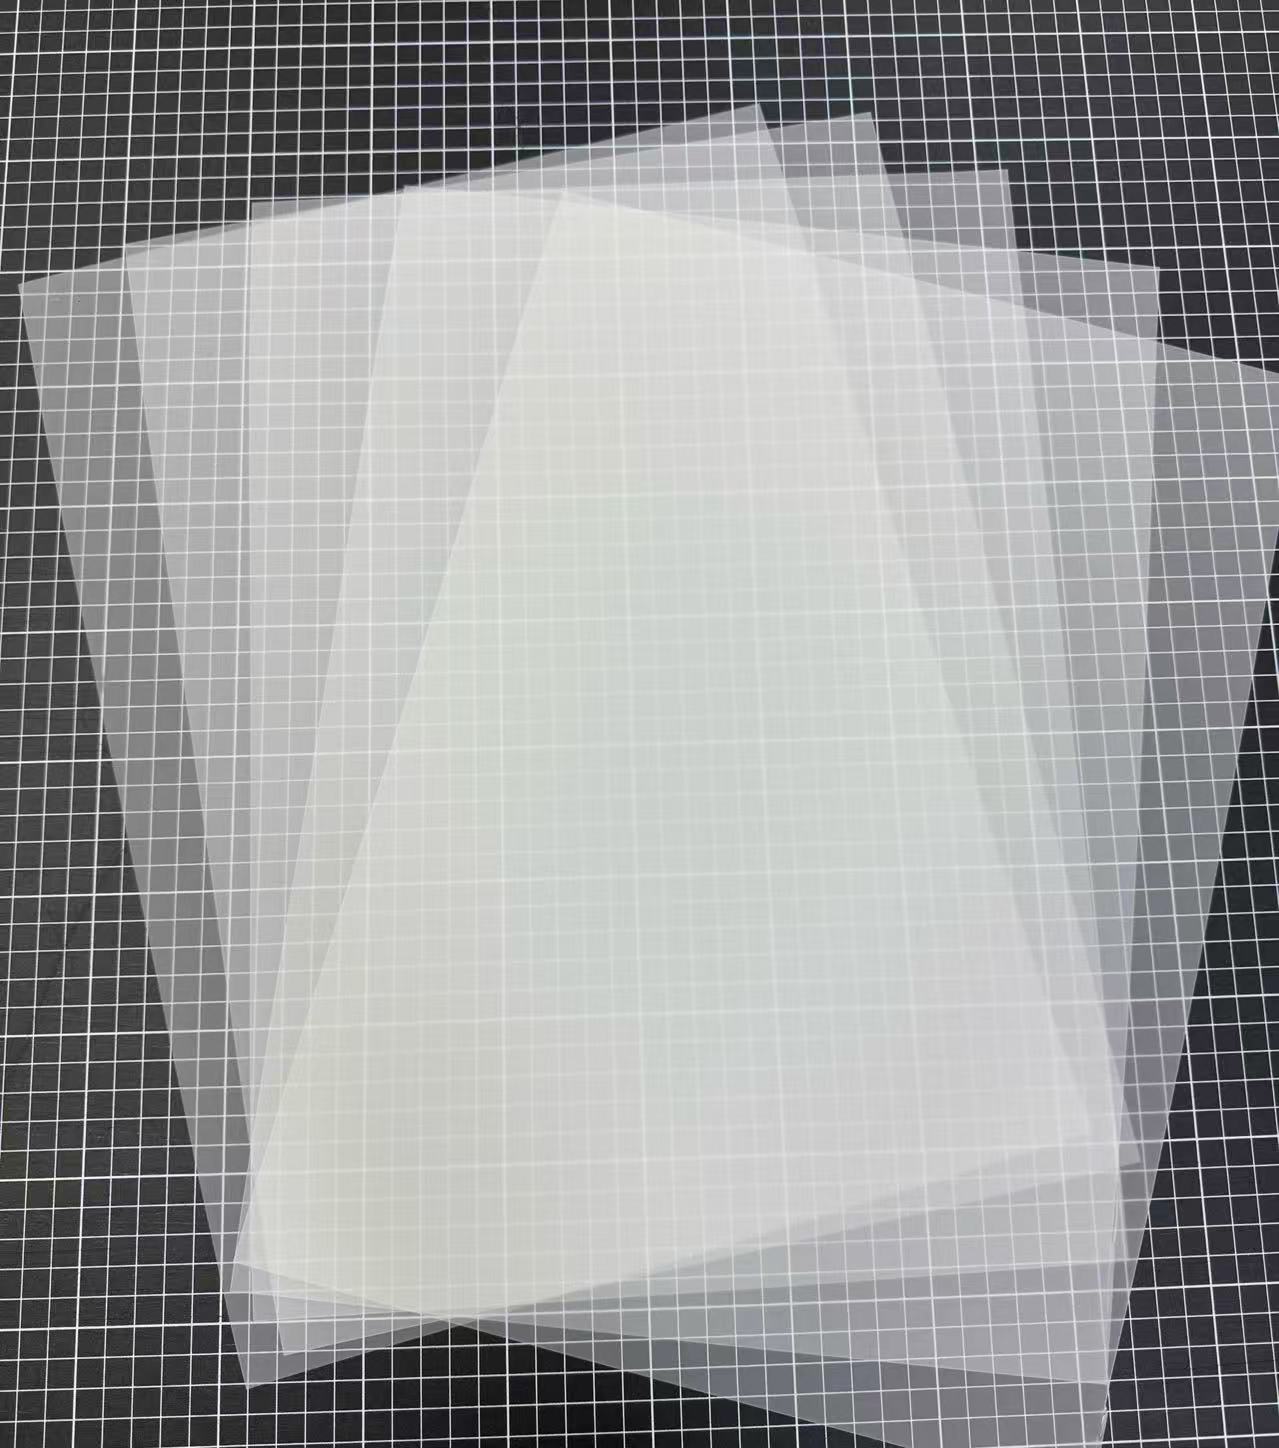
Direct-to-Film (DTF) printing is a modern apparel customization technology. Unlike other methods, DTF involves printing your design directly onto a special PET film (the DTF film). This design is then coated with a hot-melt adhesive powder, cured with heat, and finally, heat-pressed onto a garment.
The adhesive backing is the magic ingredient—it allows the print to transfer onto almost any fabric type, including cotton, polyester, blends, leather, and more, regardless of the garment's color. This versatility is why it's becoming the go-to choice for small businesses and custom apparel brands.
DTF vs. Other Methods: Why Choose DTF?
If you're new to garment printing, you've likely heard of Sublimation, HTV (Heat Transfer Vinyl), and Screen Printing. Here's how DTF compares:
| Method | Best For | Fabric Compatibility | Color Limitations |
| DTF Printing | Versatility & Full-Color | Cotton, Polyester, Blends, Any Fabric | None. Works on all colors. |
| Sublimation | Sportswear & Hard Goods | Polyester & Poly-blends ONLY | Light-colored fabrics ONLY. |
| HTV Vinyl | Simple, bold text/shapes | Most fabrics | Good for 1-3 colors; layering is complex. |
| Screen Printing | High-Volume Batches | Most fabrics | Complex setup; not cost-effective for single-piece orders. |
For beginners or businesses needing small-batch, multi-color designs, DTF offers the best balance of quality, versatility, and cost-efficiency.
Step 1: Gather Your Tools
First, make sure you have the right equipment to avoid mistakes:
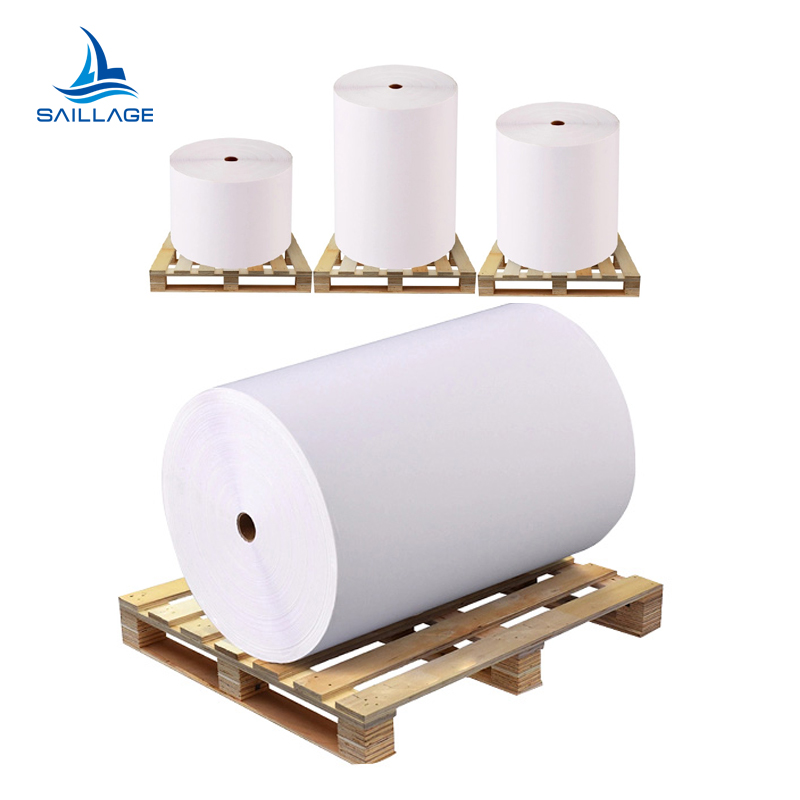
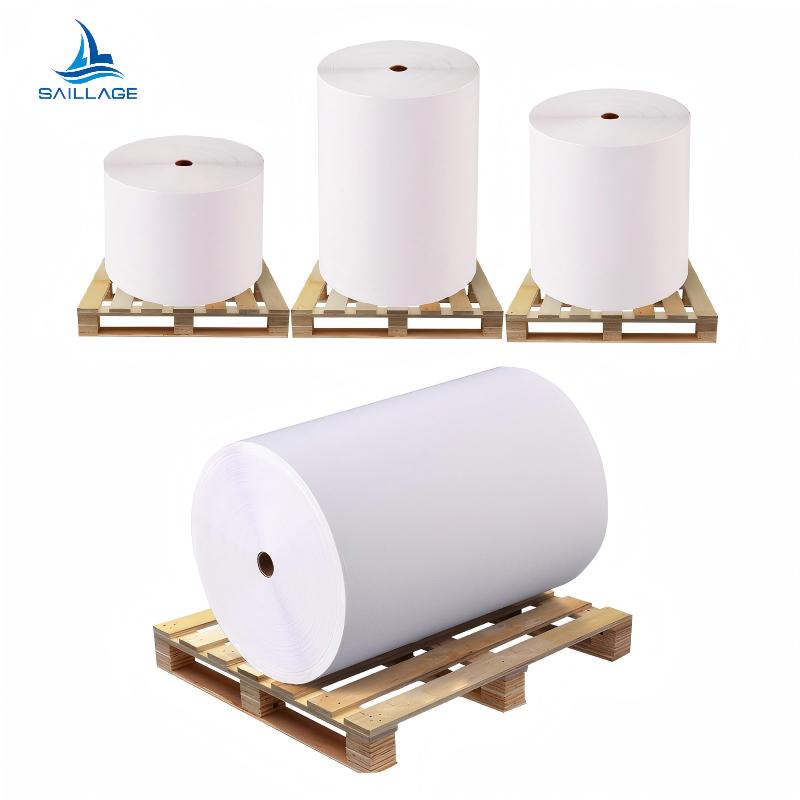
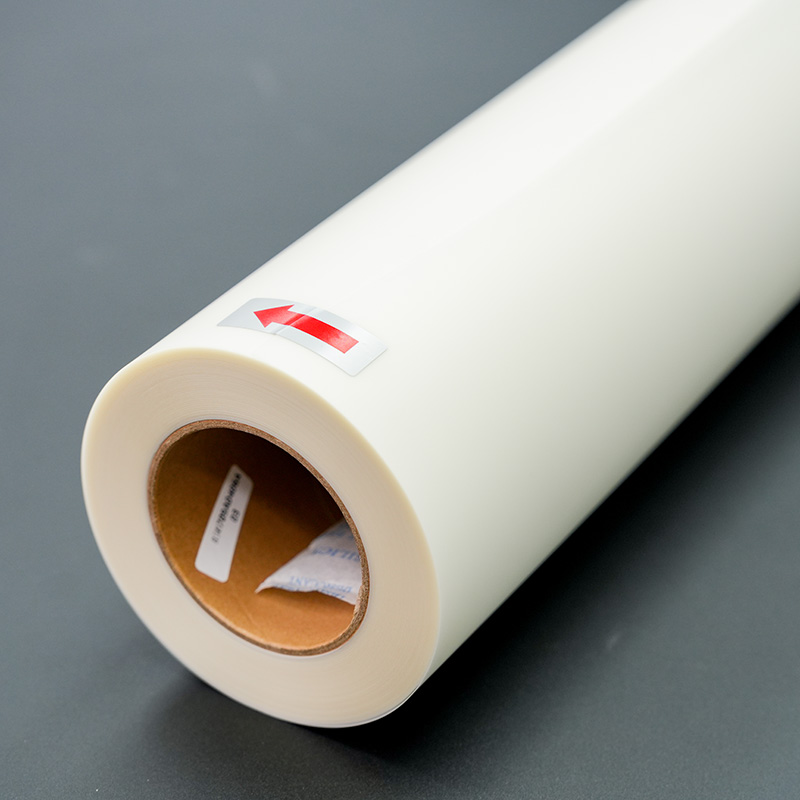
① DTF Film:
Choose a good-quality variant (like our SAILLAGE DTF film) to prevent tearing during printing and pressing.
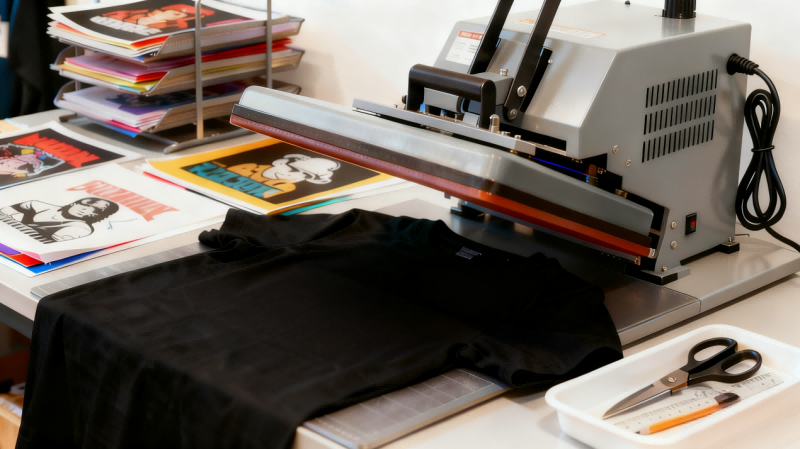
② Heat Press:
A professional heat press (temperature range: 150–180°C) is a must—household irons won't work. Our tests show household irons only achieve a 30% success rate (due to uneven pressure), while professional presses hit 98%.
③ Cutting Tools:
Scissors or a craft cutter for trimming excess film.
④ Fabric:
DTF film works on most fabrics, but we recommend starting with cotton (easiest for beginners) or polyester blends.
Pro tip: Avoid cheap, low-quality DTF film—they often absorb ink poorly and lead to smudged prints.
Step 2: Print Your Design
Once your tools are ready, move to printing:
1. Use DTF-specific ink (regular ink will bleed or peel).
2. Set your design to mirror mode—this ensures the final print isn't reversed on the fabric.
3. Print the design onto the DTF film and coat the film with the hot melt adhesive powder.
Our Double-Sided DTF film absorbs ink 20% faster than industry averages, so you won't waste more time waiting for drying. This is a game-changer for small-batch, fast-turnaround orders (e.g., custom event tees or limited-edition hoodies).
Step 3: Set the Right Heat Press Temperature & Time
Temperature and time vary by fabric—get this wrong, and your print will peel.
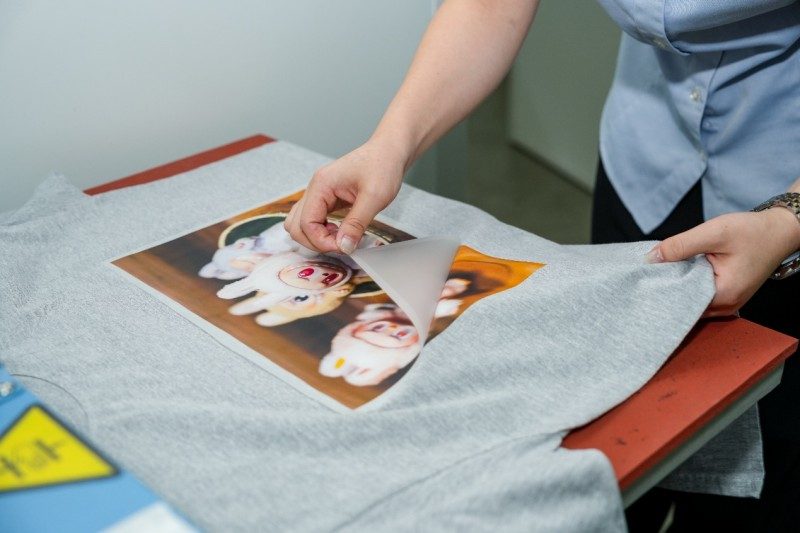
Notably, when use SAILLAGE DTF Film, a consistent heat application standard applies across both cotton and polyester fabrics: the recommended heat temperature remains steady at 150–155℃, with a press time of 8–10 seconds.
A key advantage of this product is that the film can be peeled off immediately after pressing—no cooling period is required. This performance is further validated by both customer and laboratory testing: numerous clients have confirmed that prints remain intact even after 50 wash cycles, and our rigorous lab tests have corroborated this long-term durability.
Here's a critical trick: If you're unsure, start with a scrap piece of fabric to test the settings before printing on your final product.
Step 4: Inspect the Final Product & Troubleshoot
After pressing, check if the print meets quality standards:
- Scratch the design lightly with your nail—no ink should come off.
- Soak the fabric in cold water for 10 minutes—no bleeding or fading means success.
Common issues and fixes:
- Edge Peeling: The temperature was too low. Repress for 3 seconds at the same temperature to reattach.
- Blurry Prints: Dust on the DTF film surface caused ink smudging. Pls check and use the clean film next time.
FAQ: Common DTF Printing Questions
Here are some quick answers to the most common questions beginners ask.
Q: How long do DTF prints last?
A: High-quality DTF prints are extremely durable. When applied correctly, they can withstand 50+ wash cycles without peeling or fading.
Q: Can I use a regular printer for DTF?
A: No. You must use a dedicated DTF printer or a converted inkjet printer that is compatible with DTF pigment inks and RIP software.
Q: Can I use a home iron for DTF?
A: We strongly advise against it. Irons have uneven heat and pressure, which will result in the print peeling. A professional heat press is essential for success.
Q: How do I wash a DTF-printed shirt?
A: For best results, wait 24 hours before the first wash. Turn the garment inside-out, wash in cold water, and tumble dry on low or hang dry.
Conclusion
With these 4 steps, beginners can master DTF film printing in no time. Compared to screen printing, DTF saves 50% of your time and works for small batches (even 1 piece!). It's perfect for custom garment businesses, boutique brands, or anyone looking to cut costs without sacrificing quality.
Ready to try it? View our website and contact our staff (Email: olivia.jiang@saillage.com) to get 2 free rolls of our SAILLAGE DTF film. Our technical team will also provide 1-on-1 guidance to help you set up your first print—no experience required.


contact
Tel: +86 17706217416
Add: Building L2A, No. 520, Lane 1588, Zhuguang Road, Hongqiao World Center, Qingpu District, Shanghai, China
follow us:


