


What are the advantages of BOPP film
Third, BOPP film offers great versatility and safe...
More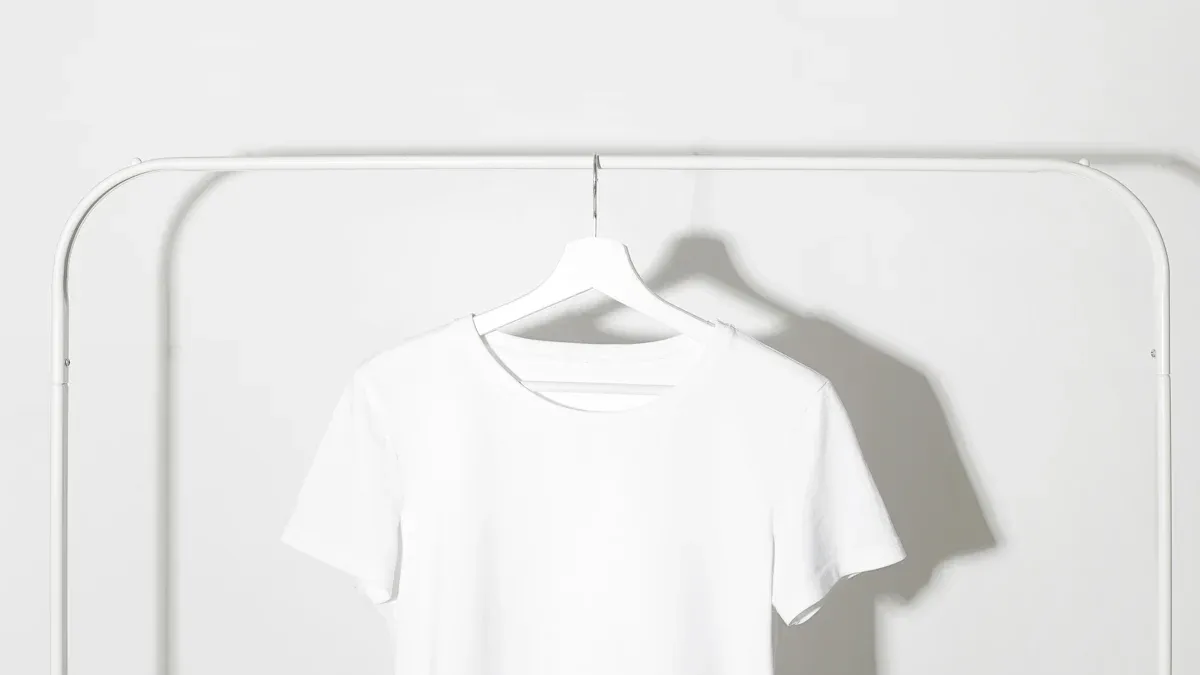
The custom T-shirt printing industry shows significant growth, reflecting a rising demand for personalized apparel.
| Metric | Value |
|---|---|
| Market Size (2024) | USD 5.16 billion |
| Projected Market Size (2030) | USD 9.82 billion |
| CAGR (2025-2030) | 11.5% |
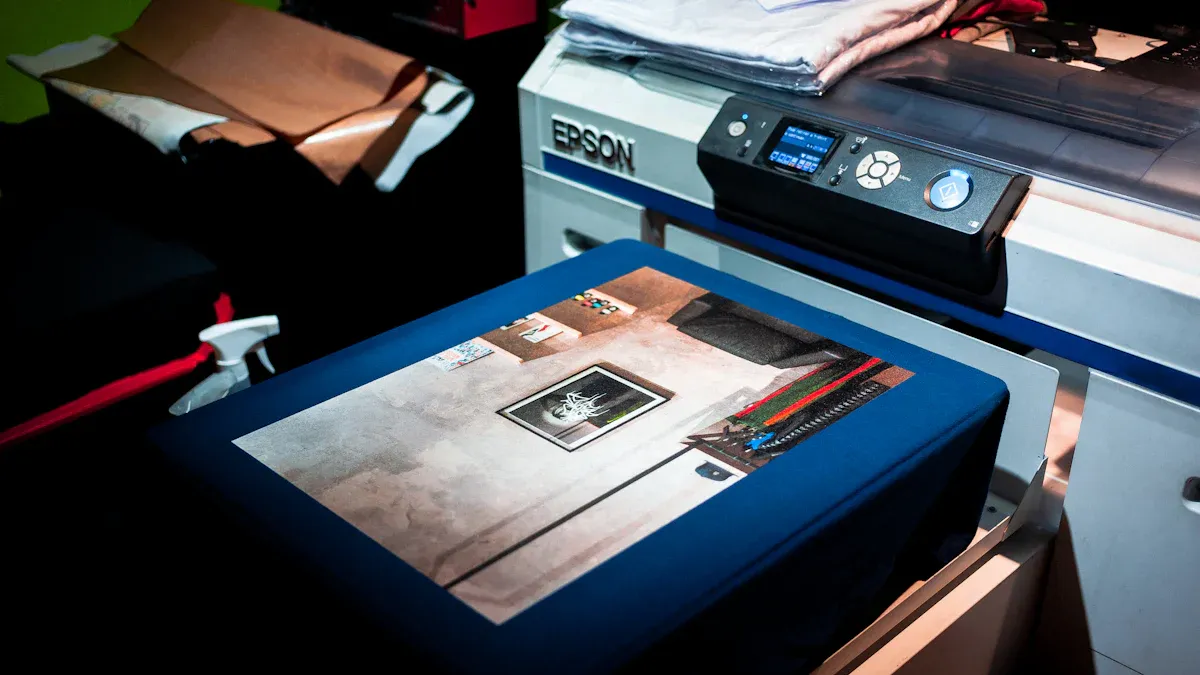
Operators use a 13x19 dtf film sheet by printing a design and applying an adhesive powder. They cure the film, then press the transfer onto a shirt at approximately 300°F for 10-15 seconds. A final press after a cold peel ensures a durable finish.
Gather all tools and materials before you start. This includes DTF film, a DTF printer, adhesive powder, a heat press, and T-shirts. Each item helps make a good design.
Print your design, apply adhesive powder, and cure the film. Make sure the ink is wet when you add the powder. Curing melts the powder to create a smooth layer.
Press the design onto the T-shirt with heat. Then, let it cool completely before you peel the film. A final press makes the design last longer and feel softer.
Operators achieve professional results by gathering the correct tools and materials before starting a project. Each component plays a specific role in creating a high-quality, durable T-shirt design.
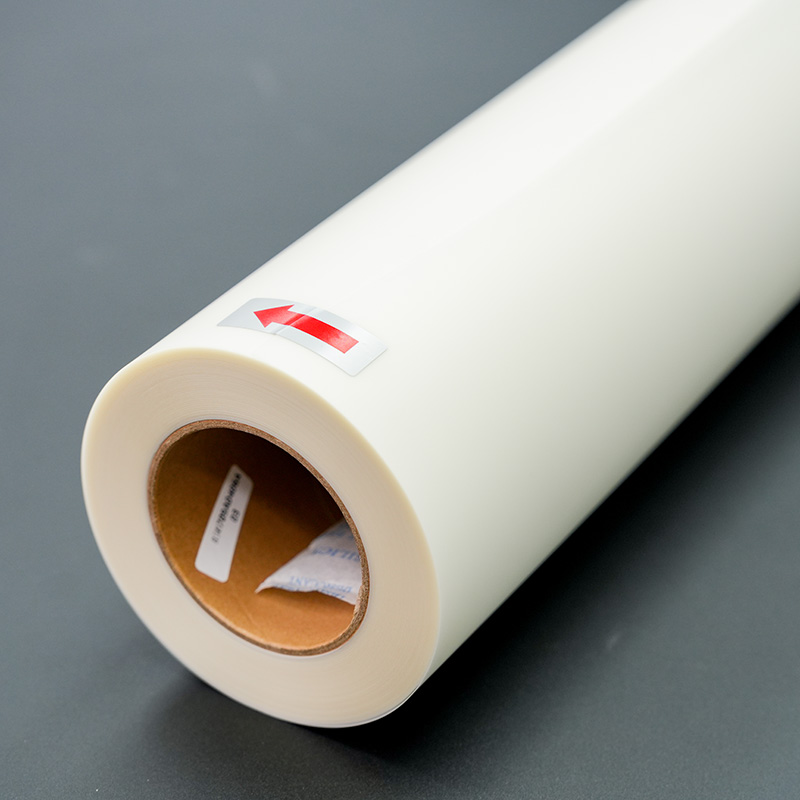
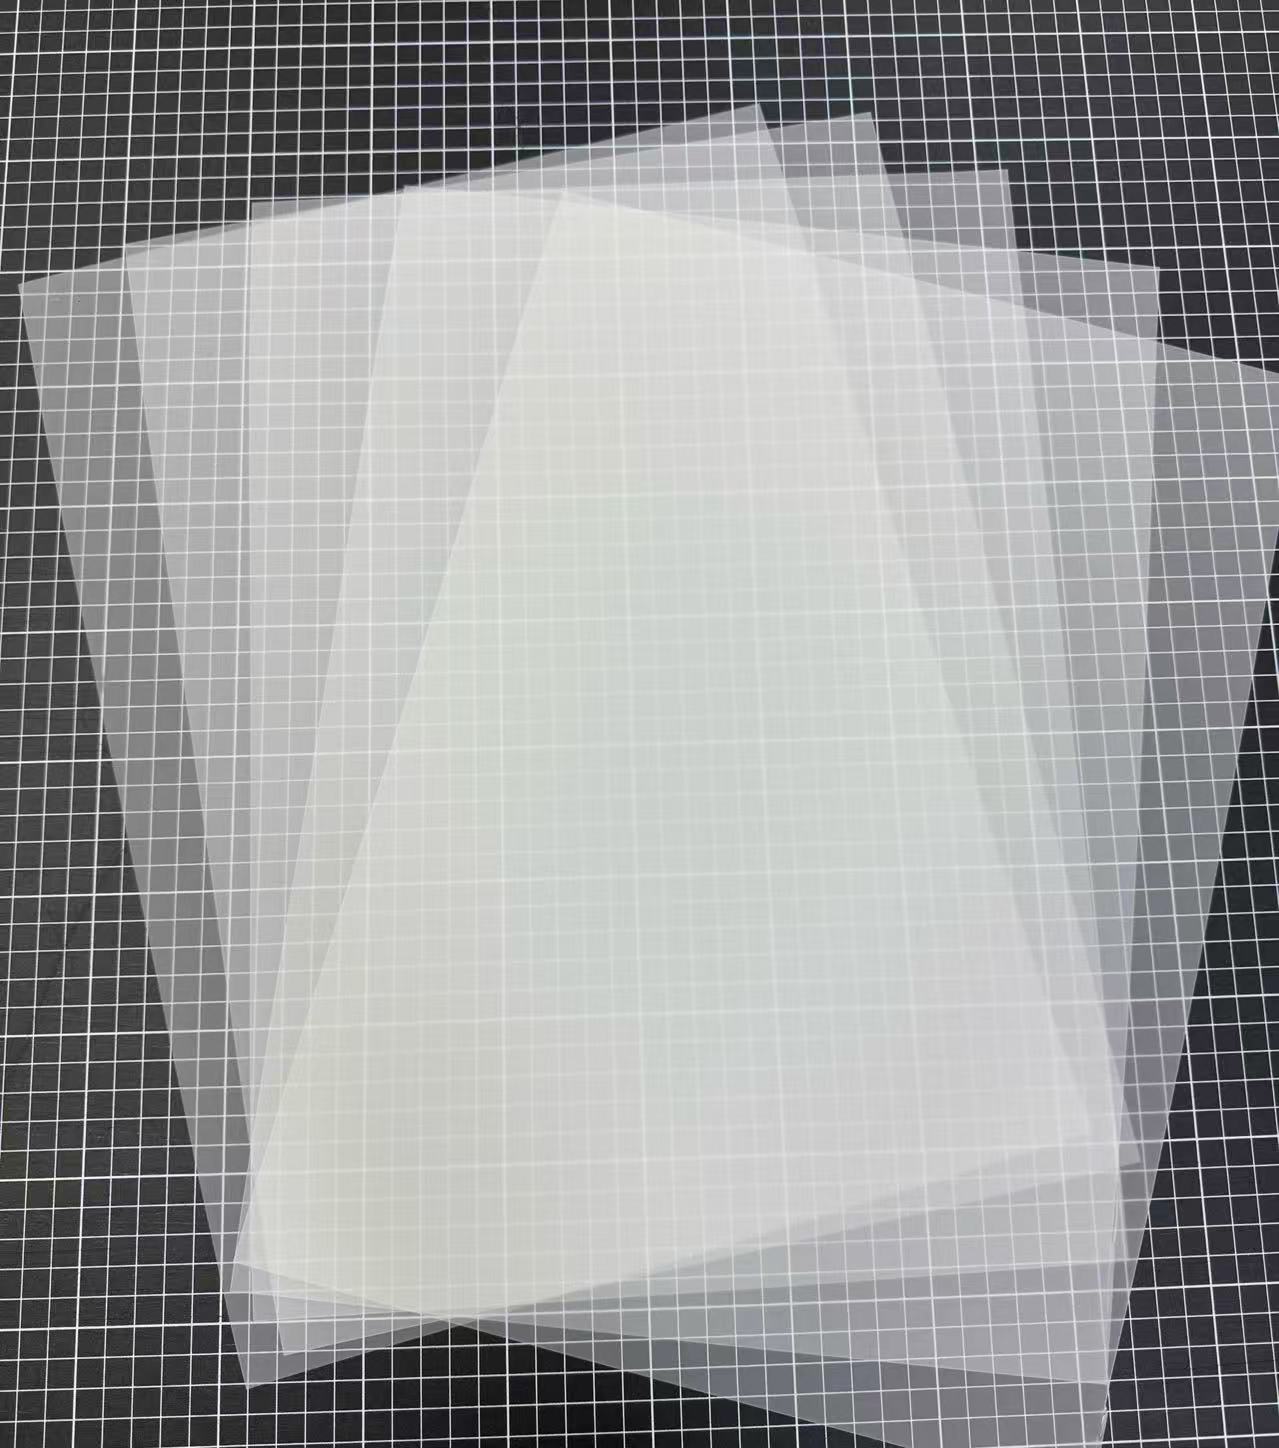
The foundation of any transfer is the film itself. A quality 13x19 dtf film provides generous dimensions for large designs. Operators should look for films with broad compatibility across various printers and inks.
Pro Tip: Films with a single-sided matte finish can improve printer roller traction and reduce static, ensuring a smoother printing process.
A dedicated DTF printer is necessary to print the design onto the film. These machines use specialized textile inks (Cyan, Magenta, Yellow, Black, and White) that are formulated for fabric application. Many printers, such as the Brother GTXpro, are specifically designed to handle 13x19-inch sheets.
This fine powder is a crucial binding agent. It is a hot-melt adhesive, typically made from polyurethane, that is applied to the wet ink on the film. During the heat press process, this powder melts and fuses the ink securely to the T-shirt fabric.
A heat press applies the necessary heat and pressure to transfer the design. Operators can choose from several types:
Clamshell: Compact and budget-friendly.
Swing-Away: Offers better access and safety.
Drawer: A hybrid that saves space while providing easy layout.
DTF printing is highly versatile and works on many fabrics. Cotton provides excellent print quality and comfort. Polyester yields vibrant, durable prints ideal for activewear. Poly-cotton blends offer a balanced combination of both materials' benefits.
A sheet of protective paper, such as parchment paper or a Teflon sheet, prevents the heat press platen from directly touching the transfer or garment. This protects both the equipment and the T-shirt from scorching or ink residue.
This phase transforms a digital file into a tangible, press-ready transfer. Operators must execute three critical steps with precision: printing the design, applying the adhesive, and curing the film. Success in this stage lays the groundwork for a flawless final product.
Operators begin by sending the design file to the DTF printer. The printer first lays down the CMYK colors and then applies a white ink overcoat. This white layer serves as the opaque base that makes the design vibrant on any color garment.
Proper color management is essential for achieving professional results. Operators use Raster Image Processor (RIP) software to control ink levels and ensure color accuracy.
AcroRip: A user-friendly option often favored by beginners for its straightforward interface.
Cadlink Digital Factory: Known for its excellent color control and broad printer compatibility.
Wasatch SoftRIP: A professional-grade solution designed for high-volume production environments.
To prevent color shifts or dullness, operators must configure the correct ICC profile in their RIP software. An ICC profile is a data file that ensures the colors on the screen match the printed output for a specific combination of printer, ink, and film.
Common Printing Errors to Avoid 🚨
RIP Software Misconfiguration: Incorrect settings can cause color inaccuracies, banding, or an insufficient white underbase. Operators should always verify settings before printing.
Inconsistent White Ink Circulation: The heavy pigments in white ink can settle and cause clogs. Using a printer with a built-in circulation system and performing daily maintenance prevents uneven prints.
Incorrect Film Handling: Storing film in a climate-controlled environment and handling it with clean gloves prevents dust and moisture from affecting ink adhesion.
Immediately after printing, the operator must apply the DTF adhesive powder while the ink is still wet. This fine, hot-melt powder acts as the glue that will bond the ink to the T-shirt fabric during the heat press stage.
Operators can choose between manual or automated application methods.
Generous Coating: Place the printed film ink-side up in a shallow tray. Sprinkle the powder generously over the entire wet design, ensuring complete coverage.
Even Distribution: Gently rock the film back and forth. This motion helps the powder coat every part of the ink.
Excess Removal: Lift the film and firmly tap or flick its backside. This action shakes off all loose powder, leaving adhesive only on the inked areas. The goal is a coated, not caked, appearance.
For high-volume operations, an automated shaker machine streamlines this process. The machine applies the powder and uses controlled vibrations to remove the excess efficiently.
Pro Tip: If any stray powder granules land on non-inked areas of the film, use a small, soft brush to gently wipe them away before curing. This prevents unwanted specks on the final garment.
Curing melts the adhesive powder, transforming it from a grainy layer into a smooth, uniform sheet of adhesive. Operators typically place the powdered 13x19 dtf film under a heat source, like a heat press hovering above the film or a dedicated curing oven. The target temperature is usually around 240-265°F for 2-3 minutes, but operators must follow the specific recommendations for their powder.
A properly cured film will have a smooth, slightly rubbery texture, often described as an "orange peel" look. The colors should remain vibrant with no visible oily or wet areas.
Achieving the correct cure is a balance. Both under-curing and over-curing can ruin the transfer.
| Risk Type | Under-Curing Effects | Over-Curing Effects |
|---|---|---|
| Appearance | The print looks dull and may have a gritty texture. | Colors can shift or darken, and fine details may blur. |
| Durability | The design will have poor wash fastness, leading to cracking or peeling. | The print becomes brittle and stiff, making it prone to cracking. |
| Application | The film may be difficult to peel, leaving parts of the design behind. | The design may shrink or distort, ruining the transfer. |
| Feel (Hand) | The print feels tacky or sticky to the touch. | The print feels hard and plastic-like against the skin. |
Careful temperature and time management during this step is non-negotiable for creating a durable, high-quality transfer.
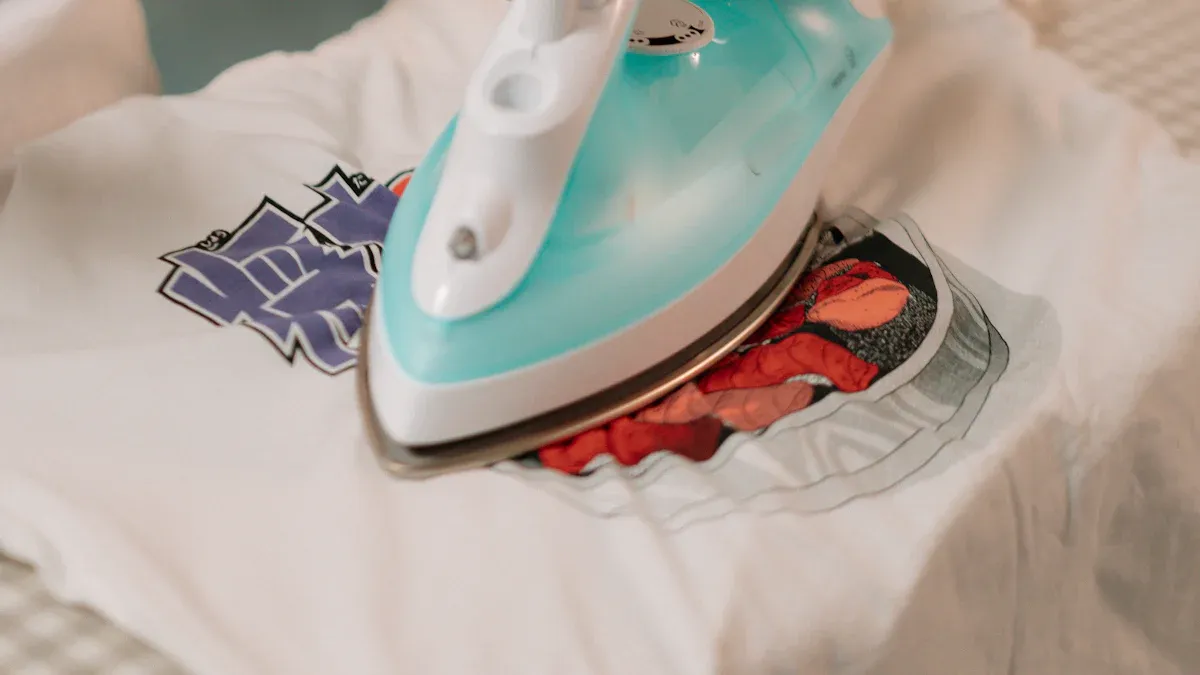
This stage is where the cured transfer permanently bonds with the garment. Operators transform the prepared film and T-shirt into a finished product through a precise application of heat and pressure. Each step, from garment preparation to the initial press, is critical for achieving a professional and durable result.
Operators begin by preparing the garment to create an optimal surface for the transfer. A clean, dry, and wrinkle-free area ensures the adhesive can bond uniformly with the fabric fibers. The most important action in this step is the pre-press.
Pre-press your garment for a few seconds to remove any moisture and wrinkles.
The operator places the T-shirt on the lower platen of the heat press. They close the press for 5-10 seconds at the target temperature. This action eliminates residual moisture trapped in the fabric from humidity and smooths out any creases from shipping or storage. A flat, dry surface prevents steam pockets from forming, which could otherwise interfere with adhesion.
Accurate alignment separates an amateur-looking shirt from a professional one. Operators must carefully position the cured 13x19 dtf film on the garment before pressing. Several tools and techniques exist to ensure perfect placement every time.
Alignment Tools: Many professionals use specialized equipment for precision. A clear acrylic T-square or a DTF alignment ruler set provides guides that line up with the shirt's collar for consistent centering. Some operators use a laser level mounted above the press to project a center line directly onto the garment.
Manual Techniques: Simple methods also yield excellent results. An operator can fold the shirt in half vertically and press lightly to create a temporary center crease. This line serves as a guide for centering the design. For chest prints, measuring a specific distance down from the collar ensures consistent vertical placement.
Securing the Transfer: Once positioned, the transfer must not shift when the heat press closes. Operators can use a few pieces of high-temperature thermal tape to secure the corners of the film to the shirt. This prevents the design from sliding and becoming crooked during the pressing process.
Using a heat press pillow is also beneficial, especially for garments with thick seams, zippers, or pockets. The pillow raises the print area, ensuring the heat press platen applies firm, even pressure across the entire design.
The first press is the chemical and mechanical process that bonds the design to the fabric. The operator places a sheet of protective paper (parchment or Teflon) over the transfer to protect the heat press platen. They then close the press, applying heat and pressure for a specific duration.
During this process, the heat melts the cured adhesive powder on the back of the DTF film. Simultaneously, the pressure forces the molten adhesive deep into the T-shirt's fibers. This creates a powerful mechanical bond that locks the ink into the textile. The success of this bond depends on three interconnected factors.
| Aspect | Role in the Bonding Process |
|---|---|
| Temperature | Activates the adhesive and allows the ink to fuse with the fabric. |
| Pressure | Ensures the molten adhesive penetrates the fabric fibers evenly. |
| Time | Allows the heat and pressure to work long enough for a complete bond. |
Achieving the correct pressure is especially important. The right amount of pressure ensures the transfer adheres completely without damaging the fabric.
Insufficient pressure results in poor adhesion, causing the design's edges to lift or the entire print to fail in the wash.
Excessive pressure can damage the fabric, thin out the ink layer, or cause the adhesive to squeeze out from the edges of the design.
Operators should perform test presses on scrap material to calibrate their machine's pressure settings. Different fabrics require different levels of pressure; heavy cotton can handle firm pressure, while delicate polyester requires a lighter touch. Consistent, even pressure across the entire platen is the goal for a high-quality, long-lasting transfer.
The final steps in the DTF process ensure the design is durable, feels great, and looks professional. Operators must perform a careful cold peel followed by a final press. This finishing stage locks in the quality of the print and prepares the garment for long-term wear.
After the first press, the operator removes the T-shirt from the heat press and places it on a flat, cool surface. The transfer must cool down completely before peeling. This cooling process typically takes a few minutes and is essential for a successful cold peel.
A successful peel depends on patience. Attempting to peel the film while it is still warm can cause the design to lift or tear.
Once the film is cool to the touch, the operator can begin peeling.
Start at one corner of the film.
Peel the film back in a smooth, low, and consistent rolling motion.
Avoid pulling the film straight up, as this can stretch the design or lift its edges.
If the edges of the design lift during peeling, it often points to an issue in the previous steps. Common causes include insufficient adhesive powder, uneven pressure, or under-pressing. Operators should re-evaluate their process for the next print.
The final press is a quick but crucial step for maximizing durability and improving the print's feel. The operator places the T-shirt back on the heat press. They cover the exposed design with a sheet of protective paper, like parchment or Teflon.
They then press the garment again for 5-10 seconds using the same temperature and firm pressure. This final press melts the ink slightly, pushing it deeper into the fabric fibers. It removes any residual shine from the film, giving the design a professional matte finish and a softer hand-feel. This step significantly enhances the print's washability and resistance to cracking.
Operators master the DTF process by dialing in the three core heat press variables: temperature, time, and pressure. These settings work together to create a permanent bond between the transfer and the garment. Getting them right is essential for professional, long-lasting results.
Setting the correct temperature is the first step to a successful transfer. The ideal heat activates the adhesive without damaging the fabric or ink. Operators must adjust the temperature based on the garment's material. Setting the heat too low prevents the adhesive from activating, leading to poor adhesion. Conversely, excessive heat can burn the ink or scorch the fabric.
| Fabric Type | Recommended Temperature Range |
|---|---|
| 100% Cotton | 320-350°F (160-177°C) |
| Polyester & Blends | 275-300°F (135-149°C) |
| Performance Fabrics | 280°F (138°C) Maximum |
The duration of each press is just as critical as the temperature. Operators must control the time for both the initial transfer and the final cure. The first press typically requires more time to melt the adhesive and bond the ink to the fibers.
The initial press usually lasts 10-15 seconds. The final press, performed after the cold peel, is much shorter at 5-10 seconds to cure the ink and improve durability.
Slight adjustments may be necessary for different materials. For example, cotton fabrics can handle a slightly longer press time of around 15-20 seconds.
Consistent pressure ensures the entire design makes solid contact with the garment. This allows the molten adhesive to penetrate the fabric fibers uniformly. Most DTF applications require medium to firm pressure. Insufficient pressure is a common cause of lifting edges and poor wash resistance. Excessive pressure, however, can thin out the ink layer or damage delicate fabrics. Operators should perform test presses to calibrate their machine, ensuring the platen applies equal force across the entire transfer area.
Creating a professional DTF print goes beyond the heat press. Operators must follow specific finishing and care procedures to guarantee the design remains vibrant and intact through repeated wear and washing. These final steps lock in durability and deliver a high-quality product.
The cold peel method is a cornerstone of durable DTF application. After the initial press, the operator must let the transfer cool completely before removing the film. This patience pays off, as cold peel transfers are widely recognized for their superior longevity. The adhesive forms a stronger, more flexible bond with the fabric. This flexibility allows the design to move with the garment, significantly reducing the risk of cracking or peeling after numerous washes.
While hot peel offers speed, cold peel delivers quality. For apparel meant to last, such as retail products or personalized gifts, the stronger bond of a cold peel is the preferred professional choice.
A final press is not an optional step; it is essential for maximizing washability and feel. This quick secondary press, performed for 5-10 seconds after the cold peel, serves two purposes. First, it fully cures the ink and reinforces the adhesive's bond by pushing it deeper into the fabric fibers. Second, it removes any plastic-like shine, leaving the design with a soft hand-feel and a professional matte finish. This process transforms a good print into a great one.
Proper aftercare is critical for extending the life of any DTF print. Operators should provide customers with clear instructions to protect their investment. Following these simple rules prevents premature fading, cracking, and peeling.
Turn the garment inside out before washing to protect the print from abrasion.
Wash in cold water with a mild detergent. Avoid bleach and fabric softeners.
Use a gentle wash cycle to minimize stress on the transfer.
Air dry by laying flat whenever possible. If using a dryer, choose a low-heat setting.
Even with a careful process, operators can encounter issues. Understanding the cause of common problems like poor adhesion, faded colors, or cracking is the first step toward fixing them and perfecting the DTF technique.
Operators may find a print’s edges lifting if the transfer fails to bond correctly with the fabric. This issue often points to a problem with the materials or equipment settings.
Incompatible Fabric: Some fabrics with low heat resistance can shrink or deform during pressing, causing the transfer edges to peel away.
Incorrect Temperature: A heat setting that is too low will not fully melt the adhesive powder, resulting in a weak bond.
Inadequate Pressing Time: A press time that is too short prevents the adhesive from properly integrating into the fabric fibers.
Equipment Inconsistencies: An uneven heat press platen can create inconsistent pressure, causing some parts of the design to bond while others fail.
A vibrant design can appear dull or faded after pressing due to errors in the curing or heat press stage. Operators can fix faded colors by ensuring proper settings. Insufficient heat, low pressure, or a press time under 10 seconds can cause a weak transfer and muted colors. Additionally, uneven adhesive powder application can create patchy, dull spots. If using a cold peel film, removing it before it has completely cooled can damage the print layer, giving it a foggy appearance.
A print that cracks after washing indicates a failure in the bonding process. The design lacks the flexibility to withstand stretching and agitation. Several factors can lead to this problem.
Inadequate Ink Curing: Under-cured ink remains brittle and weak. It cannot stretch with the fabric and cracks under stress.
Incorrect Heat Press Settings: Too much pressure can squeeze the adhesive out, while too little heat or time prevents a strong bond from forming.
Adhesive Layer Failure: If the adhesive does not properly melt and lock into the fabric, the entire print layer can break apart during a wash cycle.
Operators achieve success by following the step-by-step process from printing to peeling. Mastering the correct heat press settings and finishing techniques ensures professional, durable results. With practice, anyone can consistently create high-quality custom T-shirts using 13x19 dtf film, transforming digital designs into impressive apparel.
Operators must use a dedicated DTF printer. It handles specialized textile inks and prints the essential white ink layer, which standard printers cannot do.
Peeling often results from incorrect heat press settings. Insufficient temperature, pressure, or time prevents the adhesive from properly bonding to the fabric fibers during the transfer process.
Printed transfers can last several months. Operators should store them in a cool, dry place away from direct sunlight to maintain adhesive quality and prevent ink degradation.
Essential Frame Plate Kits: A Beginner's Guide to Auto Reinforcement
Automatic UV Coaters: Revolutionizing High-Speed Printing with Essential Technology
Unveiling Plate Heat Exchangers: A Step-by-Step Guide to Their Operation
Discovering 2025's Top Precoating Materials for Advanced Filtration Systems
Tablet Sampling Machines: Your Ultimate Guide for Laboratory Selection


Select the most popular foreign trade service products to meet your diverse needs
Select the most popular foreign trade service products to meet your diverse needs

Tel: +86 17706217416
Add: Building L2A, No. 520, Lane 1588, Zhuguang Road, Hongqiao World Center, Qingpu District, Shanghai, China


User Comments
Service Experience Sharing from Real Customers
Michael Rodriguez
Print Shop OwnerThis 13x19 DTF film is a game-changer for our custom apparel business. The transfer quality is incredibly vibrant and durable, even after multiple washes. The size is perfect for most of our popular designs. Highly recommended!
Sarah Chen
Graphic DesignerAs a designer working with a promotional products company, I need reliable transfer film. This 13x19 DTF film consistently delivers sharp details and bright colors. The occasional minor curl is the only reason it's not a perfect 5, but it's still our go-to film.
David Miller
Production ManagerExcellent product for our small-batch manufacturing. The film feeds smoothly through our printer, minimizes waste, and the transfers adhere perfectly to various fabrics including cotton and polyester blends. Has significantly improved our workflow efficiency.
Jessica Williams
EntrepreneurStarting my own Etsy store for personalized gifts, and this DTF film made all the difference. The 13x19 size is versatile, allowing me to print multiple small designs at once. The finished product feels soft and professional. Customers love the quality!