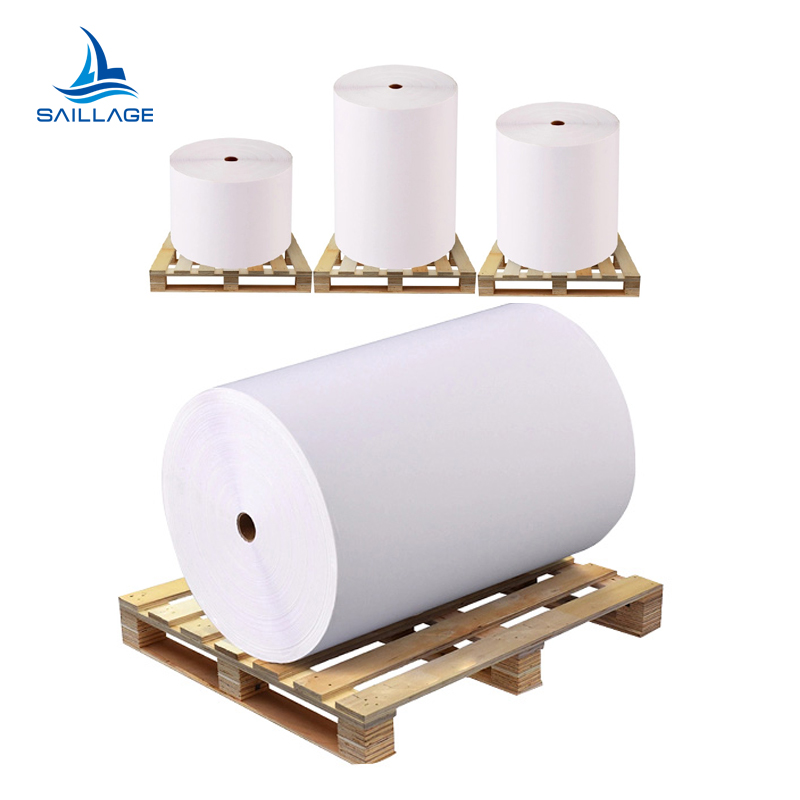


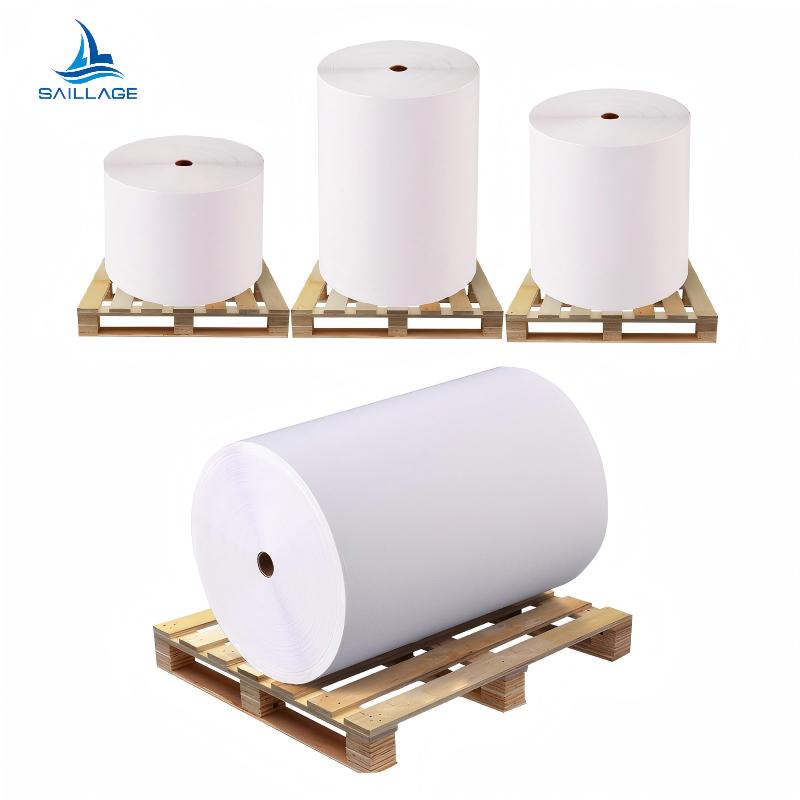


DTF Film: The Secret to Perfect Halloween Shirts
Make your Halloween tees shine with SAILLAGE’s DTF...
MoreOperators learning how to print on dtf film with epson printer often encounter frustrating issues. These problems frequently include:
Nozzle clogs that stop production
Ink flow problems leading to streaky prints
A nozzle check and print head alignment can fix banding. Verifying the ICC profile corrects muted colors.
Operators can achieve professional-grade DTF prints by systematically troubleshooting common quality and ink flow problems. These issues often originate from printhead misalignment, incorrect software settings, or interruptions in the ink supply. Addressing them promptly ensures consistent output and minimizes wasted materials.
Horizontal banding or fine lines are among the most frequent print defects. These flaws typically point to a misaligned printhead. The printer deposits ink in passes, and if these passes do not align perfectly, visible gaps or overlaps appear.
Operators should first perform a nozzle check. This utility prints a pattern that reveals which specific nozzles are clogged or misfiring. If the pattern shows breaks, a head cleaning cycle is the next step. If the nozzle check pattern is perfect but banding persists, the issue is alignment.
To correct this, operators can use the printer's built-in alignment utilities.
Bidirectional Alignment: This calibration ensures that ink droplets land in the correct position as the printhead moves back and forth. A poor bidirectional alignment is a primary cause of grainy or blurry vertical lines.
Paper Feed Adjustment: This setting calibrates the film advance mechanism, ensuring the printer moves the film the correct distance between passes.
Pro Tip: Always run a nozzle check before starting a large print job. This simple five-minute task can save hours of reprinting and significant cost in wasted ink and film.
Designs that look vibrant on screen may appear dull or discolored when printed. This color shift is a classic sign of a software or color management problem. The core issue often lies in the translation between different color models. Computer monitors use an RGB (Red, Green, Blue) color space, while DTF printers use a CMYK (Cyan, Magenta, Yellow, Black) plus White ink set.
An ICC (International Color Consortium) profile is the essential bridge between these two color spaces. Incorrect ICC profiles lead to significant color accuracy issues. Without a profile calibrated for the specific ink, film, and printer combination, the RIP software cannot accurately convert the design's RGB data. This discrepancy results in distorted or lifeless print colors. Common examples include reds appearing muted and orange, or shadows printing as overly saturated, ink-heavy patches.
To fix this, operators must:
Verify the ICC Profile: Ensure the profile selected in the RIP software matches the exact brand of ink and film in use.
Check RIP Settings: Confirm that the color settings and ink channels are configured correctly within the software.
Calibrate the Monitor: A calibrated monitor provides a more accurate on-screen preview, reducing the gap between digital design and physical print.
Ink smudging or color bleeding occurs when too much ink is applied to the film, or when the ink does not cure properly before the powder application. The film has a limited capacity to absorb ink, and oversaturation causes colors to pool and mix.
Operators can resolve this by adjusting settings in their RIP software.
| Setting | Action | Purpose |
|---|---|---|
| Ink Limit | Reduce the total ink percentage. | Prevents oversaturation by capping the maximum amount of ink put down. |
| White Ink Density | Lower the white underbase percentage. | Reduces the volume of the thickest ink layer, allowing for better drying. |
If ink limits are correct, the problem may be environmental. High humidity can significantly slow the ink's drying time on the film. Using a dehumidifier in the print room can help create a more stable and controlled environment, promoting crisp, sharp prints.
Clogged nozzles are an unavoidable part of DTF printing, especially with pigment-heavy white ink. A clog prevents ink from firing, creating distinct horizontal lines or gaps in the print.
Operators should follow a progressive cleaning approach:
Run a Standard Head Cleaning: Use the printer's built-in cleaning cycle. Perform a nozzle check afterward to see if the clog is cleared. Repeat up to two times.
Perform a Power Clean: If standard cleanings fail, a power clean (or heavy clean) pushes a larger volume of ink through the head. This consumes a lot of ink, so it should be used sparingly.
Manual "Wet Cap": Park the printhead over the capping station. Use a syringe to apply a small amount of printhead cleaning solution to the cap. Let the head soak for several hours or overnight to dissolve stubborn clogs.
Caution: Never touch the printhead surface with your fingers or hard objects. The nozzle plate is extremely delicate and can be permanently damaged.
Ink starvation appears as large, inconsistent gaps or fading in the middle of a print. Unlike a simple clog, this indicates a broader problem with the ink supply system. The printhead is not receiving a steady flow of ink from the bulk system.
Common causes include air bubbles in the ink lines or sediment buildup. To address issues like air in the ink lines that can prevent a DTF printer from printing, operators can manually prime the lines. This involves using a syringe to gently pull ink through the dampers until all air is purged, re-establishing a solid ink flow.
For printers using white ink, preventative maintenance is crucial. A recommended weekly task involves a manual flush of the white ink lines. This process circulates the ink, preventing the heavy titanium dioxide pigment from settling and forming sediment buildup in the white channel. Consistent maintenance ensures the entire ink delivery path remains clear and functional.
Beyond ink and printhead issues, media handling errors are a significant hurdle for many operators. The printer must feed the DTF film smoothly and recognize it correctly to produce a successful print. Film jams, recognition errors, and software conflicts can halt production entirely. Understanding how to resolve these mechanical and digital roadblocks is essential for anyone learning how to print on dtf film with epson printer.
A film jam or a skewed print can ruin an entire transfer sheet. These problems occur when the film does not travel straight through the printer's paper path. The primary cause is often related to the printer's rollers or the film itself.
Dirty Rollers: The rubber rollers that grip and advance the film can accumulate dust, ink overspray, and other debris. This buildup reduces their grip, causing the film to slip or feed at an angle. Operators should regularly clean the rollers with a lint-free cloth lightly dampened with isopropyl alcohol.
Incorrect Loading: The film must be loaded perfectly straight. Operators need to align the edge of the film snugly against the printer's paper guide. A slight initial misalignment becomes exaggerated as the film advances, leading to a skewed print or a jam.
Static Electricity: In dry environments, static can build up on the DTF film. This static charge can cause the film to cling to internal printer components, disrupting the feed path. Using an anti-static brush on the film before printing can mitigate this issue.
Note: Always ensure the film is flat and has no curled edges before loading. A bent corner is a common culprit for catching on internal parts and causing a jam.
One of the most common frustrations with converted Epson printers is the dreaded 'Paper Out' error, even with a film sheet properly loaded. This happens because the printer's optical sensors are designed to detect opaque paper, not transparent or translucent DTF film. The sensor's light passes through the film, leading the printer to believe nothing is loaded.
The most effective solution is to disable the paper size check sensor, often referred to as the PE (Paper End) sensor. This modification tells the printer to ignore the sensor's reading and proceed with printing. This step is a non-negotiable part of mastering how to print on dtf film with epson printer.
If disabling the sensor is not an option, operators can try a workaround:
Apply a Small Piece of Tape: Place a small piece of masking tape or a white label on the leading and trailing edge of the film's backside.
Position the Tape: The tape should be positioned where the optical sensor will detect it. This tricks the sensor into recognizing the film as valid media.
This workaround adds an extra step to the process. For long-term, efficient production, disabling the sensor is the recommended professional solution.
Communication breakdowns between the computer, RIP software, and the printer can manifest as cryptic errors or a complete failure to print. These conflicts often stem from corrupted or improperly installed printer drivers. A clean software environment is just as important as a clean printhead. A smooth workflow is a core part of how to print on dtf film with epson printer.
When the printer fails to respond or behaves erratically, a complete driver reinstall is a powerful troubleshooting step. Operators must first fully remove all old driver components to prevent conflicts.
A proper uninstallation procedure involves these steps:
Power off the printer and disconnect its data cable from the computer.
Navigate to the Programs and Features section within the Windows Control Panel.
Locate the Epson printer software in the list (e.g., EPSON [Your Model] Series Printer Uninstall).
Select the software and click the Uninstall/Change button.
Follow the on-screen prompts to confirm the removal of the printer driver.
After the uninstallation completes, restart the computer while the printer remains disconnected.
Important: If multiple entries for the same Epson model exist, operators should repeat the process for each one to ensure a completely clean slate. Once the computer has restarted, they can install the fresh driver, either from the original CD or, preferably, the latest version from the official Epson support website.
This methodical approach ensures that no residual files are left to interfere with the new installation or the RIP software's communication with the printer.
Mastering how to print on dtf film with epson printer depends on proactive maintenance. Operators prevent the most common print defects and costly downtime by adhering to a consistent schedule.
Perform daily nozzle checks and head cleanings.
Use the correct ICC profile for the specific ink and film.
Keep rollers and the film path clean for smooth media feeding.
Operators must shake white ink cartridges daily. This simple task prevents the heavy titanium dioxide pigment from settling. It ensures a consistent white underbase and prevents clogs in the ink lines.
No, not all models are suitable. Operators typically convert specific printers like the Epson L1800 or P-series. Their printheads handle pigment inks and their chassis allows for modification.
This issue usually points to incorrect heat press application. Operators should verify three key settings:
Correct temperature for the film and powder
Sufficient and even pressure
Accurate pressing time


Select the most popular foreign trade service products to meet your diverse needs
Select the most popular foreign trade service products to meet your diverse needs

Tel: +86 17706217416
Add: Building L2A, No. 520, Lane 1588, Zhuguang Road, Hongqiao World Center, Qingpu District, Shanghai, China


User Comments
Service Experience Sharing from Real Customers
James Wilson
Print Shop OwnerThis DTF film is incredibly consistent. After dialing in the settings (I use 240°C for the hot peel), the prints come out vibrant and the adhesive transfers perfectly every time. A game-changer for my custom apparel business.
Sophia Chen
Graphic DesignerAs a designer producing samples for clients, the detail I can achieve on this film is outstanding. The white ink base is opaque, allowing for bright colors on dark garments. Minor learning curve with the powdering step, but results are professional.
Michael Rodriguez
Production ManagerWe switched to this DTF film for bulk orders of logoed hats and bags. The durability after washing is excellent, and the printing process is much faster than our old method. Film feeds through our printer without jamming, which is crucial for meeting deadlines.
Emily Parker
Small Business OwnerPerfect for my home-based print-on-demand store. The instructions were clear on how to print correctly (mirror image, correct DTF settings). The film is reliable, and my customers love the soft, high-quality prints. It has allowed me to expand my product line easily.