


Saillage DTF: How to Boost Profit with Wholesale T-Shirt Printing in 2026
For small print shops and creators, 2026 is shapin...
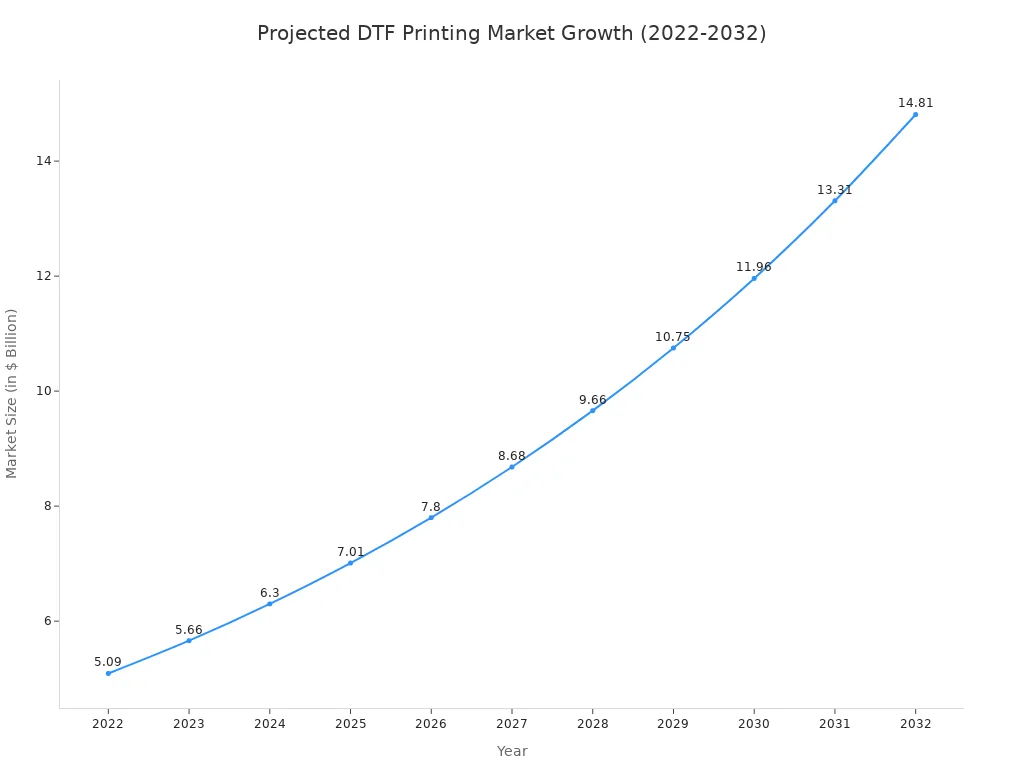
MoreA film dtf printer enables users to transfer intricate designs onto special films. They then heat-press these printed films directly onto various fabrics. The industry's rapid growth highlights its increasing popularity for custom apparel, with market projections showing significant expansion.
Assembling the correct tools and materials is the foundational step for any successful DTF project. Operators need specific hardware, software, and consumables to bring a digital design to life on fabric.
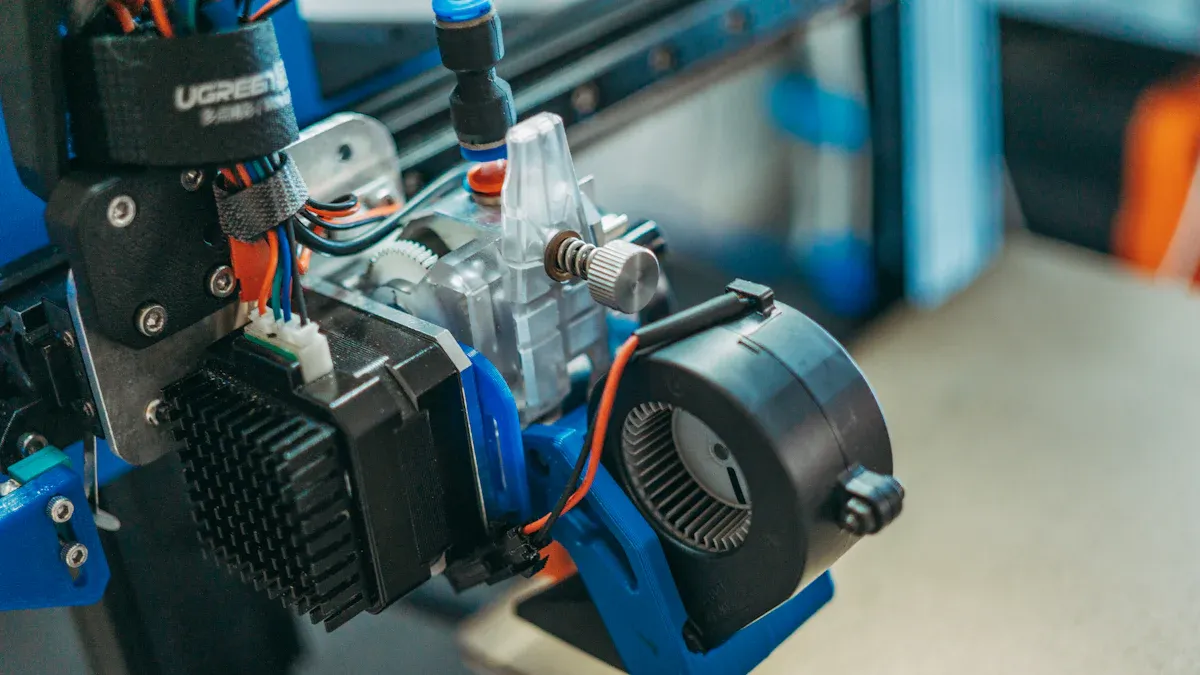
The central piece of hardware is the film dtf printer itself. Entry-level models offer a range of features suitable for small businesses or hobbyists.
| Printer Model | Max DTF Width | Key Features | Pros | Cons |
|---|---|---|---|---|
| Prestige A3+/A3+ R | 13" | Sheet-fed or roll-fed options | Low cost, low ink cost | Requires more troubleshooting |
| Uninet 100 | A3 size (~13") | Includes ink, training, refillable bottles | Helpful tech support, lower ink price | PC compatible only, messy refills |
| Roland BN-20D | 20" | Cartridge-ink, doubles as vinyl cutter | High quality prints, respected brand | Higher price, slow printing speed |
Beyond the printer, a quality heat press is necessary for transferring the design. A powder shaker and curing oven will also streamline the workflow, although manual application and curing are possible for beginners.
Specialized Raster Image Processor (RIP) software is essential. Programs like AcroRIP and Cadlink Digital Factory manage color profiles, optimize ink usage, and automate print jobs for efficiency. AcroRIP is a popular choice, and many vendors offer free evaluation licenses for users to test the software.
Core supplies include:
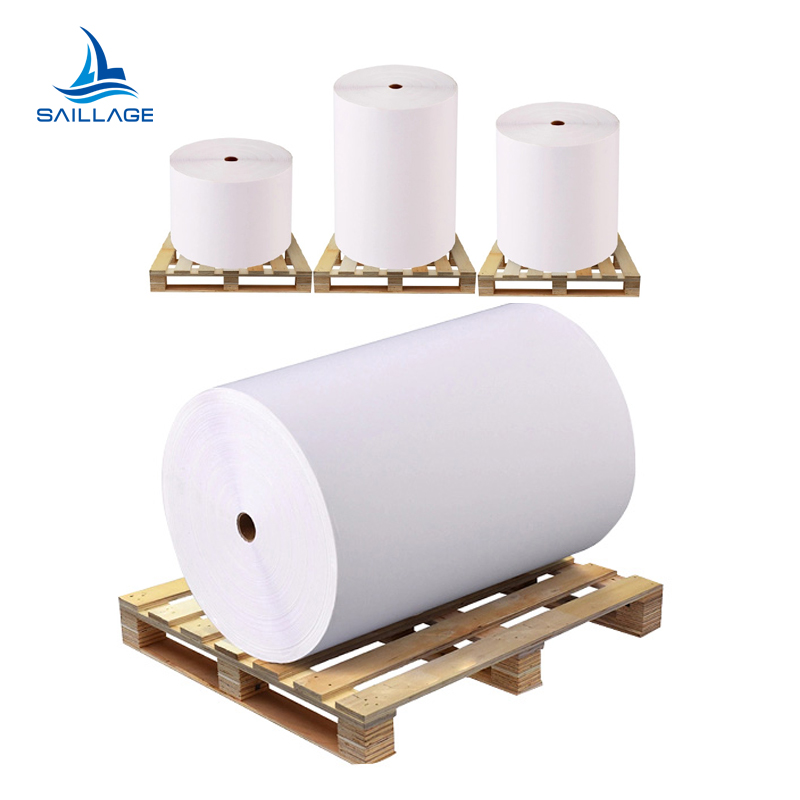
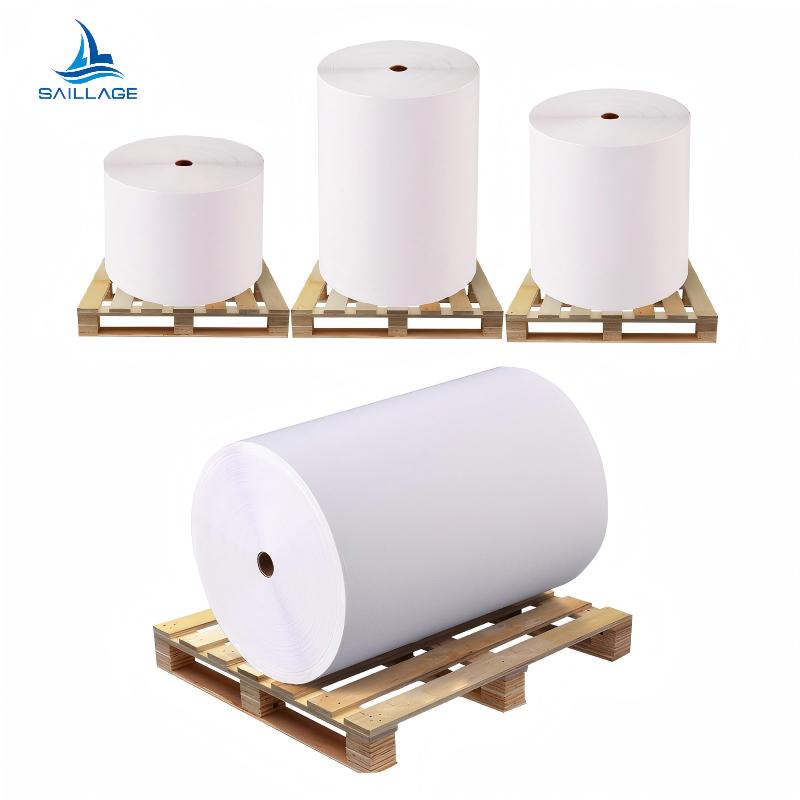
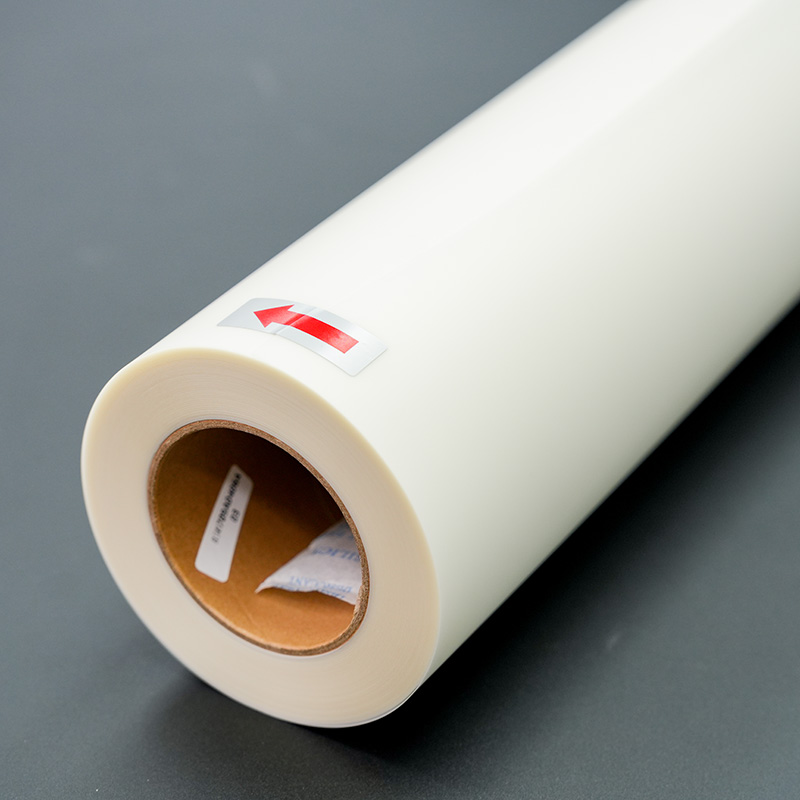
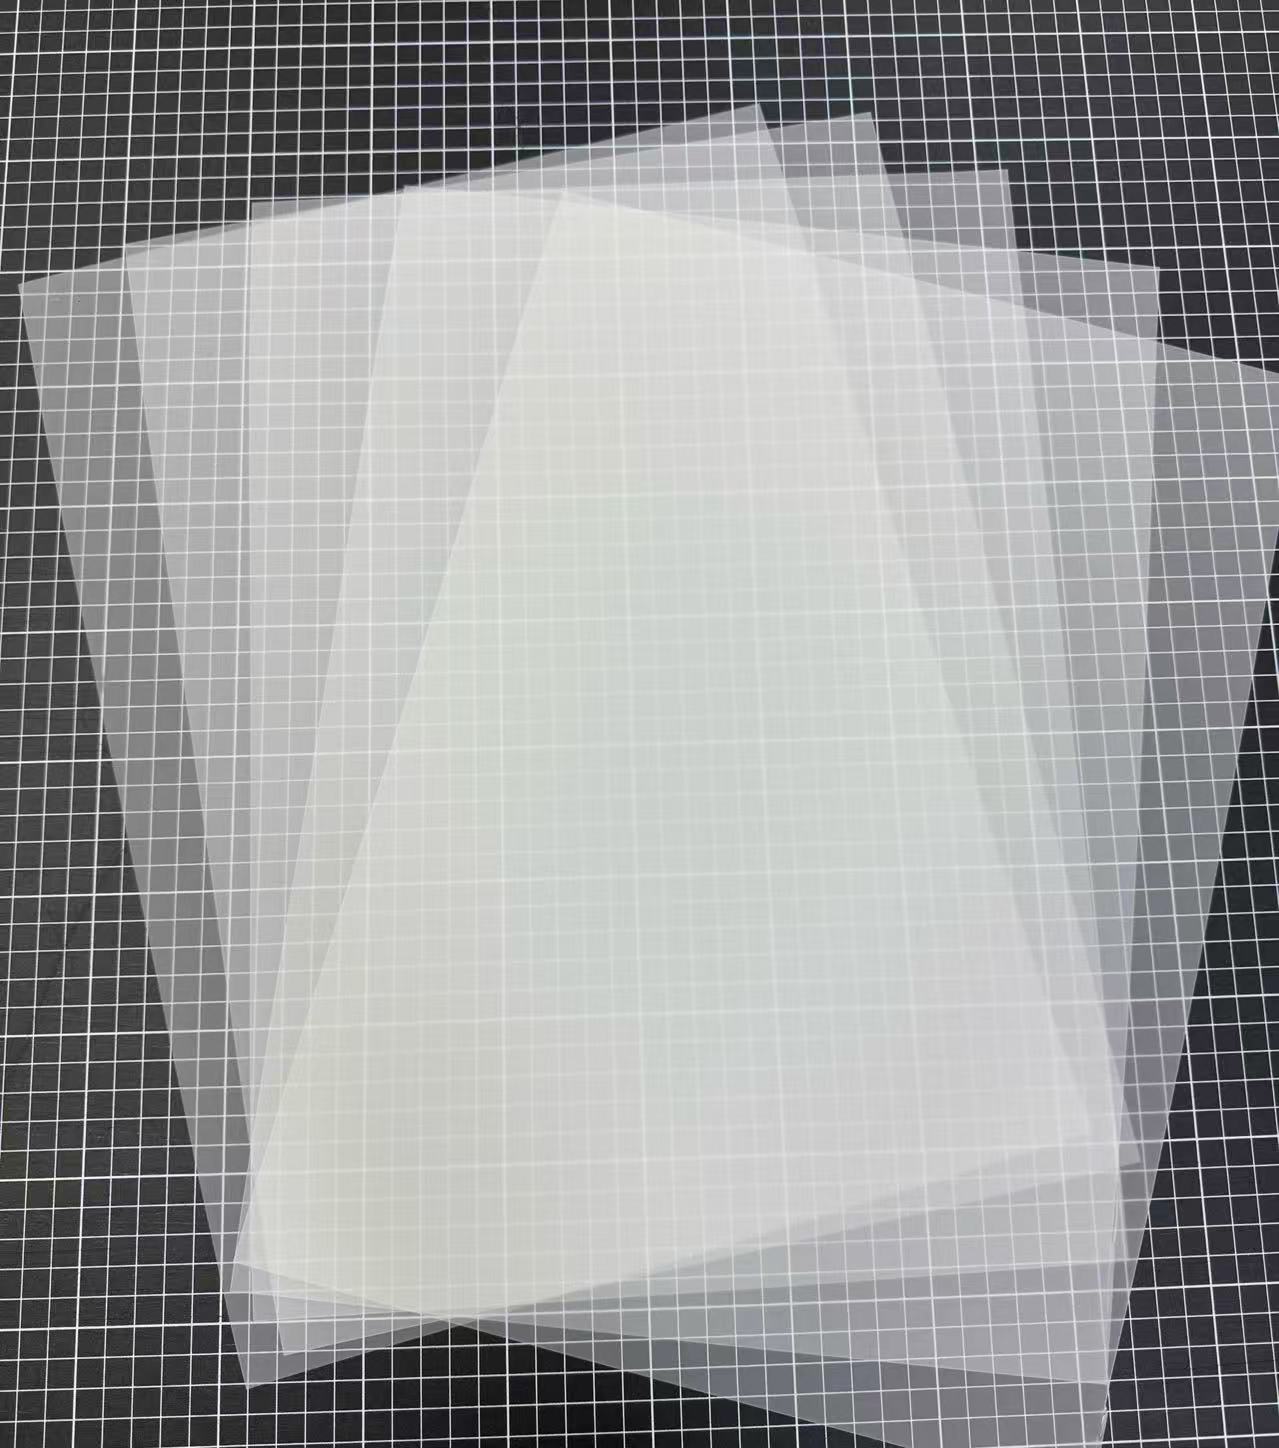
DTF Transfer Film (sheets or rolls)
DTF Inks (Cyan, Magenta, Yellow, Black, and White)
Hot Melt Adhesive Powder
Safety First 💡 Operators should always have Material Safety Data Sheets (MSDS) for their supplies. For DTF powders, the MSDS highlights respiratory risks, recommending masks and good ventilation. For inks, it details potential skin irritation, advising the use of gloves. Proper handling ensures a safe working environment with any film dtf printer.

With the necessary equipment and supplies ready, an operator can move to the production phase. This process transforms a digital concept into a tangible, wearable design through a series of precise actions. Each stage, from design preparation to the final press, is critical for achieving a professional-quality result.
The journey begins with the digital artwork. A high-quality print requires a high-quality source file. Operators should create their designs with specific settings to ensure clarity and vibrancy.
Resolution: A resolution of 300 DPI (dots per inch) is the industry standard. This setting ensures that the final print has sharp lines and smooth color gradients, avoiding any pixelated or blurry appearance.
File Format: Designs should be saved in a format that supports high resolution and transparency. PNG files with a transparent background are ideal for standalone graphics. For vector artwork or full sheets of multiple designs (gang sheets), PDF is a preferred format.
Once the design is finalized, it must be processed through RIP (Raster Image Processor) software. This software acts as a crucial translator between the design file and the film dtf printer. It optimizes the print settings for the best possible output.
| RIP Software Setting | Purpose for Vibrant DTF Transfers |
|---|---|
| White Underbase | Creates a solid white layer (80-100% opacity) under the colors so they appear bright on dark fabrics. |
| Choke Adjustment | Slightly shrinks the white underbase (e.g., by -0.2 mm) to prevent a white "halo" from showing around the design edges. |
| ICC Profiles | Manages color accuracy, ensuring the printed colors match what is seen on the screen. |
| Ink Channel Management | Controls the CMYK and white ink layers, allowing the printer to lay down white first, followed by the colors. |
Properly configuring these settings in the RIP software is essential. It prevents common errors, improves color integrity, and ensures the final transfer is both vibrant and durable.
With the file prepared, the operator can now print the design onto the DTF film. The printing environment itself plays a significant role in the success of this step. Maintaining stable room conditions helps prevent common issues like printhead clogging.
Optimal Environment 🌡️ For consistent ink flow and reduced static, operators should maintain a room temperature between 22–26°C (72–79°F) and a humidity level between 40–60%. A controlled environment is a key defense against banding and other print defects.
The film dtf printer will first lay down the CMYK color layer and then print the white ink layer on top. During this process, operators should watch for any printing errors. Banding, or faint horizontal lines across the print, is a common problem that can often be resolved through troubleshooting.
Nozzle Check: A clogged nozzle is a primary cause of banding. Running a nozzle check and a printhead cleaning cycle can often fix the issue.
Ink Quality: Using high-quality DTF inks formulated for your specific printer model ensures smooth ink flow and reduces sedimentation.
Film Handling: Operators should handle the film carefully by the edges to avoid smudging the ink. Using film with a good anti-static coating also helps prevent dust from sticking to the wet print.
After printing, the design is covered with a hot melt adhesive powder while the ink is still wet. This powder is the bonding agent that will fuse the design to the fabric. These adhesives are typically made from thermoplastic polymers like Polyurethane (TPU), which provides elasticity and durability.
The operator applies the powder evenly across the entire printed area. Any excess powder is then shaken off, leaving a uniform coating only on the ink. The next step is to melt, or cure, this powder.
Proper curing transforms the grainy powder into a smooth, adhesive layer. The appearance of the film indicates whether it is cured correctly.
| Curing State | Appearance & Texture |
|---|---|
| Properly Cured | The surface has a slightly coarse, "fine sandpaper" texture with a matte finish. |
| Under-Cured | The powder looks oily and will come off if touched. |
| Over-Cured | The surface develops an "orange-peel" texture and may look overly shiny. |
Curing can be done in a convection oven or by hovering a heat press over the film. A convection oven typically requires 2-3 minutes at around 160°C (320°F) to achieve a perfect cure.
Now the cured film is ready to be transferred onto the garment. Before placing the transfer, the operator should pre-press the fabric for 5-7 seconds. This simple action removes moisture and wrinkles from the garment, creating a flat, dry surface that is ideal for adhesion. Skipping this step can lead to steam bubbles forming during the main press, which weakens the bond.
The operator then places the DTF transfer on the garment, with the powdered side facing down. A heat press applies heat and pressure to bond the design to the fabric fibers. Typical settings are a temperature of 150–160°C (300–320°F) for 10–15 seconds with medium-to-firm pressure.
After the heat press cycle is complete, the final step is to remove the film. The type of film used—hot peel or cold peel—determines when this happens.
Hot Peel: The film is peeled away immediately while the garment is still hot. This method is fast and efficient for high-volume production.
Cold Peel: The garment is set aside to cool completely before the film is removed. This process generally results in a softer feel and superior durability, as the cooling period allows the adhesive to form a stronger, more flexible bond with the fabric.
For a successful peel, the operator should pull the film back smoothly and consistently. For cold peel films, waiting until the transfer is cool to the touch (around 30 seconds) is critical to prevent the design from tearing.
Pro Tip: The Finishing Press ✨ After peeling the film, many professionals perform a final "finishing press" for 5-10 seconds. Placing a sheet of Teflon or parchment paper over the design and pressing it one last time helps lock in the ink, increases durability, and gives the transfer a smooth, matte finish.
With this final press, the project is complete. The operator has successfully used a film dtf printer to create a custom, high-quality garment.
Operators have now completed the three main stages: preparing, printing, and pressing. Continued practice builds confidence for more complex projects like custom hats, shoes, or pillows. A world of creative apparel is now accessible, with finished transfers lasting over 60 washes when cared for properly.
Care Tip 🧼 To maximize durability, wash garments inside out on a gentle cycle with cold water and then air dry.
Operators can apply DTF transfers to a wide range of materials. This includes cotton, polyester, leather, and various fabric blends, offering significant project flexibility.
DTF prints offer excellent durability. With proper care, the designs can withstand over 60 wash cycles. They resist cracking and fading better than many other transfer methods.
A standard inkjet printer is not suitable. A film dtf printer uses specialized pigment inks, including white ink, and is designed to handle the specific transfer film.
Automatic UV Coaters: Essential for High-Speed Printing Excellence
Nozzle Solutions: A Comprehensive Guide for Diverse Industrial Applications
2025 Carton Lines: Exploring Trending Folder Gluer Features
Tablet Sampling Machines: The Ultimate Guide for Lab Selection
2025's Top Precoating Materials for Advanced Filtration Systems
Select the most popular foreign trade service products to meet your diverse needs
Select the most popular foreign trade service products to meet your diverse needs

Tel: +86 17706217416
Add: Building L2A, No. 520, Lane 1588, Zhuguang Road, Hongqiao World Center, Qingpu District, Shanghai, China


User Comments
Service Experience Sharing from Real Customers
Michael Chen
Print Shop OwnerThis film DTF printer has revolutionized our custom apparel business. The print quality is exceptional, with vibrant colors and fine details that hold up perfectly on various fabrics. The white ink opacity is superb, and the transfer process is remarkably consistent. A game-changer for high-volume orders.
Sarah Johnson
Production ManagerAs a production manager in a mid-sized merch company, I appreciate the reliability and speed of this film DTF printer. It has significantly reduced our turnaround time for complex multi-color designs. The user interface is intuitive, and maintenance is straightforward. Minor learning curve with film handling, but overall an excellent investment.
David Rodriguez
Graphic DesignerThe color accuracy and detail reproduction on this DTF printer are outstanding. It perfectly translates my digital designs onto film and then onto fabric, capturing even the most subtle gradients and fine lines. It has expanded the creative possibilities for our boutique fashion label immensely. Highly recommended for design-focused applications.
Lisa Wang
Small Business OwnerStarting my own print-on-demand side hustle was made possible with this compact film DTF printer. It's cost-effective, produces professional-quality transfers for t-shirts and hats, and the prints are durable after washing. The customer support was helpful during setup. It's the perfect balance of quality and affordability for entrepreneurs.