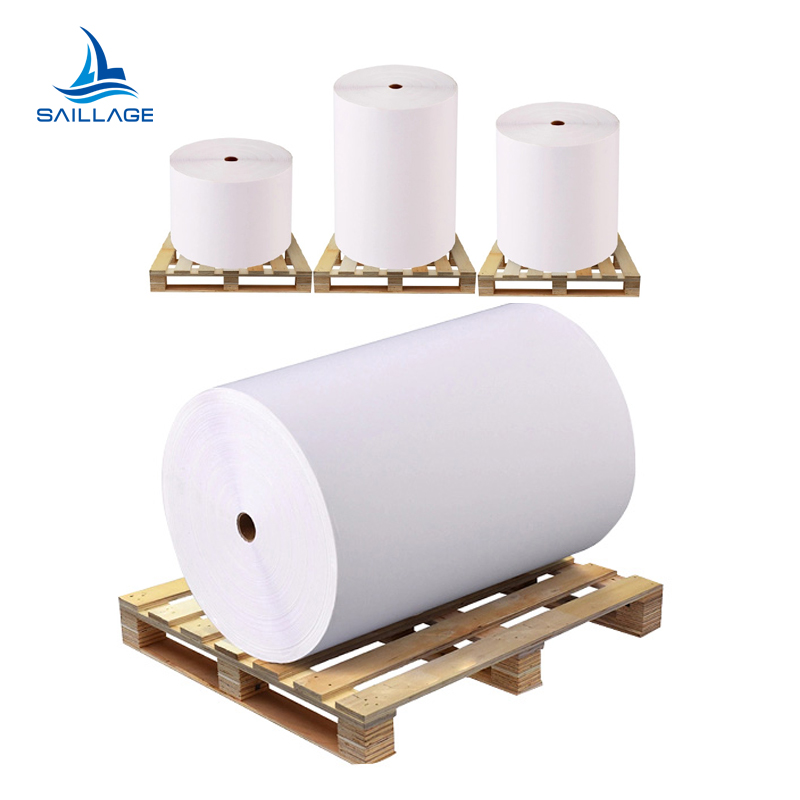


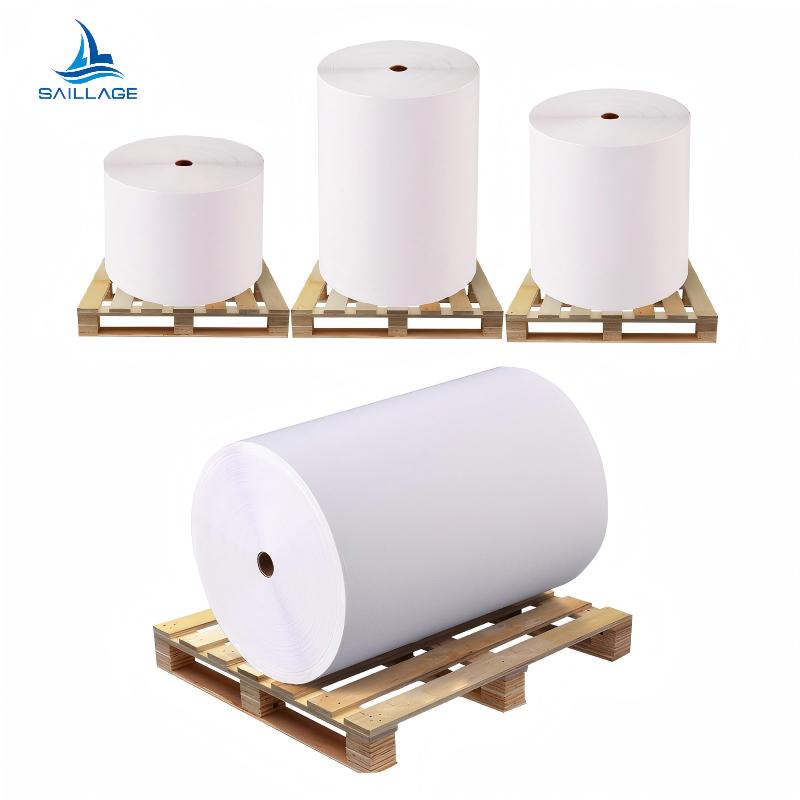


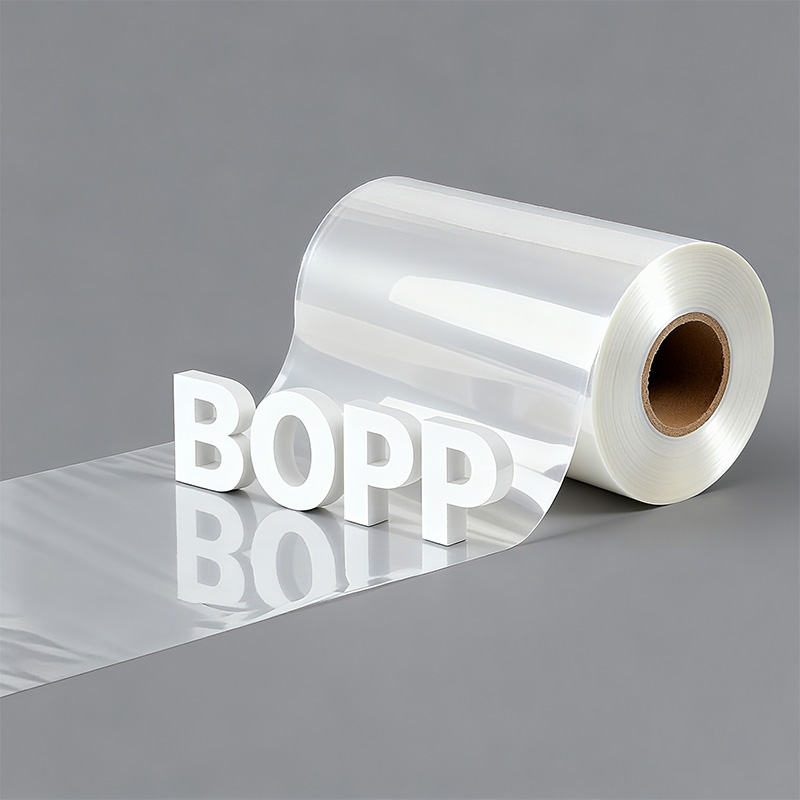
What are the advantages of BOPP film
Third, BOPP film offers great versatility and safe...
More
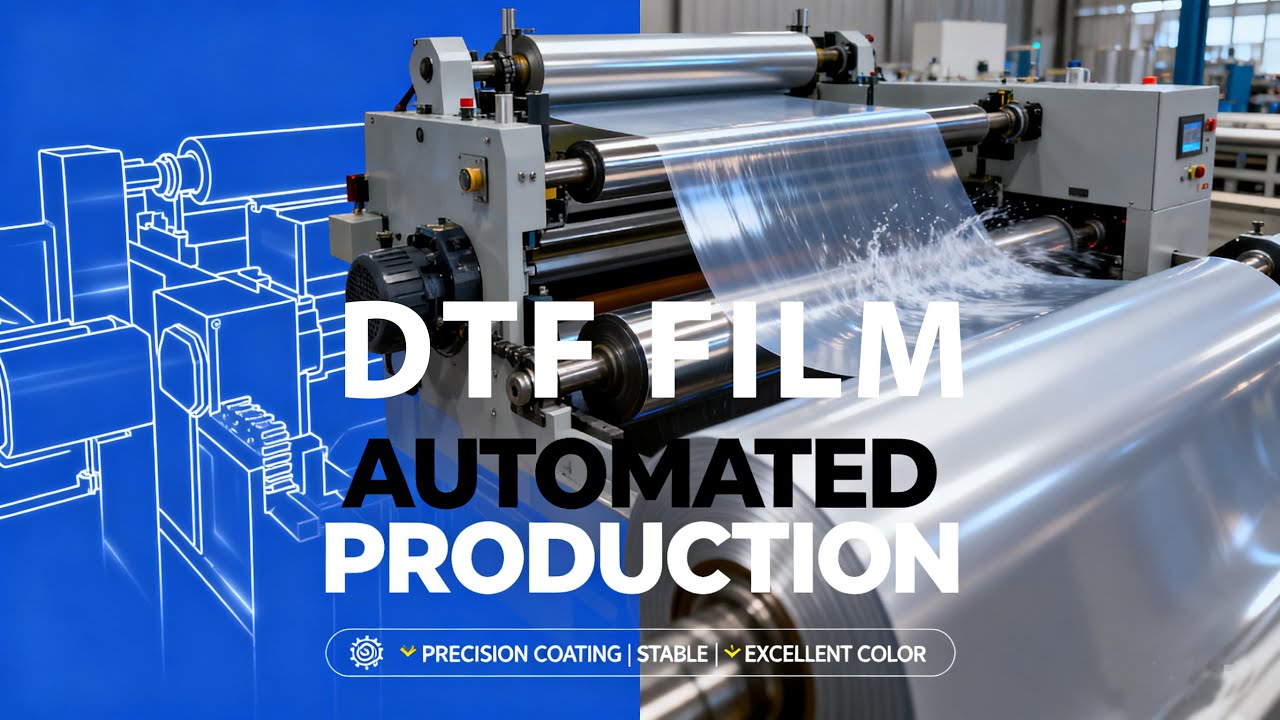
An excellent choice for custom apparel, the Direct-to-Film (DTF) process transforms digital designs into durable, vibrant garment graphics. This method involves several key stages. A user first prepares a design and configures RIP software. The dtf transfer film printer then prints the image onto special film. Subsequent steps include applying and curing an adhesive powder, preparing the garment, and heat pressing the transfer.
The DTF process turns digital designs into strong, colorful garment prints. It involves steps like design, printing, powder use, and heat pressing.
Good preparation is key for DTF success. This includes using high-quality designs and setting up the printer software correctly.
Each step in the DTF process, from applying powder to curing and pressing, needs careful attention. This ensures the final print is bright and lasts a long time.
A successful DTF project begins long before the printer starts. Proper preparation of the design and materials is the foundation for a professional-quality final product. This initial phase ensures the artwork translates perfectly from screen to fabric.
The quality of the source file directly determines the quality of the print. A design must have sufficient resolution to produce sharp, clear graphics. Using low-resolution images will result in undesirable outcomes like pixelated prints, blurriness, and a general lack of sharpness. Professionals adhere to specific standards to guarantee crisp results.
Pro Tip: Always start with the highest quality source file available. Converting text to outlines and ensuring line weights are adequate prevents common printing errors.
| Category | Recommendation |
|---|---|
| File Formats | AI, EPS, SVG (Vector); PSD, TIFF, PNG (Raster) |
| Resolution | 300 DPI (Dots Per Inch) at the final print size |
| Color Mode | CMYK is preferred for accurate color reproduction |
| Transparency | Use PNG or TIFF for designs with transparent backgrounds |
Operators need a specific set of tools to execute the process correctly. Having all necessary equipment and consumables ready streamlines the workflow from printing to pressing. A complete setup includes the dtf transfer film printer and several key accessories for applying and curing the transfer.
Essential supplies for a DTF workstation include:
Adhesive Powder: Bonds the ink to the garment fabric.
RIP Software: Manages print jobs and controls color output.
Shaker/Dryer: Automates powder application and initial curing.
Heat Transfer Machine: Applies the final transfer with heat and pressure.
Ventilation/Extractor: Safely removes fumes produced during curing.
Cleaning Supplies: Ensures printer longevity and consistent performance.
Raster Image Processor (RIP) software is the brain of the DTF operation. It translates the digital design file into precise instructions for the dtf transfer film printer. Proper configuration is essential for color accuracy, ink management, and overall print quality. Many professional RIP solutions are available.
Cadlink Digital Factory: A popular choice developed specifically for DTF workflows.
AcroRIP: Known for its wide compatibility with various printer models.
neoStampa DELTA: A professional solution with robust color management tools.
Roland VersaWorks & Mimaki RasterLink: Official software bundled with their respective printers.
An operator first imports the high-resolution design into the RIP software. The software interface allows for the arrangement of one or multiple designs on the virtual film roll. This process, known as nesting, is critical for maximizing material usage and minimizing waste. Efficient nesting can significantly reduce operational costs.
Best Practice: Operators should use software features to auto-nest designs. This optimizes the print area by reducing white space and carefully aligning graphics. Adjusting the scale and repetition of smaller patterns also helps fill the film effectively.
After arranging the artwork, the operator must configure the ink settings. The software controls the output of each ink channel, including Cyan, Magenta, Yellow, Black (CMYK), and White. The white ink layer is particularly important, as it acts as an underbase that makes colors appear vibrant on dark garments. The software prints the white layer first, followed by the CMYK colors on top.
Key settings ensure a flawless transfer without defects like visible white edges.
| Setting | Recommended Value | Purpose |
|---|---|---|
| White Underbase | 80–100% opacity | Ensures colors pop on dark fabric. |
| Ink Density | Medium–High | Balances color saturation and prevents smudging. |
| Droplet Size | Medium–Small | Creates smooth gradients and fine details. |
| Choke Adjustment | –0.2 mm | Shrinks the white layer to hide it behind the color layer. |
Correctly setting these parameters in the RIP software is a non-negotiable step for producing professional, durable, and visually stunning DTF transfers.
With the design finalized and RIP settings configured, the operator moves to the printing stage. This is where the digital file becomes a physical transfer. Proper handling of the dtf transfer film printer and its media is crucial for a successful outcome.
Correctly loading the transfer film is a fundamental step. Operators must identify the printable side of the film to ensure proper ink reception. This side is the non-glossy, matte surface, which has a special coating designed for ink adhesion. Printing on the glossy, non-printable side will cause issues like ink smudging and poor adhesion, ultimately ruining the transfer and wasting materials. The film must be loaded straight and secured according to the printer's specifications to prevent jams or skewed prints.
Once the film is loaded, the operator sends the print job from the RIP software to the printer. The machine then begins laying down the ink layers, starting with the color (CMYK) layer and finishing with the white underbase. Maintaining a stable environment is vital for consistent print quality.
Note: Unstable conditions can lead to ink banding, color shifts, and other print defects. Professionals control their workspace to stay within optimal ranges.
| Condition | Optimal Range |
|---|---|
| Temperature | 20°C to 25°C (68°F to 77°F) |
| Humidity | 40% to 60% relative humidity |
To maintain this environment, operators should:
Use air conditioning or heating to manage temperature.
Employ a humidifier or dehumidifier to regulate moisture.
Monitor conditions with a hygrometer and thermometer.
Ensure good ventilation to remove fumes safely.
The operator should monitor the initial output to confirm all settings are correct before printing a large batch.
The adhesive powder is the critical bonding agent in the DTF process. This thermoplastic polyurethane (TPU) powder melts during the curing stage, creating a durable adhesive layer that fuses the ink to the garment's fibers. Applying it correctly is essential for a transfer that lasts.
An operator must apply the powder immediately after the transfer film exits the printer. The ink must be wet for the powder to adhere properly. In a manual setup, the operator lays the printed film in a shallow tray filled with powder and gently rocks it to achieve full coverage. Automated shaker/dryer units streamline this by evenly distributing powder as the film passes through. The choice of powder grade depends on the job's requirements.
Best Practice: Aim for a consistent, even coating across the entire design. Uneven application can lead to parts of the transfer failing to adhere to the garment.
| Grade | Particle Size (µm) | Texture | Use Cases | Hand Feel |
|---|---|---|---|---|
| Fine | 0–70 | Flour-like | Intricate designs, small details | Softest |
| Medium | 70–170 | Salt-like | Everyday jobs, general use | Balanced |
| Coarse | 120–240 | Sugar-coarse | Heavy-duty fabrics (backpacks, uniforms) | Firm/Rougher |
Once the ink is coated, the operator must remove all loose powder. Only the powder stuck to the wet ink should remain. Manually, this is done by holding the film by its edges and flicking or tapping the back of it to shake off the excess. Some operators also use compressed air for a final clean-up. An automated shaker performs this step by vibrating the film as it moves along the conveyor. A clean removal ensures no stray adhesive specks transfer to the garment, resulting in a crisp and professional finish.
Curing is the process that transforms the loose powder into a solid, flexible adhesive layer. This crucial stage prepares the transfer for application to the garment. Operators typically use a dedicated curing oven or a heat press in hover mode to melt the thermoplastic polyurethane (TPU) powder. The goal is to achieve a complete and even melt without scorching the film or the ink.
An operator places the powdered film under a consistent heat source. The heat melts the powder into a uniform layer, fusing it with the wet ink beneath. This process requires precise temperature and time control for optimal adhesion. Most curing setups operate between 100°C to 120°C (212°F to 248°F) for approximately two to three minutes.
Pro Tip: When using a heat press, the operator should ensure the top platen hovers above the film without making direct contact. Touching the heating element can melt the film and ruin the transfer.
Once cured, the adhesive should have a distinct "orange peel" texture and a slight gel-like sheen. This appearance indicates the powder has melted completely and is ready for pressing. Achieving this texture requires precision, as both under-curing and over-curing lead to significant quality issues. An operator must monitor the process closely to avoid these common pitfalls.
| Condition | Effect on Transfer Quality |
|---|---|
| Under-curing | The print will have poor wash fastness and may not stick to the fabric. Colors can appear dull, and the surface may feel tacky. |
| Over-curing | The print becomes brittle, stiff, and prone to cracking. Excessive heat can also scorch the design, degrade the adhesive, and cause a loss of fine detail. |
A properly cured transfer is the foundation for a durable and vibrant final product.

The process now moves to the final application stage. An operator unites the cured transfer with the garment using a heat press. This step permanently bonds the design to the fabric, creating the finished product. Precision during this phase is essential for a professional and durable result.
Proper garment preparation creates an ideal surface for the transfer. An operator first places the apparel item flat on the lower platen of the heat press. Wrinkles or moisture in the fabric can compromise adhesion and lead to a failed application. A quick pre-press resolves these issues.
An operator pre-presses the garment for 2-5 seconds.
This action removes residual moisture from the fibers.
It also creates a perfectly smooth and flat area for the design.
This simple step ensures the transfer bonds completely and evenly to the material.
With the garment prepared, the operator carefully places the cured DTF transfer onto the target area, ink-side down. They can use heat-resistant tape to secure the film, preventing it from shifting when the press is closed. Once positioned, the operator applies heat and pressure.
Pro Tip: Place a Teflon sheet or parchment paper over the transfer film. This protects the garment from direct heat and prevents any ink or adhesive from sticking to the upper platen of the heat press.
The operator then closes the press using the specific settings required for the fabric and transfer film.
| Parameter | Recommended Setting | Purpose |
|---|---|---|
| Temperature | 140°C - 165°C (284°F - 329°F) | Activates the adhesive for bonding. |
| Time | 10 - 15 seconds | Allows sufficient time for the bond to form. |
| Pressure | Medium to Firm | Ensures full contact between the transfer and fabric. |
Consistent heat and pressure across the entire design are critical for a successful and lasting bond.
The final step reveals the finished design. After the heat press cycle completes, the operator carefully removes the garment and prepares to peel away the transfer film. This action is the last critical stage in creating a professional-quality custom product. The peeling technique depends entirely on the type of film used.
DTF films are categorized as either "hot peel" or "cold peel." An operator must follow the specific instructions for their film to prevent damaging the transfer. Hot peel films allow for immediate removal after pressing, which speeds up production. Cold peel films require the transfer to cool down completely before the film is removed.
Important: Always check the film manufacturer's specifications. Using the wrong peeling method will lead to a failed transfer.
The choice between film types involves trade-offs between speed and finish quality.
| Feature | Cold Peel DTF Film | Hot Peel DTF Film |
|---|---|---|
| Advantages | Improved color retention and adhesion; Smooth, high-end finish; Less susceptible to wash or wear; Great for dark, textured fabrics | Faster workflow; Excellent for mass production; Easier handling in busy environments; Reduces overall production time and labor costs |
| Disadvantages | Longer production time; May require additional cooling equipment for high-output; Not ideal for time-sensitive projects | Slightly lower adhesion quality; Higher risk of minor defects if not peeled correctly; Limited use on complex or highly textured fabrics |
Many professionals perform a second press to enhance the final product. This optional step improves the transfer's durability and gives it a softer, more integrated feel. After peeling the film, the operator places the garment back on the heat press.
Pro Tip: Cover the exposed design with a Teflon sheet or parchment paper. This protects the graphic and creates a desirable matte finish.
The operator then presses the garment again for 5-10 seconds using medium pressure. This final press pushes the ink further into the fabric's fibers, increasing wash fastness and ensuring a long-lasting, professional result.
An operator can reliably create custom apparel by mastering the seven-step DTF process. Success hinges on several key factors. An operator must use a high-resolution design, achieve an even powder coat, and follow the correct peeling procedure. Practice and attention to detail ensure the dtf transfer film printer produces vibrant, durable results.
DTF is highly versatile. An operator can apply transfers to many materials.
Cotton
Polyester
Blends (50/50)
Leather
Nylon
Even hard surfaces like wood
Properly applied DTF transfers are extremely durable. They resist cracking, peeling, and fading through dozens of wash cycles. The design often outlasts the garment itself, ensuring a long-lasting product.
Cracking often results from incorrect curing or pressing. Over-curing the adhesive powder makes it brittle. Insufficient heat or pressure during the final press also causes poor adhesion and durability.
Automatic UV Coaters: Indispensable for Modern High-Speed Printing Operations
Future-Proofing Carton Lines: Top Folder Gluer Innovations for 2025
Advanced Precoating Materials: Enhancing Filtration System Performance by 2025
Versatile Nozzle Applications: Insights for Gardening, Bioprinting, and Lubrication
Demystifying Sterile Filter Devices: A Guide to Their Operational Principles


Select the most popular foreign trade service products to meet your diverse needs
Select the most popular foreign trade service products to meet your diverse needs

Tel: +86 17706217416
Add: Building L2A, No. 520, Lane 1588, Zhuguang Road, Hongqiao World Center, Qingpu District, Shanghai, China


User Comments
Service Experience Sharing from Real Customers
James Wilson
Print Shop OwnerThis DTF transfer film printer has revolutionized our custom apparel business. The print quality is exceptional, colors are vibrant, and the transfer process is incredibly consistent. It's paid for itself in just a few months.
Sarah Chen
Graphic DesignerAs a designer running a small merch business, this printer is a game-changer. The detail it captures on film is impressive, allowing for complex designs on various fabrics. Setup was straightforward, and the results are professional-grade.
Michael Rodriguez
Production ManagerOutstanding reliability and speed for bulk orders. We produce hundreds of custom transfers daily, and this DTF printer handles it with minimal downtime. The film adhesion is excellent, leading to very low waste and happy clients.
Emily Brown
Small Business OwnerInvesting in this DTF printer was the best decision for my online store. It allows me to offer high-quality, on-demand printing with a soft hand feel. The versatility to print on cotton, polyester, and blends has significantly expanded my product line.